
Live-streamed games, recorded matches, and event data gathered in one place.
Kill Team Stream hosts quality live streaming of Kill Team content — tournaments throughout the year on Twitch, regular games streamed to the channel, and tournament data gathered so players can see what's happening in the scene. Powered by WARHAMMER.
Browse tournamentsOfferings
Tournaments
Multiple Kill Team tournaments hosted throughout the year, all live-streamed on our Twitch channel.
Videos
Streams are recorded and uploaded to YouTube alongside original video content we produce.
Event Data
Tournament packets from past events plus resources for upcoming Kill Team tournaments.
Site Directory
Which Kill Team Board Sectors Favour Which Styles?
A guide to board sectors is about seeing how distance, sightlines and cover change a team’s preferred rhythm. In the sector-based Kill Team rules, the Kill Zone contains twelve sectors, six in each half. Because players view the board from opposite sides, the sector beside your deployment zone may be a distant threat on your opponent’s map. Reading local terrain correctly is therefore a competitive skill.
No sector guarantees victory. A central position may be excellent for holding an objective and dreadful for a team built to shoot across open ground. The same corner can reward a fast assault list and punish a unit that needs allied support nearby. Mission rules, deployment choice, available cover, elevation and the location of reserves usually matter more than a sector’s reputation.
Australian events add familiar context. Around Melbourne and Sydney, clubs often meet in hobby stores or community halls, while Brisbane, Adelaide and Perth have smaller local groups. Most Australian competition is organised as store tournaments, club leagues or convention events rather than one national circuit, so organisers commonly rely on store sponsorship, volunteer marshals and prize vouchers. It helps to have a squiz at the terrain before the first round; players call an awkward piece “dead set” tricky, and nobody minds a friendly “no worries” while it gets moved.
The scene also crosses the country through Kill Team Stream’s Twitch broadcasts, YouTube recordings and tournament archives. A player in Perth can watch a Sydney event live, study the packet later and try those ideas in a local club game. This guide turns shared information into practical sector choices for players who favour aggression, range, control or patient shooting.
Reading the Kill Zone
First, label the board from your own deployment side instead of relying on compass directions or somebody else’s diagram. Mark the centreline, the broad areas of your half and every sector with useful cover or elevation. Official sector numbers are most useful when both players share the same orientation; relative labels such as centre, near corner and firing lane transfer better to a different board.
A sector can be assessed by answering three questions: where can my opponent shoot from, how many turns will I need to cross open space, and can I fight or withdraw if the first exchange goes badly? Count range in sectors, not inches across the mat. A lane with no cover differs from one where a doorway or ruin breaks the line.
The rules can also vary by mission, so settle basic queries before deploying. Players checking terminators, deployment restrictions or objective control can use the frequently asked questions as a useful pre-event reference. A five-minute check is cheaper than losing the first turn over an avoidable misunderstanding.
Central Sectors and Objective Control
The centreline sectors are prime real estate for objective-focused play. They sit close to the scoring area, offer routes into both halves and create several directions from which an opponent must watch. A balanced team with reliable shooting and close combat can threaten these sectors and make its opponent choose between losing a marker or breaking formation.
Central terrain rewards whichever style can exploit its particular shape. A central sector with waist-high cover favours a controlled close-range team that can advance behind it. An exposed centre favours a marksman or Veteran who wants a clear shot. If the centre offers multiple entrances, fast units can threaten it from two angles, but they must leave enough defenders behind to stop a reply.
Do not treat the centre as a compulsory destination. Sometimes the better plan is to occupy the nearest covered sector, make the enemy spend a turn moving onto the objective, then punish the overextension. Central sectors amplify mistakes, so a team with weak melee but strong shooting may deliberately avoid the hardest ground and farm the approaches.
Corner and Flanking Territory
The outer sectors along the sides and corners of the Kill Zone give the clearest terrain rewards for speed and wide deployment. They shorten some routes to enemy objectives, create firing angles behind a slower formation and offer room for models to pass one another. They also leave fewer friendly models close enough to support a wounded fighter.
Fast assault and infiltration lists benefit most here. A Strikefast-style unit can use a corner as cover, dash beside an objective before the opponent turns and force a scoring player to abandon useful cover. Two mobile units can threaten opposite flanks, pulling defenders from the centre and opening a lane for slower troops.
There is a catch: isolated flank sectors can become kill pockets. If the route back is blocked by the same wall that protects the approach, a flank may split the team beyond help. Check the reverse edge and the nearest exit before committing. A flanking plan needs a route home, a clear objective and a response if the enemy simply holds the angle.
Open Ground and Firing Lanes
Open sectors provide fewer places to hide and fewer obstacles to break sightlines. They suit gunlines, marksman operatives and Veteran shooters who can build a kill zone through fields of fire. The best open sector is rarely the one furthest from the enemy; it is the one that lets several models see the same approach without exposing their flanks.
A shooting team should look for overlapping lanes. One model may cover the objective while another watches the corridor leading to it. Elevation helps, but a visible shooter can be removed, so high-position shooters need a second angle or a teammate ready to take over. In a long lane, clustering shooters gives the opponent one efficient target.
Open ground can still favour assault when the opposing gunline lacks range or mobility. Rushing a marksman in an exposed sector can be sound if the team can close the gap in one turn and use cover near the objective. The deciding factor is the exchange before contact. If the target can shoot twice while the attacker advances under a penalty, bypassing that lane is usually wiser.
Cover Connectors and Chokepoints
Narrow connector sectors, doorways and ruined passages form the battleground’s bottlenecks. They slow movement and let a small team stop a larger one. Shotguns, focused melee and units with high threat are strong here, since every attacker enters a restricted space and may lose sight of allies waiting on the far side.
A chokepoint favours the player who prepared for it. Keep one model on the approach, place a second near the exit and use reserves to replace a defender who falls. Attackers need to suppress the first model, clear the doorway and stop the second from firing as they emerge. A lone assault unit charging into the opening often gives its defender the easy shot the sector was designed to produce.
Cover does not cancel a flank, and a connector can still become a trap if the defending player has chosen poorly. Look beyond the obvious wall to see whether an enemy can circle behind it. If so, the “safe” approach may be the sector that encourages a charge into a crossfire. Leave an alternate route whenever the board offers one.
High Ground and Reserve Timing
A sector with elevation offers longer sightlines, a stronger firing angle and often better protection from incoming fire. It naturally attracts Veteran and marksman play, especially when the high position overlooks an objective. The advantage depends on access: a commanding sector reached through a narrow corridor can be less useful than a lower position with two easy exits.
Height also exposes the occupant. The model on the mound can be seen from several directions, and opponents know where to aim. A good firing position needs either nearby cover for a second model or a reserve plan for when the first defender dies. This is why high ground works best for disciplined pairs rather than a lone hero posted beyond support.
Reserve timing turns depth into another kind of control. A reserve in a rear sector can threaten an objective or punish a team crossing open ground, while reserves placed too far away arrive after the decisive shot. Check remaining movement, whether the sector is legal for reinforcement and which enemy model it can engage. Position is not complete until its timing is tested.
Turning Terrain into Team Tactics
Choose sectors by matching their geometry to the qualities your roster can repeat. A fast team needs corners, side routes and covered approaches. A marksman wants elevation or long lanes. A close-combat team wants short advances and choke points. A balanced objective list benefits from central cover, while a reserve-heavy player can punish routes from the rear. These are preferences, not rigid labels, and player skill within those preferences remains decisive.
Before deployment, compare the packet’s objectives with your opponent’s likely scoring area. If they need the centre, threaten it from two sides rather than starting a fight there. If they need space, compress the lanes and protect the connectors. If your faction excels in attrition, make every sector cost more to enter than the enemy can afford. The board becomes favourable when the opponent must use the part of it that suits you least.
Australian club nights and Kill Team Stream match recordings can show whether the theory works. Local events expose differences that a rulebook hides: which objective players ignore, how groups handle reserve timing, and whether a room full of objective-control lists still finds value in the flanks. Repeated games without changing the terrain reveal which decisions were sound and which merely felt familiar.
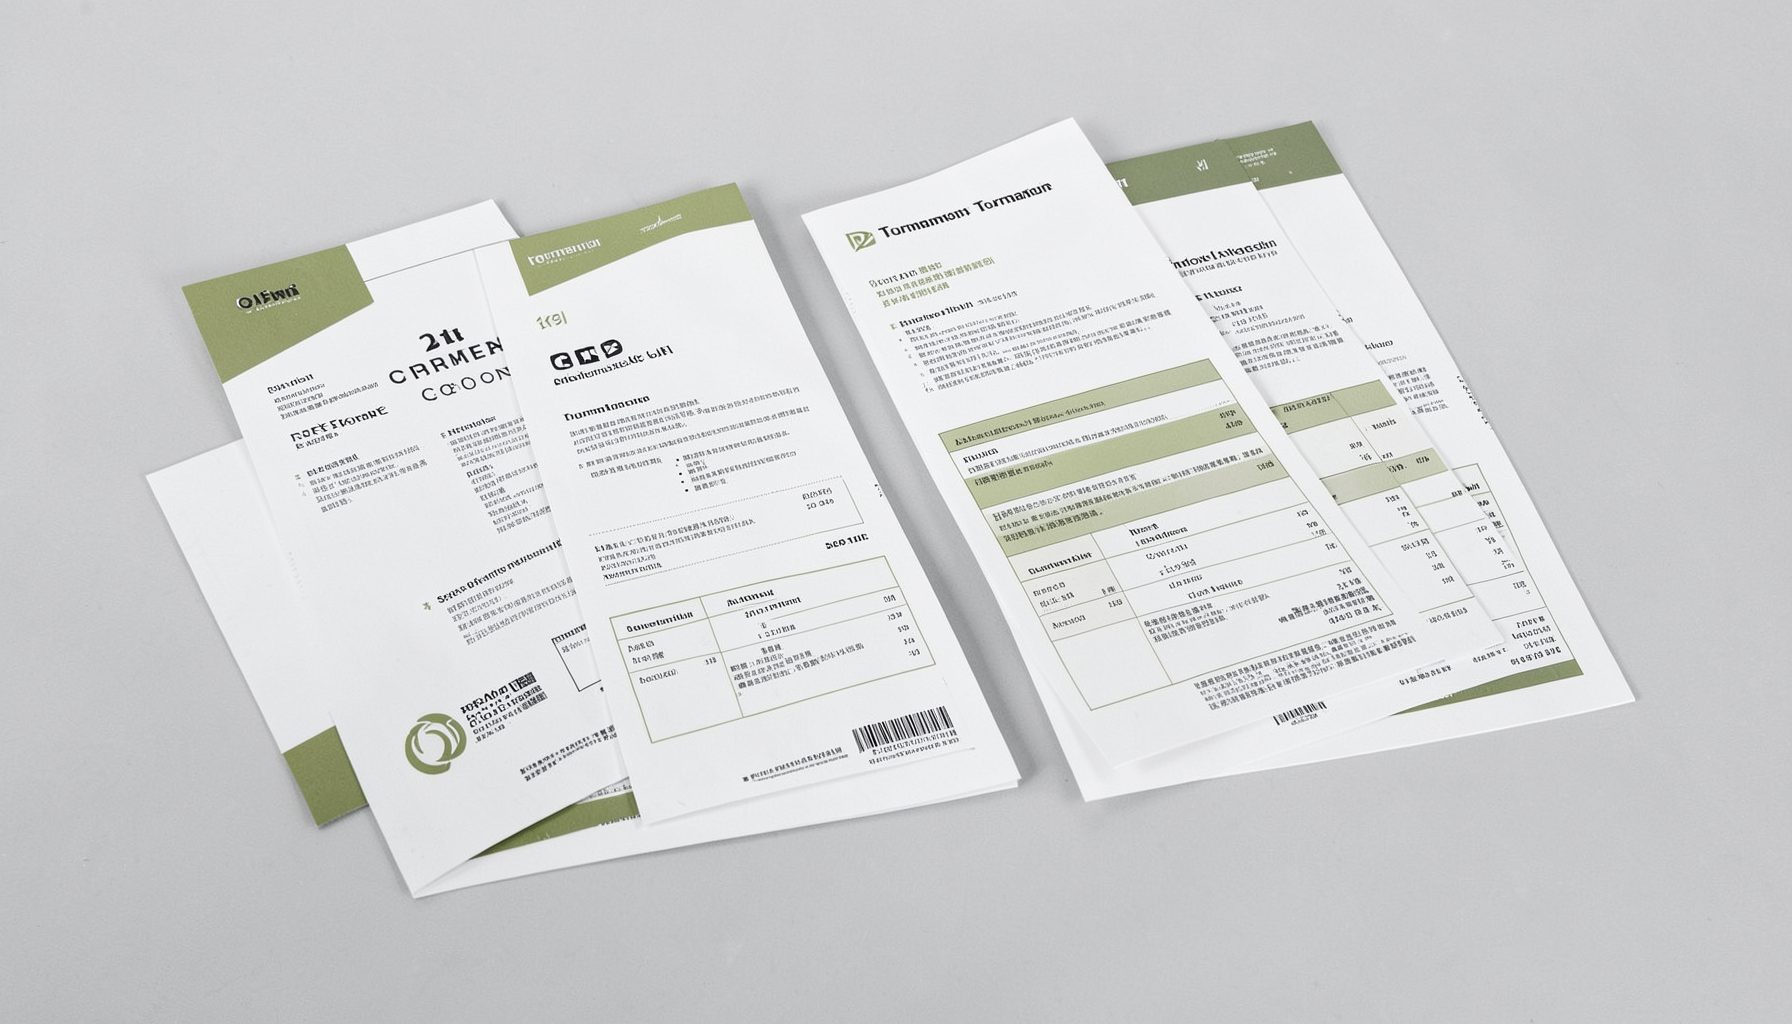
Tournament Packets
Packets from previous Kill Team events are kept here alongside new packets for upcoming tournaments, so organizers and players have what they need in one place.
View Event Data