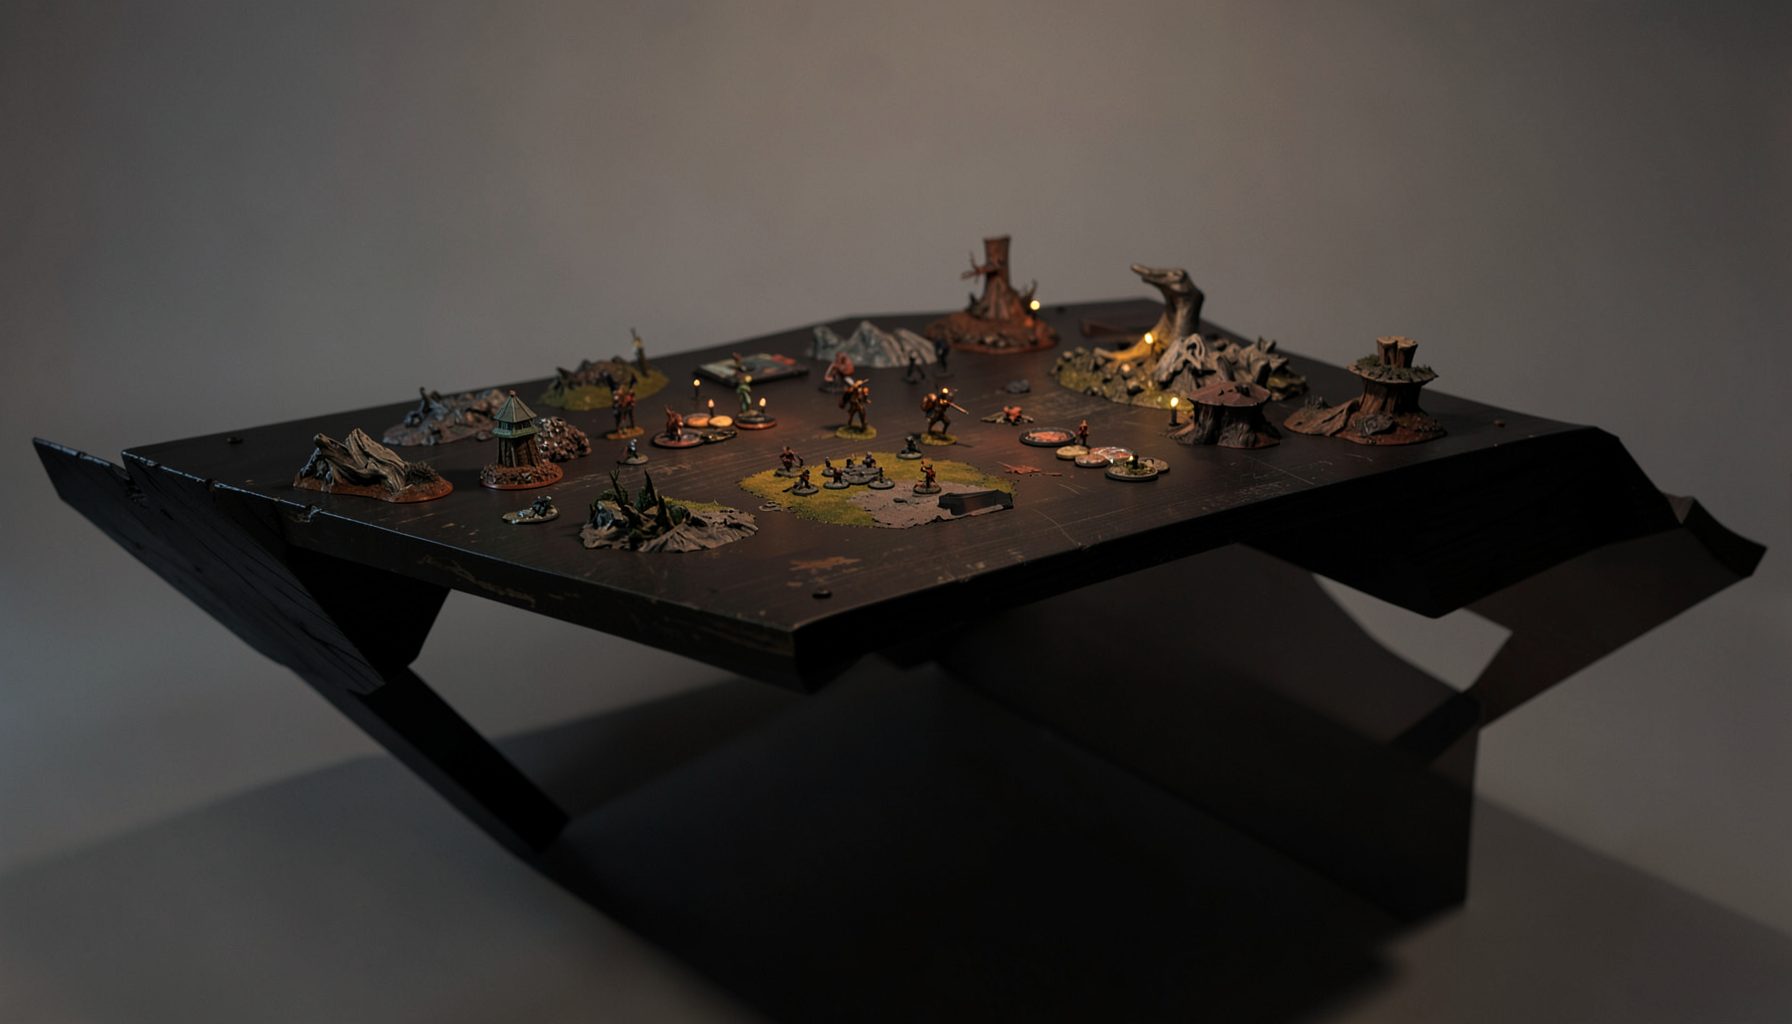
Live-streamed games, recorded matches, and event data gathered in one place.
Kill Team Stream hosts quality live streaming of Kill Team content — tournaments throughout the year on Twitch, regular games streamed to the channel, and tournament data gathered so players can see what's happening in the scene. Powered by WARHAMMER.
Browse tournamentsOfferings
Tournaments
Multiple Kill Team tournaments hosted throughout the year, all live-streamed on our Twitch channel.
Videos
Streams are recorded and uploaded to YouTube alongside original video content we produce.
Event Data
Tournament packets from past events plus resources for upcoming Kill Team tournaments.
Site Directory
Painting Beards and Hairs on Imperial Models
Imperial miniatures put the sculptor’s most characterful choices on a tiny scale. A Commissar’s waxed moustache, an officer’s swept sideburn, or an aged veteran’s forked beard can make a model memorable before its uniform is noticed. These details also frame the face, so clean edges and controlled highlights can give an ordinary paint job the presence of a finely crafted portrait. The method below suits human Imperial models and sculpted fur, wool, and helmet linings.
Working from dark to light is more forgiving than trying to invent perfect colours at once. Begin by deciding where the hair will catch light, usually the upper and outer surfaces, then build a narrow range around that choice. Keep the darkest tone close to the base and reserve the brightest paint for tiny accents. Consistent brush pressure and clean water will do more for believable hair than expensive specialist products.
Choosing Brushes and Colours
Use a pointed sable brush in size 00 or 0 for the first passes and a slightly larger round for broad areas of hair. A size 6 or 8 is useful for a full beard, while an old fine brush can reach deep roots without flooding the face. Synthetic brushes are a practical alternative for acrylics, especially when a sable brush is outside your painting budget. Keep one brush for skin and use separate, thinner brushes for facial hair.
Choose a compact palette of black, dark brown, medium brown, tan, cream and white, adding a red or ochre hue if you want warmer hair. Major paints such as Citadel, Vallejo, AK Interactive and Pro Acryl are stocked by many Australian hobby retailers, including independent shops around Melbourne and Sydney. Prices are usually quoted in Australian dollars and include GST, so comparing a local shelf price with an online offer is straightforward. A small set of dependable colours can cover grey, brown, blond and white hair without requiring every shade seen in a display miniature.
Paint consistency matters as much as colour choice. Thin acrylics slightly with clean water, mix on a wet palette, and test the mix on an unpainted spare plasticard card or primed test piece. Melbourne’s changeable weather and Sydney’s humid summers can affect drying, so use thin coats and a gentle fan rather than rushing a heavy layer. Keep dust away while the surface is still tacky; a pale beard can pick up grit very quickly.
Preparing Hair and Beards
Start with clean hair, but clean the whole model rather than scrubbing fragile fibres. Warm water, a little mild dish soap and a soft toothbrush will remove dust, mould release and loose material from most resin or plastic miniatures. Avoid household cleaners, and dry the model fully before applying paint. Oils from handling can repel acrylics, so wipe the area with a suitable degreaser and let it evaporate completely.
Check each casting for a mould line running through the hair, especially across a moustache or the end of a braid. Remove only obvious seams with a fibre-optic file, leaving the sculpted texture untouched. If a separate hairstyle or beard has shifted, fix it with hobby-grade superglue, using a pinning agent if necessary, and allow the joint to cure. Painting begins only when the piece is rigid and the repair will not pull loose under a damp brush.
Apply a thin basecoat in the darkest planned shadow colour, then let it dry before refining the form. A red-brown or very dark brown base is more versatile than pure black for human hair because later midtones sit more clearly on it. Keep the base thinner near the face than on projecting strands. Establish the skin and eyes first if they are delicate, then work outward from the hairline so stray marks can be corrected while the surrounding skin remains clean.
Building Natural Hair Colours
For black or very dark hair, use black as the base, a dark brown for the first layers, and restrained grey-brown or pale tan highlights. Each layer should cover less of the previous one, creating a narrow band of light along the sculpted ridge rather than a uniform stripe over every strand. A thinned dark wash can restore depth after the midtone, but keep it out of the eyes, nostrils and lips.
Brown hair has a broad range, so start with a chocolate base, move through a medium chestnut, and finish with tan or warm off-white. A dark brown glaze in the grooves gives separation without making the whole beard look black. Watch the hue under warm Australian household lighting, which can make a neutral brown seem richer and more reddish; a brief outdoor check helps confirm the colour before you build several fine layers.
For blond hair, a dark ochre or tan base gives the highlights something to sit against; cream or near-white on its own tends to look flat. Ginger hair benefits from a red-brown base, orange-brown midtone and small pale peach accents. Grey hair can begin with dark grey, move to medium grey and finish with white, while true white hair is easier with a warm ivory base, a faint cool grey shadow and pure white only on the highest ridges.
Shading and Adding Highlights
Washes belong in the places where the sculpt already tells you there is depth. Apply a pin wash with a nearly dry brush, drawing colour into roots, carved strands and the underside of a moustache, then blot the brush on the palette before returning to the model. Work slowly around the eyes and mouth. If the wash spreads beyond its intended area, lift it with clean paint of the base colour before it dries.
Build highlights in two or three controlled layers instead of placing one bright mark on every ridge. Mix your chosen highlight with the midtone for the first pass, then use it neater for the final accent. On downward-growing hair, keep the highlight near the upper-facing edges; on curled moustaches, follow the turn of the sculpted lock. Leave the deepest grooves dark so the texture remains readable from normal viewing distance.
Sharp edges matter most around the face. Feather the hair into the sideburn, temple or cheek with tiny strokes, but preserve a clear border where hair meets skin. Avoid symmetrical stripes that make the face look rigid; vary the intensity slightly according to the direction of the sculpt. Photograph the model from the front and turn it under neutral light to check whether the beard frames the mouth evenly and whether one side has become too pale.
Handling Long Beards and Moustaches
For a long beard, divide the mass into individual locks before painting. Shade the area between locks, run a midtone along the centre of each raised section, and reserve the finest highlight for its tip or upper ridge. A broader brush can establish several locks quickly, then a smaller pointed brush adds the split ends. This approach keeps the beard readable as a whole instead of turning it into a field of disconnected stripes.
Moustaches need patience because their curve carries most of their expression. On a Commissar, keep the upper edge dark and allow the colour to sweep outward and upward with the sculpted twist. Named Space Marine heroes, including the famous moustached Captain Rogal Dorn, suit a warm brown or blond treatment, with the deepest tone at the roots and a narrow highlight that follows the flow. Work from the centre towards each tip so the two halves remain balanced.
Topknots, braided hair and fur require a slightly different touch. Paint braids as overlapping sections, preserving a dark seam between each fold. Fur has a broken surface rather than long parallel strands, so stipple a midtone over the raised texture with a nearly dry brush, then add sparse light marks. On models with separate hair pieces, confirm that every joint is secure before painting; otherwise a small brush stroke can expose a conspicuous pale gap.
Varnishing and Tournament Finishing
Let the paint cure before applying varnish, following the cure time recommended by the paint manufacturer. A matte varnish generally suits competition models because it suppresses glare and keeps facial contrast clear; satin varnish can give a display piece a richer finish without looking wet. Test the varnish on an old spare model first, and apply it in thin, even passes away from dust. Humid Sydney summers and breezy, changeable Melbourne weather can make drying times less predictable.
Australian hobby culture makes painting a useful social activity as well as a solitary skill. At an arvo painting session, players can bring a lunch, share a few hours at a hobby-store table and compare brush techniques on their own projects. Major tabletop conventions in Melbourne, Sydney and Brisbane similarly bring painters together around busy display tables, where good hair colour can provide a close-up detail that rewards a careful look. A model that reads well in person usually photographs well under convention lighting.
For a tournament model, prioritise the face, uniform colours and anything visible above the basing material, since spending equal time on every strand can leave the key features unfinished. Use a controlled palette, seal the model and keep the beard clear of dust during transport. Competitive priorities also matter: Kill Team Stream’s checklist on three turning points can help players decide where limited preparation time has the greatest value. A polished beard should support the character of the model without competing with its battlefield readability.
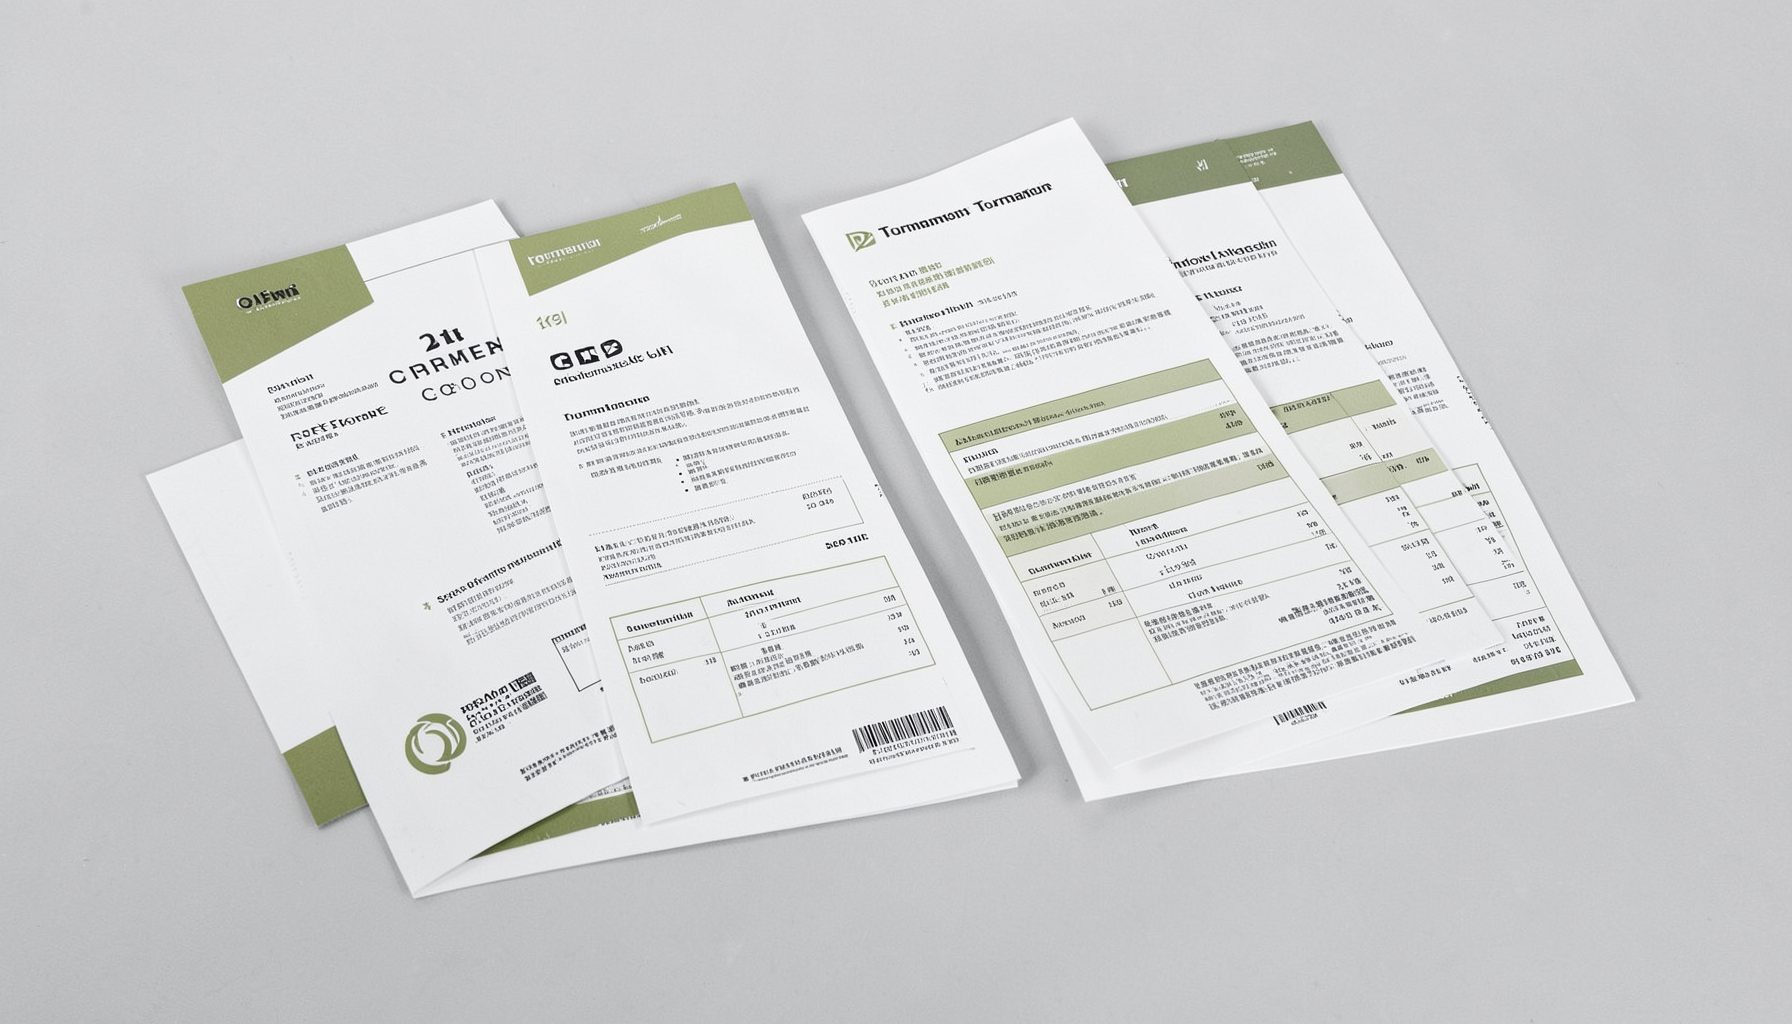
Tournament Packets
Packets from previous Kill Team events are kept here alongside new packets for upcoming tournaments, so organizers and players have what they need in one place.
View Event Data