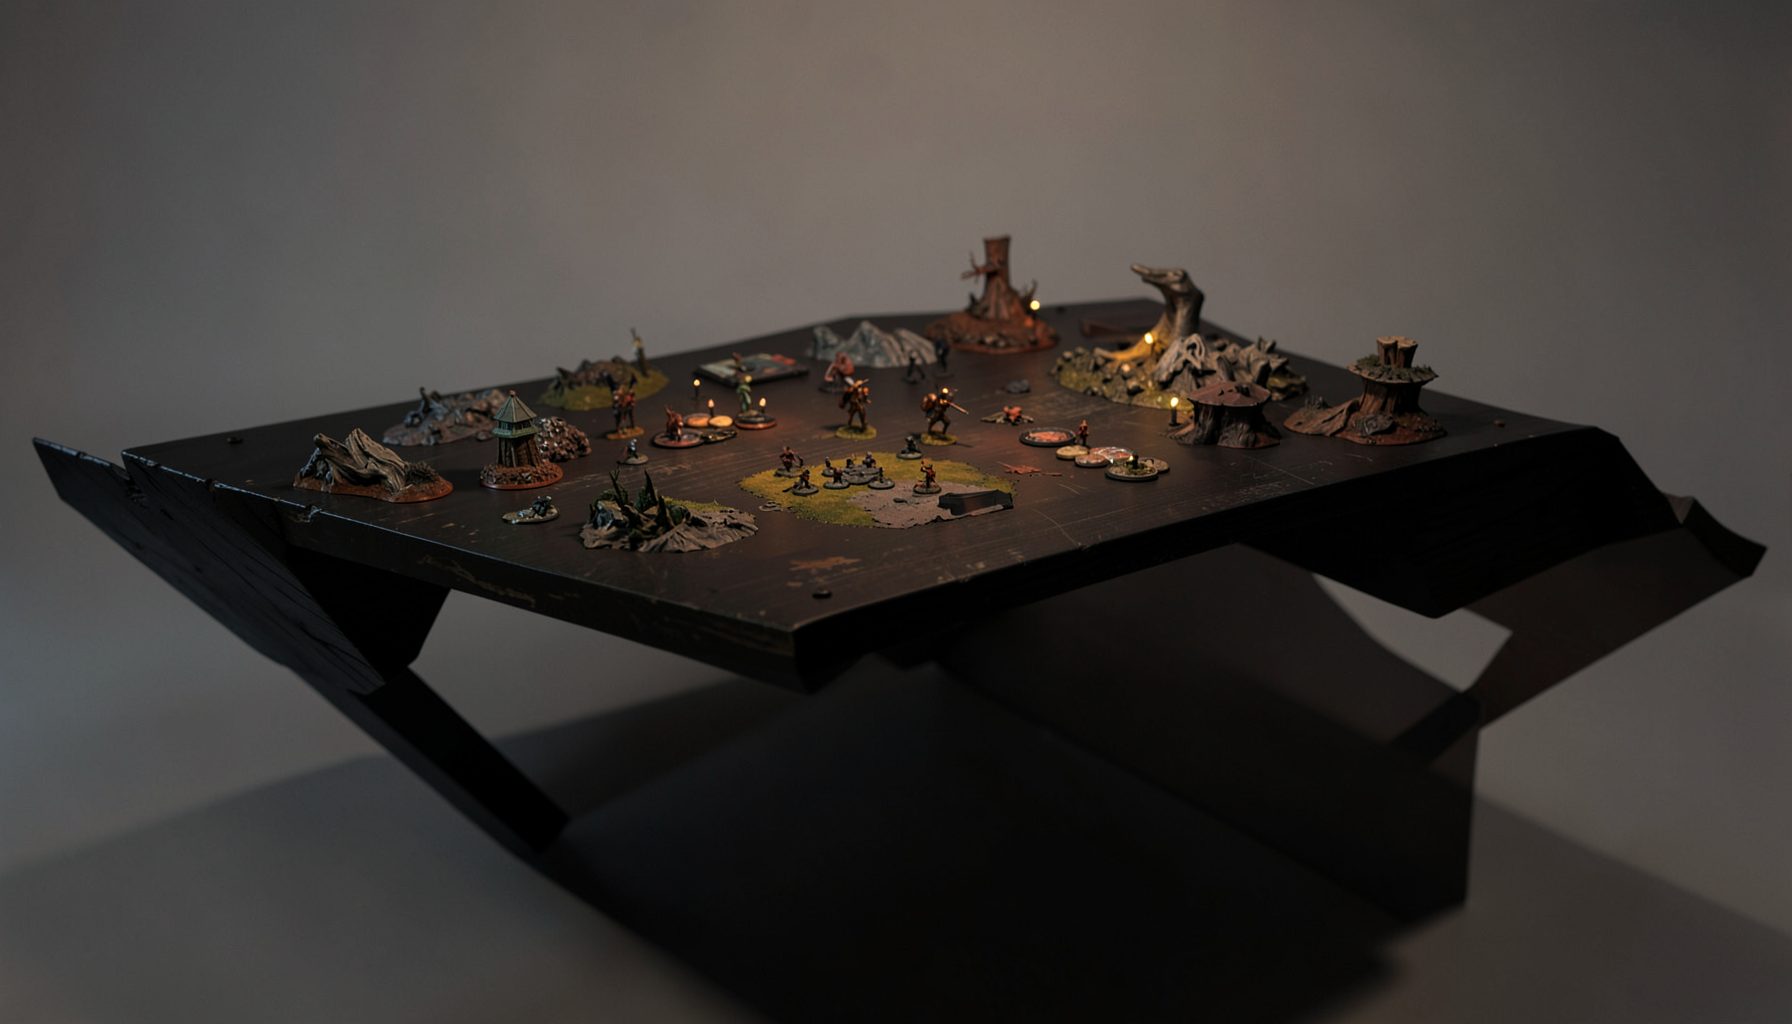
Live-streamed games, recorded matches, and event data gathered in one place.
Kill Team Stream hosts quality live streaming of Kill Team content — tournaments throughout the year on Twitch, regular games streamed to the channel, and tournament data gathered so players can see what's happening in the scene. Powered by WARHAMMER.
Browse tournamentsOfferings
Tournaments
Multiple Kill Team tournaments hosted throughout the year, all live-streamed on our Twitch channel.
Videos
Streams are recorded and uploaded to YouTube alongside original video content we produce.
Event Data
Tournament packets from past events plus resources for upcoming Kill Team tournaments.
Site Directory
Mastering adjacency and engagement in Kill Team
When you first dive into a match of Kill Team, the rulebook can feel like a labyrinth of measurements, ranges, and special actions. Few areas cause more confusion at the tabletop than the rules that govern how operatives interact when standing next to one another. The interplay between engagement, adjacency, cohesion, and charging shapes almost every decision you make, from list building to the moment you commit your operative to a fight. Understanding these mechanics thoroughly is what separates casual play from confident, tournament-grade performance.
Across Australia, the Kill Team scene has grown rapidly, with local communities in Brisbane, Melbourne, Sydney, Perth, and Adelaide hosting regular events that draw players from across the country. The community has a distinctly Aussie flavour, blending serious competition with the relaxed, "no worries" attitude that characterises gaming at places like CanCon in Canberra or the Battle for the Bunker in Brisbane. Whether you are throwing dice at your local Games Workshop on a Saturday arvo or streaming from a mate's garage, the adjacency rules will come up every single game, so getting them locked down is essential.
Understanding the engagement mechanic
Engagement is the state that occurs when two or more operatives from opposing teams are within Engagement Range of each other, which is set at one inch horizontally in standard Kill Team. Once that condition is met, those models are considered to be locked in close combat, and a specific set of rules kicks in. Most ranged weapons can no longer target an operative that is within Engagement Range of a friendly operative, unless that weapon has a special rule that explicitly allows it, such as the Blast or Torrent traits found on certain team abilities. This means the moment your operative rushes a foe into a tight corridor, you are usually stripping your opponent of their ability to fire back with most guns.
The engagement rule is intentionally binary. Either you are within the measured horizontal distance or you are not, and Games Workshop has clarified on multiple rulings streams that vertical separation does not count when determining engagement. So if your operative is standing on a gantry and the enemy is directly below on the floor, they are not engaged. Many Aussie players at the Battlefield Brisbane events have learned this the hard way, after a cheeky elevation play denied an enemy the fight they expected. Keeping the measurement simple and horizontal removes ambiguity, which keeps games moving quickly, especially when the chippies are getting cold and the laughter around the table is getting louder.
Measuring adjacency on the killzone
Adjacency is a broader concept than engagement, covering any situation where operatives are within two inches of one another for the purpose of specific actions and abilities. It is used in team abilities like the Kommandos' Grot Oil, which applies to friendly operatives within two inches, or in faction rules that trigger when models are "adjacent" to a point of interest. Measuring adjacency usually follows the same process as engagement, taking the closest points of the bases and measuring horizontally. Players often forget that the base of the model, not the model's silhouette or model parts, is the reference point for nearly every measurement in the game.
In tournament play at events like the Melbourne Open or local store championships at Ace Comics, players are expected to bring their own measuring tools, and a good quality two-inch and one-inch measuring stick is non-negotiable. Aussie tournament organisers tend to be pretty firm about base-to-base measurements, often reminding players that the base is the operative for rules purposes. This means if your operative is wearing a massive backpack or waving a banner, that gear does not extend the model's footprint for measurement. Having the right tools and the right habits will save you from arguments when the stakes are high and the prizes include a shiny new kill team box or a voucher for the local hobby store.
Cohesion: keeping your squad together
Cohesion is the rule that keeps your operatives within a certain range of a control operative, usually two inches, or within a designated control range from your team. If an operative is outside cohesion and cannot reach it during a Turning Point, they become wounded and may suffer penalties. The rule rewards players for keeping their kill team tightly grouped, particularly during the Command phase, and punishes those who leave stragglers behind. It is a balancing lever that encourages aggressive, central play, especially on the smaller, more cluttered killzones used in matched play.
Aussie players have developed a particular fondness for narrative play, where cohesion rules often feel more forgiving, and the relaxed vibe of a Saturday game at a local club in Adelaide or Perth is the perfect environment to learn these systems. Coaches who attend serious events at the Brisbane Gaming Convention or similar venues quickly learn that cohesion is a strategic resource as much as a tactical one. By positioning your control operative centrally and using the two-inch range wisely, you can keep multiple wings of your force active while still pushing forward to secure objectives. The discipline of regular cohesion checks becomes second nature after a few games.
Charging rules and their adjacent consequences
Charging is the action that allows an operative to move up to a distance equal to its Movement characteristic, provided it ends its move within Engagement Range of an enemy. It is the primary method of initiating close combat, and a successful charge unlocks a free Fight action, potentially followed by a Consolidate action. The rules around charging have several layers, including the requirement to draw a clear path and the engagement test that occurs when an enemy operative is within Engagement Range at the end of the move. Failing that test means your operative stops just short, which can be devastating for momentum.
Across the country, players streaming on Twitch and YouTube from the Aussie scene often chat through these moments in real time, sharing tips like "always declare the charge before you measure" and "make sure you have a clear line of fire for your counter-charge". Good Games stores in capital cities frequently host casual weekends where newer players practice their charges against veteran opponents, often over a flat white and a meat pie at the local cafe afterwards. Learning to read the battlefield, anticipate the opponent's positioning, and time your charge correctly is what turns a defensive squad into a threatening one. Aussies love a good underdog story, and there is nothing quite like pulling off a clutch charge to turn a losing game into a memorable win.
Pile-in, consolidate, and repositioning
During a Fight action, each combatant activates in an order determined by their operative's melee weapon characteristics, with each picking up a Pile In step at the start. The Pile In move allows a model to move up to one inch towards the closest enemy operative, provided the model can end its movement within Engagement Range. After all fights are resolved, operatives may perform a Consolidate action, moving up to one inch in any direction provided they end their move closer to the closest enemy operative. These micro-moves are crucial for maintaining engagement, especially when trying to wrap around a foe to deny counter-charges from other members of the opposing team.
Players at competitive events in Sydney, such as the summer Showdown at Maelstrom Games, often discuss how the order of pile-in and consolidate can be exploited to block enemy models, drag them away from objectives, or push them into hazards. The trick is to remember that you can only end your movement within Engagement Range, not in a position where you would be entirely outside it. This means if you defeat your foe in melee, you still have a Consolidate to perform, but you must end closer to the nearest enemy, which sometimes means drifting towards a completely different operative. Aussie streamers love to break down these micro-decisions in their post-game analysis, often with a cheeky "yeah, nah" when the dice go against them.
Cover, visibility, and engaged targets
While engagement and adjacency primarily deal with melee and range restrictions, they interact strongly with cover and visibility rules. A model that is engaged cannot benefit from cover in the same way it could if it were standing at range, because the rules regarding ranged attacks against engaged models are already quite restrictive. However, cover can still come into play when an operative is targeted by an ability that does not require a line of sight, or when the engagement is broken and a follow-up shot is taken. Players often overlook the fact that an operative can drop out of cover, move to engage an enemy, and then become subject to different targeting restrictions entirely.
Australian hobbyists tend to build their killzones with a lot of verticality and dense terrain, reflecting the busy urban environments of Melbourne laneways or the dense bush of regional areas. This environment teaches players to think carefully about adjacency in three dimensions, even though the rules themselves are measured in two. A model on a second-floor walkway might be within an inch of an enemy below and still not be engaged, but it is still subject to the engagement rules if it descends. Combining clever terrain use with a strong understanding of how engagement affects your opponent's targeting options is a hallmark of high-level Australian play, and you will see it in abundance at any major national event.
Common pitfalls and tournament tips down under
One of the most common mistakes new players make is forgetting to declare an action before measuring movement, particularly when a charge is on the line. Another frequent error is moving an operative to within Engagement Range of multiple enemies and not realising that this locks you into a fight you may not win. Tournament organisers at events like the Adelaide Tabletop Open or the Perth Hobby Bash will routinely remind players to keep their bases clear of debris and to call out measurements honestly. The mate-ship culture of the Australian scene means most disagreements are settled with a laugh, a handshake, and a "good on ya", but understanding the rules thoroughly removes the need for those conversations.
Streaming from local game cafes in Brisbane, Melbourne, and Sydney, the Kill Team community has built a strong tradition of sharing knowledge openly, with veterans often pairing up with newer players to help them work through adjacency interactions step by step. Whether you are playing in your mate's shed, in a sun-drenched park, or at a major tournament on the east coast, the rules for adjacent models and engagements will define the rhythm of your games. Get them right, and you will find yourself making smarter decisions, predicting your opponent's moves, and enjoying the tight, tactical knife-fights that make Kill Team such a rewarding hobby. The rest is just rolling dice and having a yarn with your mates afterwards.
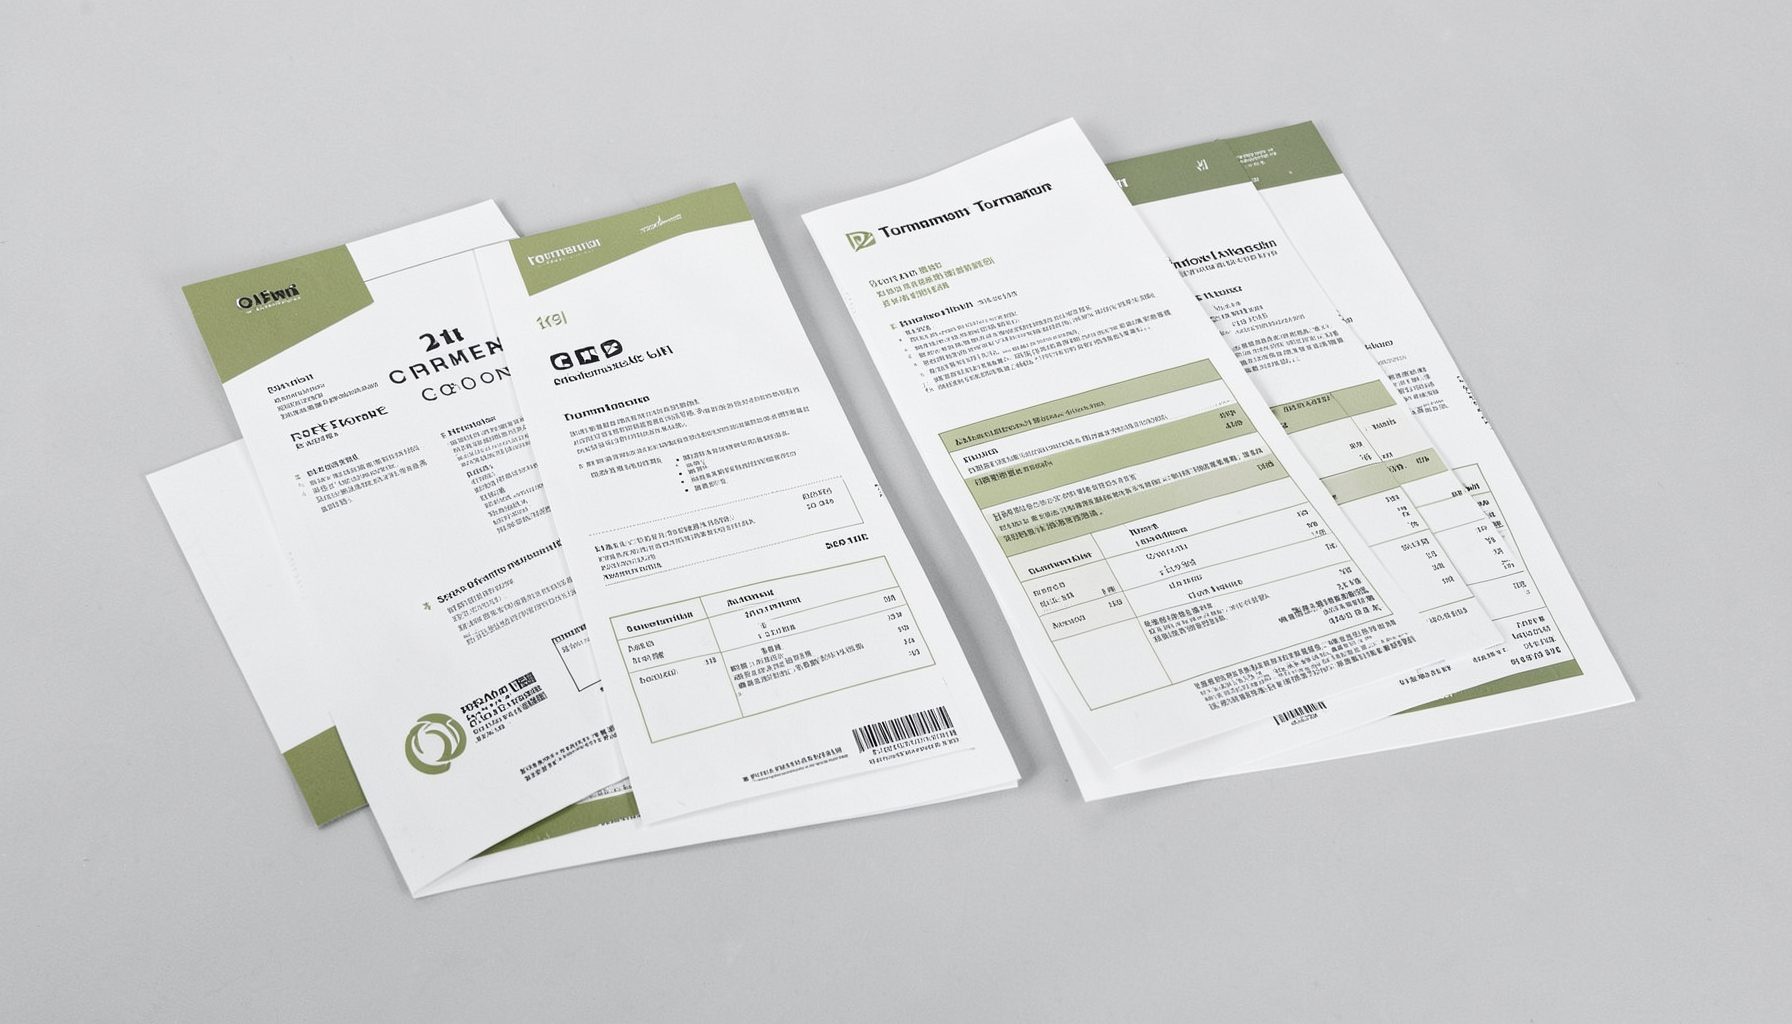
Tournament Packets
Packets from previous Kill Team events are kept here alongside new packets for upcoming tournaments, so organizers and players have what they need in one place.
View Event Data