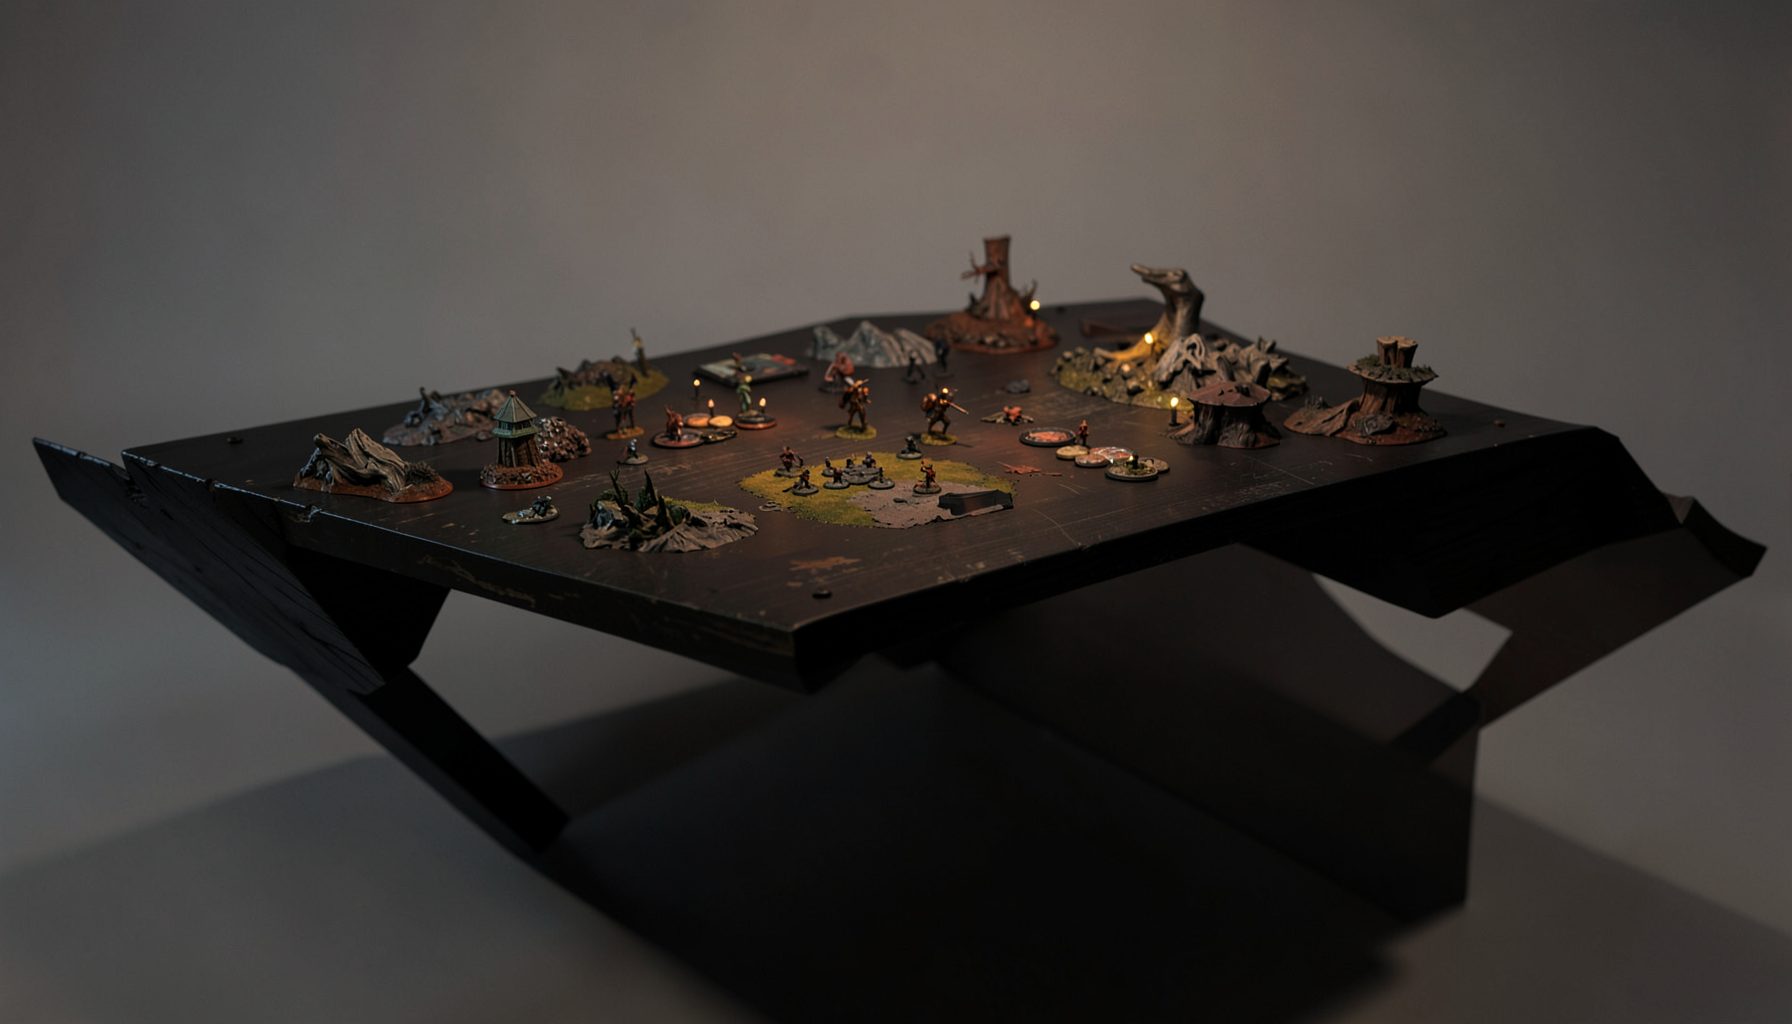
Live-streamed games, recorded matches, and event data gathered in one place.
Kill Team Stream hosts quality live streaming of Kill Team content — tournaments throughout the year on Twitch, regular games streamed to the channel, and tournament data gathered so players can see what's happening in the scene. Powered by WARHAMMER.
Browse tournamentsOfferings
Tournaments
Multiple Kill Team tournaments hosted throughout the year, all live-streamed on our Twitch channel.
Videos
Streams are recorded and uploaded to YouTube alongside original video content we produce.
Event Data
Tournament packets from past events plus resources for upcoming Kill Team tournaments.
Site Directory
Guard Order Tactics in Kill Team Matches
In the dense, measurement-tape skirmishes that define competitive Kill Team, a single Command Point can be the difference between holding an objective at the bell and watching it slip into enemy hands. The Guard Order is one of those quiet, workhorse command actions that seldom makes highlight reels, yet it quietly wins games for attentive players across Australia, from the packed halls of Melbourne's tabletop scene to the smaller community-run events in Hobart and Perth. Understanding when to spend that point, and on which operative, is a skill that separates tactical dabblers from genuine match-winners.
Veteran players who stream their battles on platforms like Kill Team Stream often credit the Guard Order as a backline stabiliser, a way to keep a fragile gunner or a wounded leader alive for one more crucial turn. Newer commanders, by contrast, frequently overlook it in favour of flashier actions such as Point Blank or Move Chain of Kill. This guide walks through the practical value of the Guard Order, breaking down how it functions, where it shines, and how it stacks up against alternatives you might consider during the Strategy phase.
The Core Function of the Guard Order
The Guard Order is a Strategy phase command action that costs a single Command Point to issue. Once selected, you pick one of your operatives and they gain the ability to perform a free Dash or free Fall Back action during their next activation, in addition to the two actions they can normally perform. This means the operative can still shoot, fight, or perform another standard action after repositioning, giving them more flexibility than a model that simply Dashes on its turn.
Because the free action triggers on the operative's next activation, the Guard Order is best committed early in the Turning Point rather than saved for a desperate last-move. Players who hold onto it for too long often discover their opponent has activated first and exploited the static positioning they were trying to escape. Treating the order as a planned, proactive tool rather than a reactive panic button is the first mental shift required to use it effectively.
It is also worth remembering that the order applies to a single operative, not the whole team. This keeps it accessible early in a match when Command Points are limited, but it also means you must choose wisely which model benefits from a free reposition. Selecting a leader for the Guard Order is common because of their importance to mission play, but a lowly Warrior or Guardsman holding an unprotected objective can be just as valuable in the right situation.
Screening Lines and Objective Control
One of the strongest applications of the Guard Order is in maintaining or shifting an operative's screen, the imaginary line of engagement that determines which models can be targeted. By Dashing for free, an operative can step out of an opponent's threat range or reposition behind a piece of terrain that blocks line of sight. This is particularly relevant in missions like Looted Cargo or Rout, where controlling the central objective often means standing in the open and praying for a good roll.
Australian tournament tables, whether they are set up at Good Games stores in Sydney, the Mulgrave Knights' halls in Melbourne, or the community halls used for the Australian Kill Team Championships, tend to feature dense terrain layouts. Players who ignore the value of a free Dash routinely find their operatives cornered or shot off contested objectives on the opposing turn. A well-timed Guard Order lets a model contest a point on the activation, then reposition into cover on the following turn without sacrificing its shooting action.
The order also pairs nicely with operatives who hold objectives as part of their faction rules or equipment. For example, a Phobos or Pathfinders operative with the right markerlight ability can use the Guard Order to slip behind a barricade after firing, denying the enemy a clean shot while keeping pressure on a central zone. It is a small investment for a meaningful tempo swing, and players who attend regular meet-ups at places like the Brisbane Stratagem or Adelaide's Mind Games often remark that the order pays for itself over the course of a match.
Disengaging from Melee Engagements
The other half of the Guard Order is the free Fall Back action, which is the tactical equivalent of a controlled retreat. Fall Back normally costs an action, so a model locked in combat with a charging enemy is forced to either fight, shoot at long range, or sacrifice its action economy to escape. With the Guard Order in hand, a beleaguered operative can break free, reposition behind cover, and still perform another action that turn, often a shoot or a mission action like Pick Up or Carry.
This is where the order becomes a lifesaver for factions that lack inherent disengagement abilities. A Death Korps or Veteran Guardsman caught in a tangle with a howling World Eater can step back, blast the charging operative with a plasma shot, and watch the enemy struggle to reach them again. The tempo gain is enormous, because the opponent has already spent resources getting into combat, only to be sent back to the drawing board.
Players new to the order sometimes confuse a free Fall Back with a free Retaliate, but the two are very different. Retaliate lets you fight back when charged but does not move you out of engagement range. The Guard Order trades that reactive fight for proactive repositioning. For squishy support operatives, this is almost always the better deal, since surviving one more Turning Point often matters more than scoring a single wound in retaliation.
Synergies With Faction and Equipment Rules
Several Kill Team factions interact with the Guard Order in interesting ways, and the savvy player tailors the order to amplify those rules rather than treating it as a generic repositioning tool. Factions with concealed positioning rules, such as the Farstalker Kinband or Mandrakes, can use the free Dash to drop back into concealment after firing, making them significantly harder to hit on the opposing turn.
Other teams, including the Imperial Navy Breachers or the Novitiates, have abilities that trigger when an operative performs a Dash or uses cover after moving. A Guard Order-empowered Dash can satisfy those triggers twice in one activation if timed correctly, once with the free Dash and once with the operative's normal action. This compound effect is rarely exploited by casual players but is a staple of high-level lists seen in the recorded match-ups hosted on Kill Team Stream.
Even simple equipment, such as a camo cloak or a photo-visor, can be tilted further into the player's favour with a well-placed Guard Order. Pop out of cover, shoot, then Dash back behind the wall. The opponent must either push deeper into the map to reach you, which exposes their own operatives, or settle for a less profitable target. Over a five-Turning Point game, these small positional advantages accumulate into a commanding lead.
Reading the Board and Timing the Order
Board state reading is the soft skill that makes the Guard Order effective rather than wasteful. Before committing the Command Point, ask whether the chosen operative is likely to be activated before or after its main threat. If the opponent will move next and shoot your screened model, the Guard Order may be a wasted investment because the free Dash happens during your own activation, not in response to enemy fire.
Timing the order early in the Turning Point also lets you see how the opponent responds. A player who watches their rival shuffle models away from a contested objective may suddenly realise the Guard Order was never needed for defence and could have been used elsewhere. Conversely, holding the order until the third Turning Point can be the right call when you need to secure a central objective on the final turn, especially in missions like Security where scoring depends on who holds what at the end of the round.
At Australian events, where players often travel long distances from regional centres like Cairns, Geelong, or Launceston, conserving Command Points for a known pivotal turn is a common habit. The Guard Order fits neatly into that approach because it lets you bank flexibility early and unleash it when the mission demands a decisive shift.
Pitfalls and Tactical Comparisons
The most common mistake with the Guard Order is treating it as a panic button. Players who spend the Command Point the instant a model is shot or charged waste it on situations where a simple action economy trade would have done the job. Equally problematic is using the order on an operative who cannot benefit from repositioning, such as a model already behind solid cover with no enemy threat nearby. A quick board scan before spending the CP avoids both errors.
A second pitfall is forgetting that the Guard Order must be declared in the Strategy phase, not the moment you realise you need it. Local clubs like the Wargaming Hut in Perth or the Tabletop Republic in Brisbane often run beginner sessions where newcomers learn this the hard way, scrambling to reposition only to be told the action cannot be triggered until next Turning Point. Building a habit of declaring the order early, even if you later decide not to use it, sidesteps the trap.
Finally, it helps to compare the Guard Order against the other command actions available during the Strategy phase, so you can judge when it is the right call versus when another option deserves the Command Point.
| Command Action | CP Cost | Effect | Best Used When |
|---|---|---|---|
| Guard Order | 1 | Free Dash or Fall Back for one operative on their next activation | Repositioning to contest objectives, escape melee, or screen a key model |
| Point Blank | 1 | One operative shoots without line of sight to a visible enemy | Clearing a concealed target who would otherwise hide behind terrain |
| Move Be Fast | 1 | All friendly operatives gain a 1" Dash during this Turning Point | Early board control when you need a wide repositioning shift |
| Take Position | 1 | One operative performs a free Dash, ignoring engagement range | Pushing onto an objective held by an enemy model |
| Inspiring | 1 | One friendly operative gains a free action or benefits from a faction rule | Maximising a key model when faction rules synergise with extra actions |
Looking at the table, the Guard Order stands out as the most flexible defensive repositioning tool, while alternatives like Move Be Fast offer wider but shallower benefits. Players who build their Strategy phase around a mix of these actions, rather than fixating on a single favourite, find their games become harder for opponents to predict. Whether you are streaming your match on Kill Team Stream, playing a casual game at your local store, or preparing for the next Australian Kill Team Championships, the Guard Order rewards thoughtful timing and an honest read of the table.
Tournament Packets
Packets from previous Kill Team events are kept here alongside new packets for upcoming tournaments, so organizers and players have what they need in one place.
View Event Data