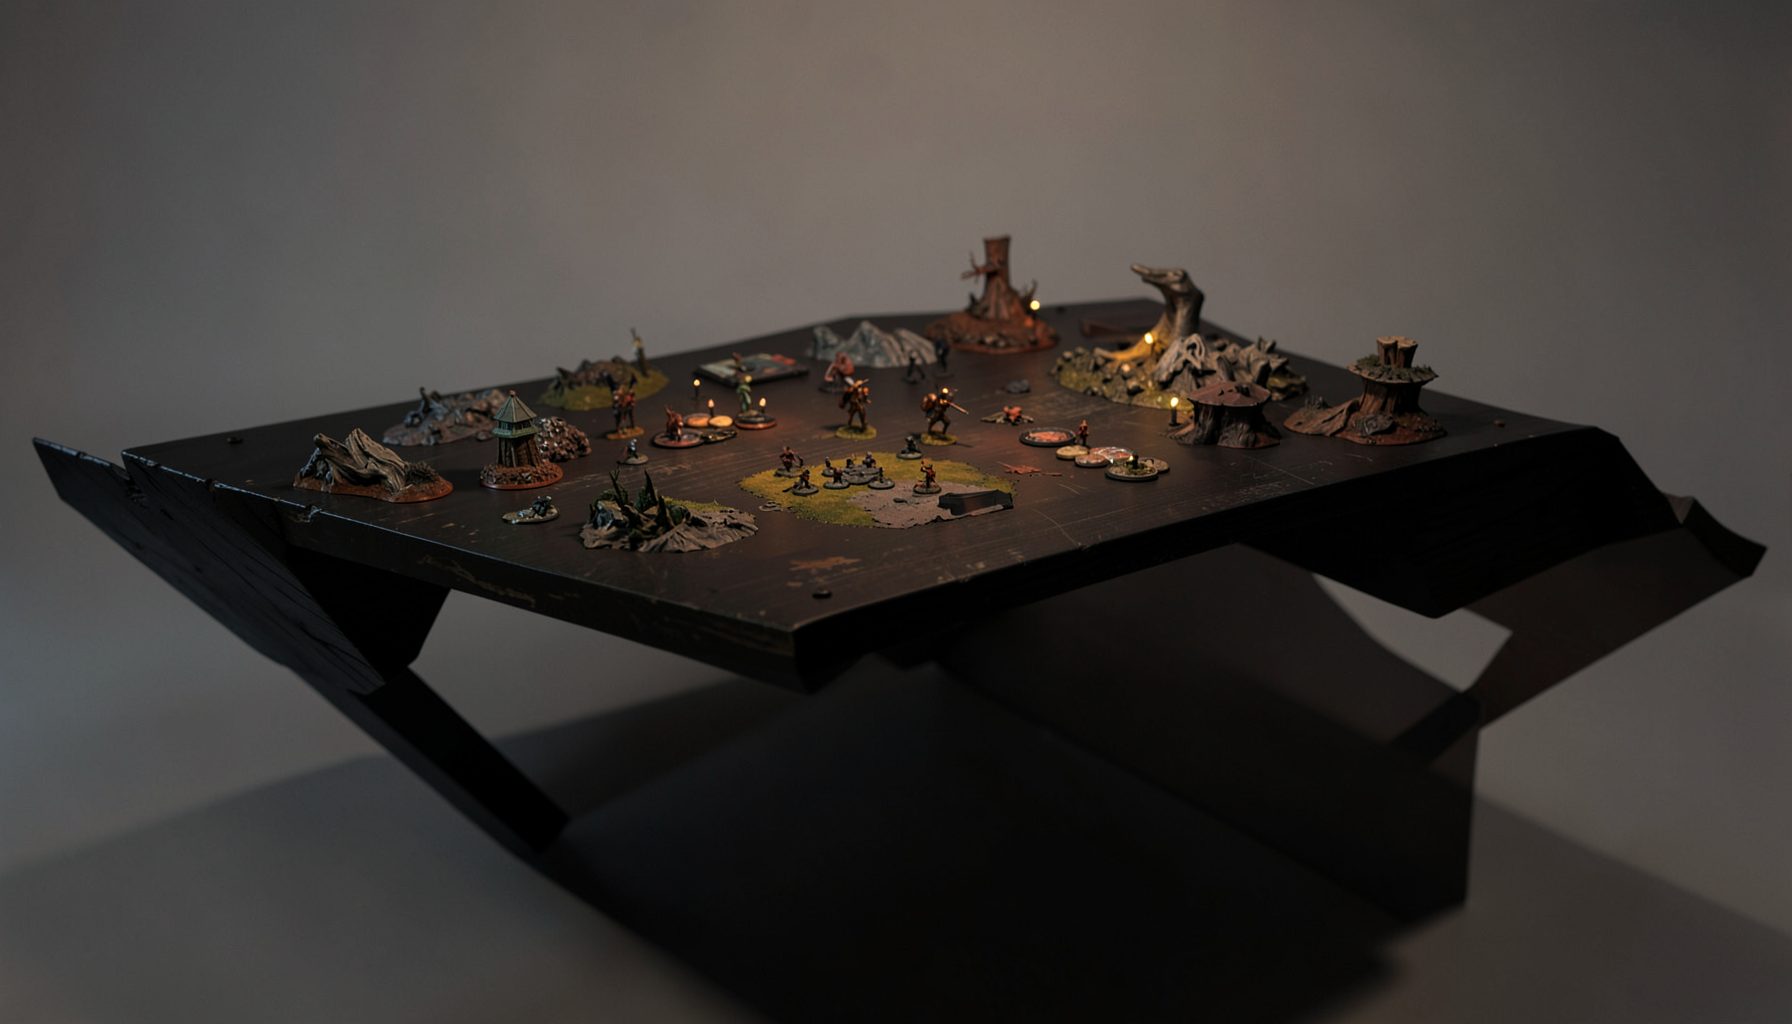
Live-streamed games, recorded matches, and event data gathered in one place.
Kill Team Stream hosts quality live streaming of Kill Team content — tournaments throughout the year on Twitch, regular games streamed to the channel, and tournament data gathered so players can see what's happening in the scene. Powered by WARHAMMER.
Browse tournamentsOfferings
Tournaments
Multiple Kill Team tournaments hosted throughout the year, all live-streamed on our Twitch channel.
Videos
Streams are recorded and uploaded to YouTube alongside original video content we produce.
Event Data
Tournament packets from past events plus resources for upcoming Kill Team tournaments.
Site Directory
A Step-by-Step Guide to Painting Your Kill Team for Tournament Standards
A painted Kill Team brings every match to life, whether the action is unfolding under bright lights at a Melbourne event or across a crowded club table in Brisbane. Tournament-ready does not mean every operative needs display-case quality. It means the force is complete, recognisable, durable enough for repeated games and finished to a standard that looks intentional from across the table.
The most reliable approach is to break the project into manageable stages. Choose a practical colour scheme, prepare the miniatures carefully, establish strong contrast, finish the bases and protect the paintwork. With a clear process, even a team painted during a few weekday arvos can look cohesive when it reaches the tournament hall.
Start with a practical colour scheme
Before opening a paint pot, decide what the team should look like as a complete force. Pick one dominant colour, one secondary colour and a small number of accent colours. A dark primary colour with a light accent can make details readable, while a bright primary colour often benefits from black, brown or metallic areas to prevent the models looking flat.
Think about the faction’s identity and the environment where it will be played. A stealthy kill team might suit charcoal, olive and muted metal, while an elite force could use clean white panels and a strong spot colour. If you are painting a faction with unusual visual language, studying competitive examples can help; this Harlequins strategy guide also gives useful context for how a distinctive team can stand out on the table.
Test the scheme on a spare model, shoulder pad or piece of sprue before committing. Check it under normal room lighting rather than only beneath a hobby lamp. A scheme that looks subtle at the desk may become difficult to distinguish during a fast game at CanCon or a local store event.
Prepare and prime every model
Remove mould lines with a hobby knife or file before assembly where possible. Pay particular attention to helmets, weapons, shoulder plates and the edges of cloaks, because stray lines catch paint and remain visible after several layers. Wash resin or heavily handled plastic components in mild soapy water, rinse them well and allow them to dry completely.
Build the miniatures in sub-assemblies when access will otherwise be difficult. Arms holding rifles, shields, backpacks and large cloaks can block important areas, so painting them separately may produce a cleaner result. Avoid creating so many separate pieces that assembly becomes confusing; mark contact points lightly or keep each operative’s parts in a labelled container.
Use a primer suited to the material and your chosen colours. Black creates deep shadows and speeds up dark schemes, while white or light grey makes bright colours and contrast paints more vibrant. Grey is a flexible middle ground. Spray in several light passes, keep the can moving and allow the primer to cure before applying acrylic paint.
Block in the base colours
Apply the main colours in thin, controlled coats. Two smooth layers are usually better than one thick coat that obscures panel lines and sculpted details. Keep paint away from the base rim where possible, because a clean rim gives the whole team a finished appearance even when the models use simple techniques.
Work systematically across the squad rather than completing one miniature from start to finish. Paint the same area on every operative before moving on: armour first, then clothing, equipment, skin and finally small details. This production-line method improves consistency and makes it easier to notice when one model has a different shade.
At this stage, do not worry if the team looks plain. The goal is solid coverage and clear separation between materials. A leather pouch should not disappear into a brown coat, and a weapon should be distinguishable from the hands holding it. Strong colour separation matters more during a tournament than tiny decorative details that only show at close range.
Build depth with shades and highlights
A controlled wash can add instant definition to recesses, but flooding an entire model often leaves tide marks and dulls raised areas. Apply shade selectively around armour joints, folds, belts and mechanical sections. If a wash pools on a flat panel, wick away the excess with a clean, slightly damp brush before it dries.
Once the shade is dry, restore the original base colour to the raised areas. This simple step creates cleaner shadows than relying on a wash alone. For more contrast, add a lighter version of the base colour to edges, knuckles, armour plates and prominent folds. Edge highlights do not need to be razor-thin everywhere; concentrate them on the areas that face the light or help identify the miniature from a distance.
Use a limited highlight palette across the force. Repeating the same highlight colour on armour, fabric and equipment can tie the team together, while a contrasting spot colour can draw attention to leaders, specialists or important weapons. Metallics benefit from a dark undercoat, a controlled layer of silver or bronze and a small bright highlight on exposed edges.
Make faces, weapons and details readable
Faces and helmets deserve extra attention because they attract the eye. For exposed skin, a mid-tone base, a carefully placed shade and a small highlight on the nose, cheekbones and brow are usually sufficient. For visors and lenses, use a dark base, a bright coloured layer and a tiny white reflection. That small point can make an operative appear alert without requiring advanced freehand work.
Weapons should contrast with the hands and surrounding clothing. Black weapons can be defined with grey edges, while metal areas benefit from different tones for steel, brass and worn surfaces. A few scratches, glowing coils or hazard stripes can add character, but repeat the effect sparingly so the squad does not become visually noisy.
Numbering, coloured shoulder markings or small tokens can help identify specialists during play. Keep these markings consistent with the roster and event pack. A neatly painted symbol is valuable because it reduces hesitation when checking operatives across a busy table, particularly when several models share similar silhouettes.
Finish the bases for a unified force
Basing is one of the fastest ways to make a Kill Team look complete. Texture paste, sand, cork, slate or spare bits can create a convincing ground surface, but make sure the base remains flat enough for the miniature to stand securely. Large pieces should be glued firmly and checked for sharp edges before the model is handled repeatedly.
Choose a basing scheme that contrasts with the models. Dark industrial figures can stand on pale concrete, while light armour may look stronger against reddish earth or deep urban rubble. Australian players often have access to hobby shops in Sydney, Melbourne and Adelaide, but a simple mix of fine sand, PVA glue and paint can achieve an effective result without relying on specialist products.
Paint the base rim neatly, usually in black, dark brown or another consistent colour. A tidy rim hides small imperfections and gives every operative the same visual frame. Add grass tufts, pigment or weathering only after the main texture and paint are fully dry, and avoid placing tall features where they obstruct weapons or make models difficult to remove from the board.
Protect, check and pack the team
Seal the finished miniatures with a suitable varnish once all paint and basing materials have cured. A satin or matte finish reduces unwanted shine and protects edges from handling, while a small gloss application can work well on lenses, screens and wet effects. Spray varnish in light coats in a ventilated area, taking extra care during Australia’s hot, humid weather or very cold winter mornings.
Inspect every operative from tabletop distance. Look for visible primer, unpainted undersides, paint on the base rim, loose accessories and highlights that stop abruptly. Confirm that each model is mounted securely, that bases match the event requirements and that the force is easy to distinguish from an opponent’s models. Tournament organisers may set their own minimum standards, so read the event packet rather than assuming one universal rule.
Transport is part of the finish. Foam trays, magnetic cases or a secure plastic container with a magnetic sheet can prevent chipped corners and broken antennae on the trip to a club in Perth or an event in Sydney. Pack a small repair kit with the key colours, a brush, glue and a little basing material. Australian tournament weekends can involve long drives between venues, and a five-minute repair before the first round is far easier than repainting an entire operative.
Keep a record of the colours used for the team. Write down the primer, main paints, shades and varnish, including any mixes. This makes repairs straightforward months later and helps maintain consistency when expanding the roster. A tournament-ready force is built through reliable habits: clean preparation, readable contrast, cohesive bases and careful protection. Those choices allow the painting to support the game, so attention stays on movement, mission decisions and the story developing across the table.
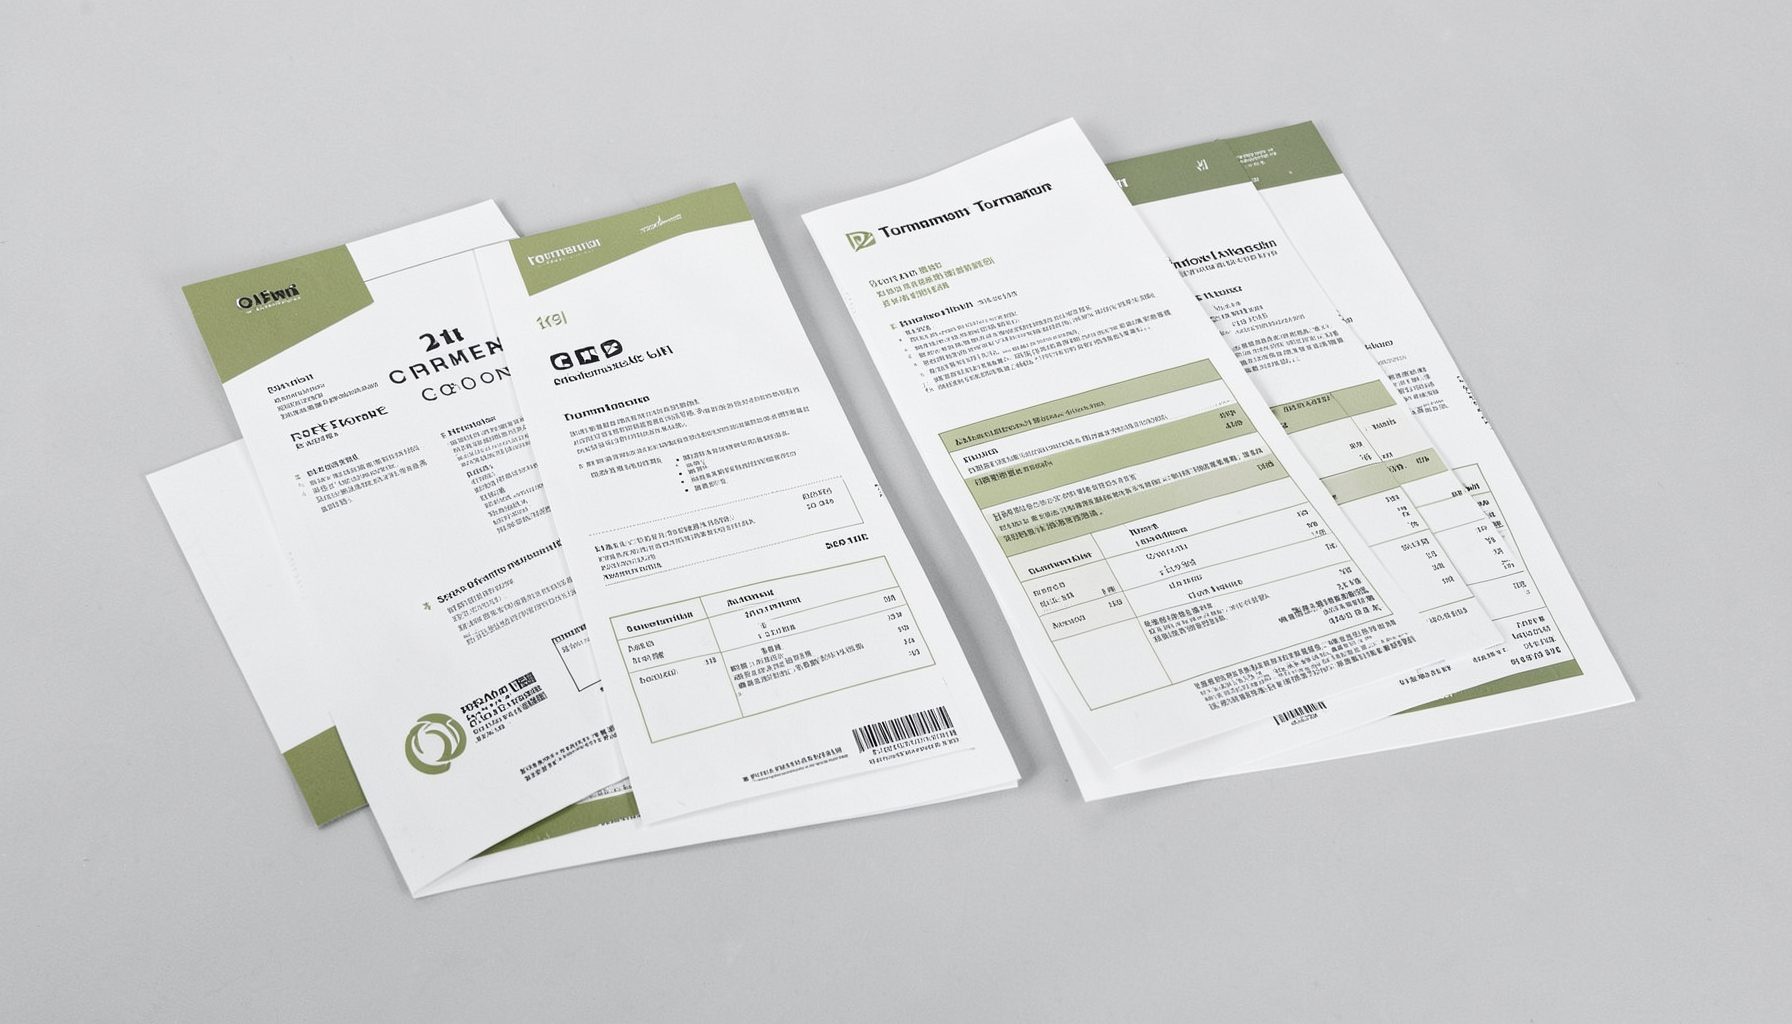
Tournament Packets
Packets from previous Kill Team events are kept here alongside new packets for upcoming tournaments, so organizers and players have what they need in one place.
View Event Data