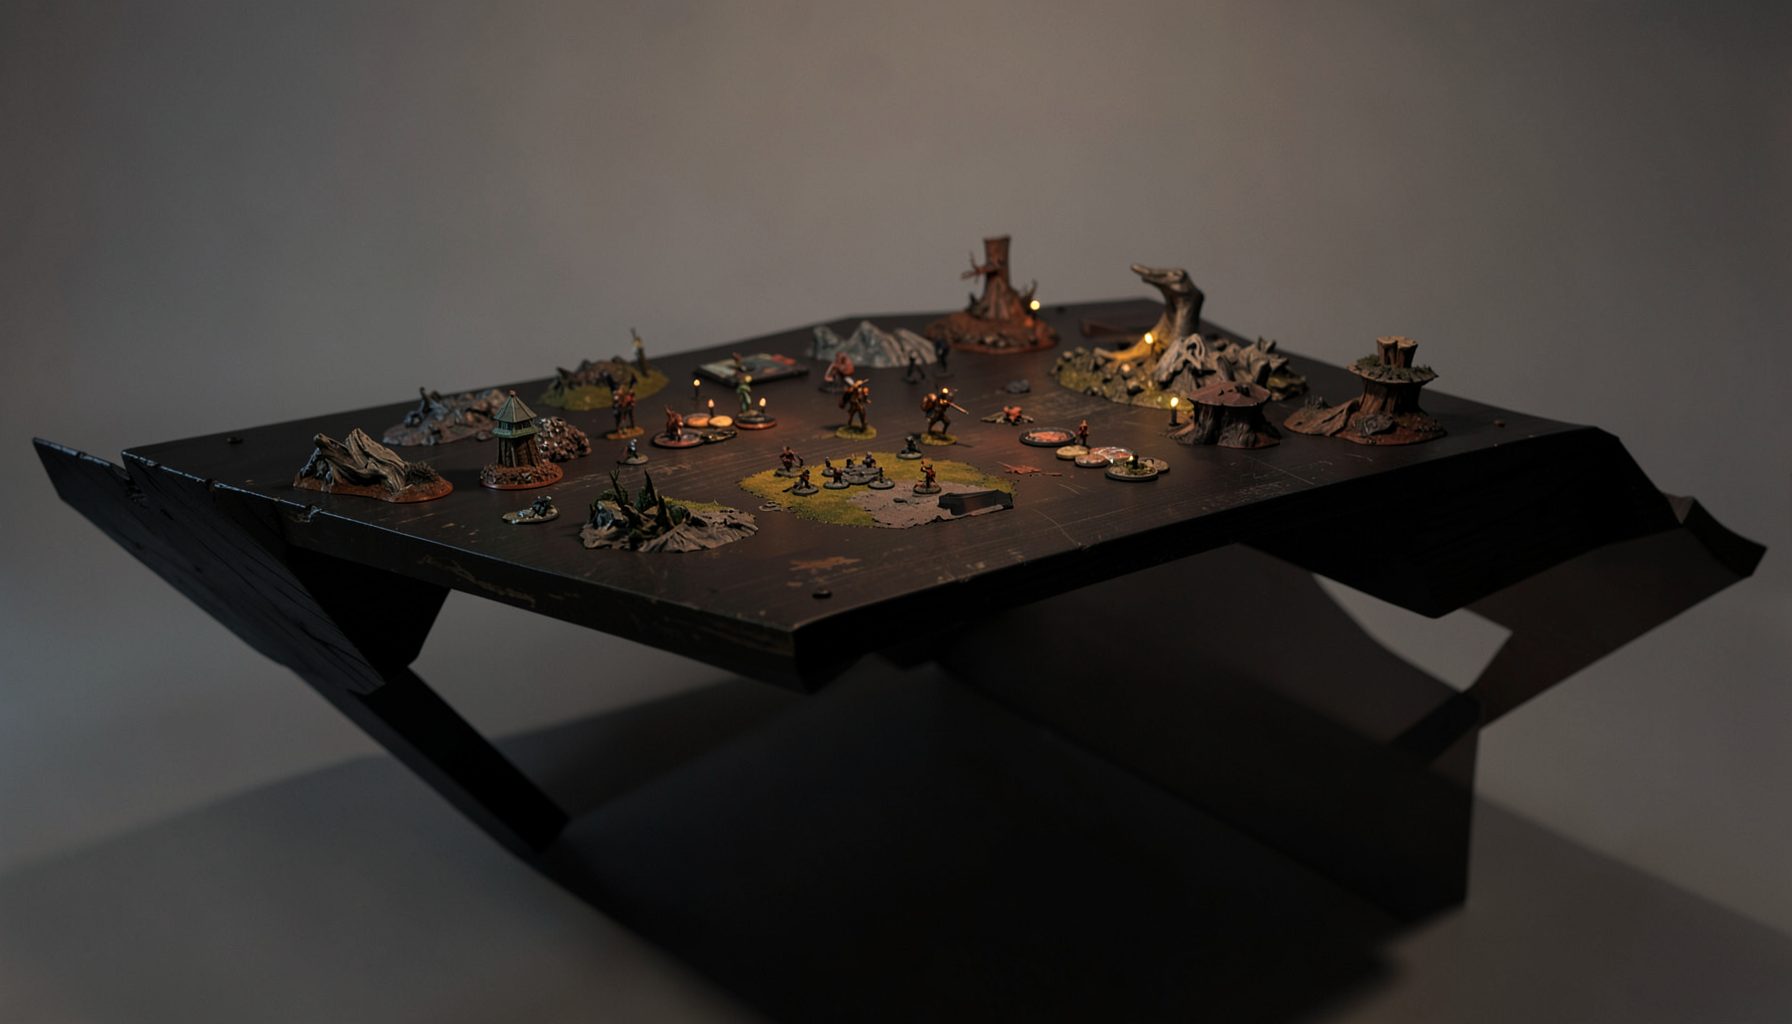
Live-streamed games, recorded matches, and event data gathered in one place.
Kill Team Stream hosts quality live streaming of Kill Team content — tournaments throughout the year on Twitch, regular games streamed to the channel, and tournament data gathered so players can see what's happening in the scene. Powered by WARHAMMER.
Browse tournamentsOfferings
Tournaments
Multiple Kill Team tournaments hosted throughout the year, all live-streamed on our Twitch channel.
Videos
Streams are recorded and uploaded to YouTube alongside original video content we produce.
Event Data
Tournament packets from past events plus resources for upcoming Kill Team tournaments.
Site Directory
Critical Hits Explained: How to Build for Dice Explosions
Critical hits are among the most exciting parts of a Kill Team attack. A single six can increase damage, bypass a defence, trigger a weapon rule, or create the extra attack that turns a manageable combat into a full team collapse. The community often calls these interactions “dice explosions” because one successful critical result can produce a much larger outcome than its face value suggests.
Building around critical hits requires more than selecting weapons with high damage. You need enough attack dice to find crits, rules that improve their reliability, operatives capable of surviving long enough to use them, and a plan for the turns when the dice refuse to cooperate. This approach is useful for casual games, competitive events and reviewing tournament matches on Kill Team Stream.
What A Critical Hit Actually Means
In most Kill Team attacks, a natural six is a critical hit unless a weapon or operative rule changes how results are treated. Critical successes usually sit above normal successes when the defender compares attack and defence dice. A crit may also deal extra damage through the weapon profile or activate a special rule such as Rending, Severe, Devastating or another faction-specific effect.
A critical hit does not automatically create additional dice. “Dice explosion” is useful community shorthand for an interaction in which a critical result produces more value: an extra attack, a second target, bonus damage, or a follow-up effect. Always read the current core rules and datacard wording carefully. A weapon that says “if this attack scores a critical success” is different from one that adds an extra attack die before rolling.
That distinction matters when planning a kill. A high-damage weapon with a single critical effect may be excellent against an elite operative, while a weapon that generates additional attacks may be better against a group of lightly armoured targets. The best choice depends on the target, the mission and the rest of your team.
Read The Weapon Profile Before Building Around It
Start with the attack characteristic, normal damage and critical damage. A weapon rolling four dice with a critical damage value of five has a different role from a six-dice weapon dealing three normal and four critical damage. The first profile threatens a single target through quality; the second creates consistency by rolling more chances for success.
Then identify the trigger for the explosion. Some effects require one critical hit, while others need two or more. Some work only if the target is within a particular range, injured, concealed or already affected by a status. Others produce extra dice during the attack sequence and may need a specific order of operations. Write these conditions down when testing a new roster so an attractive ability does not become a rule you rarely activate.
Critical damage is especially valuable against elite teams because every successful strike removes a larger proportion of the target’s wounds. Against hordes, extra attacks, splash damage and rerolls can be more valuable than a single enormous critical. A balanced roster often includes one operative for finishing elite targets and another for converting crits into broad board control.
The Mathematics Behind Reliable Explosions
A standard six-sided attack die has a one-in-six chance of showing a natural six. Four dice therefore have about a 48 per cent chance of producing at least one six, while five dice rise to roughly 60 per cent. Six dice reach about 67 per cent. These figures describe raw rolls before rerolls, abilities or modifiers, but they explain why extra attack dice are so important.
Rerolls improve the quality of a result without always increasing the number of dice. Balanced-style rules that reroll one die are useful when a single missing crit is all you need. Relentless-style rules are stronger when the attack has several poor results, although the exact effect depends on the current edition and datacard. A critical-focused weapon with five dice and a reroll is generally more dependable than a similar weapon with three dice and a higher theoretical damage ceiling.
Do not treat a critical trigger as guaranteed merely because it appears powerful on paper. If an ability needs two sixes from a three-dice attack, it will fail frequently without exceptional support. Build the team around effects that happen often enough to shape your decisions, then regard the spectacular roll as a bonus rather than the entire game plan.
Choose Operatives That Create The Right Pressure
A critical-hit build usually needs a delivery system. That might be a sniper with a long line of sight, a mobile fighter who reaches a vulnerable target, or a specialist whose weapon gains value after the first operative has caused damage. Look for movement, cover interaction and positioning tools alongside raw attack numbers. A perfect critical attack is useless if the operative cannot reach a valid target.
Range is another major factor. Long-range weapons can threaten an enemy before it scores points, but they may struggle when objectives and heavy terrain break sight lines. Short-range weapons often receive stronger critical effects, yet the operative must expose itself. On dense boards in Melbourne or Sydney tournament venues, a weapon with reliable close-range dice may outperform a theoretical gun that rarely gets a clear shot.
The best attacker should have support from the rest of the roster. A leader may provide orders or command-point efficiency, a comms operative may help an explosive fighter reach a key position, and a durable operative may force the opponent to spend resources before your main damage dealer activates. Dice explosions are more reliable when the whole team creates the conditions for them.
Build Support Around The Critical Trigger
Support abilities should answer one of three problems: finding a target, improving the roll, or making the result matter. A reroll is valuable, but so is an ability that lets an operative ignore cover, move into range, retain a result, or attack before the opponent can hide. Critical-hit builds often fail because their owners purchase too much dice support and too little access to targets.
Equipment choices deserve the same scrutiny. A piece of gear that adds survivability may protect the operative until the decisive turning point. A movement tool may be stronger than a modest damage upgrade if it changes a two-turn attack into a first-turn threat. When comparing options, estimate how many additional attacks the equipment will enable across a game rather than judging it only by its maximum damage.
Command points and tactical ploys should be reserved for attacks where the payoff affects the mission. Spending every resource to chase one critical can leave the team unable to contest an objective or survive the opponent’s next activation. A successful explosion should gain territory, remove a key specialist or protect your scoring plan, rather than simply produce an impressive damage number.
Play The Board, Not Just The Dice
Critical-focused teams need to create favourable attack windows. Use concealment, cover and barricades to approach safely, then reveal the attacker when the target cannot easily retreat. Threaten two areas at once so the opponent must expose something or surrender an objective. This turns the possibility of a critical into a positioning tool even when no dice have been rolled.
Activation order also matters. A low-risk operative can force the opponent to react before your explosive attacker commits. Alternatively, an early attack can remove the model that would have blocked a route or counter-charged your specialist. Avoid activating the critical weapon first simply because it is exciting; ask whether the target will still be available and whether the result changes the scoring position.
Australian tournament tables often feature dense terrain, and events in Brisbane, Perth or Adelaide can include very different layouts depending on the organiser and venue. Practise on boards with blocked fire lanes as well as open approaches. A roster that depends on perfect long-range visibility needs a backup plan for terrain packs that favour movement and close engagements.
Avoid The Common Dice Explosion Traps
The first trap is overcommitting to a single weapon. If your entire game plan depends on one operative rolling two criticals, an early injury or a bad matchup can decide the game before your strategy begins. Include dependable weapons and scoring operatives that still function when the main attacker produces ordinary successes.
The second trap is confusing critical damage with automatic lethality. An elite enemy may survive one large hit, reduce incoming damage, or use a defensive rule before the critical effect resolves. Check whether the effect occurs during the resolve step, after damage, or only when the target remains in a particular state. Timing errors can turn a winning attack into an illegal sequence.
The third trap is ignoring ordinary successes. A weapon with a critical rule still needs to win the attack-off unless its wording says otherwise. Invest in attack dice, accuracy and target selection so normal successes remain useful. A build that produces occasional spectacular results but loses routine combats will struggle to score consistently.
Learn From Tournament Games And Battle Reports
Recorded matches are an excellent way to study critical-hit builds because they reveal the decisions before the dice roll. Watch when the player moves into range, how they protect the specialist, and whether they decline a risky attack. Kill Team Stream’s tournament coverage, commentary and match archives can help connect the rules on a datacard with the practical demands of a competitive round.
When reviewing a game, track three numbers: how often the critical trigger was attempted, how often it activated, and what the activation achieved. A weapon may have caused impressive damage once while contributing little to the mission. Another may have scored fewer dramatic moments but repeatedly forced retreats, cleared objectives or created safe activations for the rest of the team.
Local events also provide useful evidence. Compare results from Australian tournaments rather than relying only on overseas faction rankings, since terrain packs, player fields and available stock can differ. Players buying from the Australian market should test substitutes when a specialist kit is unavailable or expensive in AUD, then confirm the event’s modelling and equipment requirements before attending. A well-tested roster with dependable critical access will usually outperform a flashier list that exists only on paper.
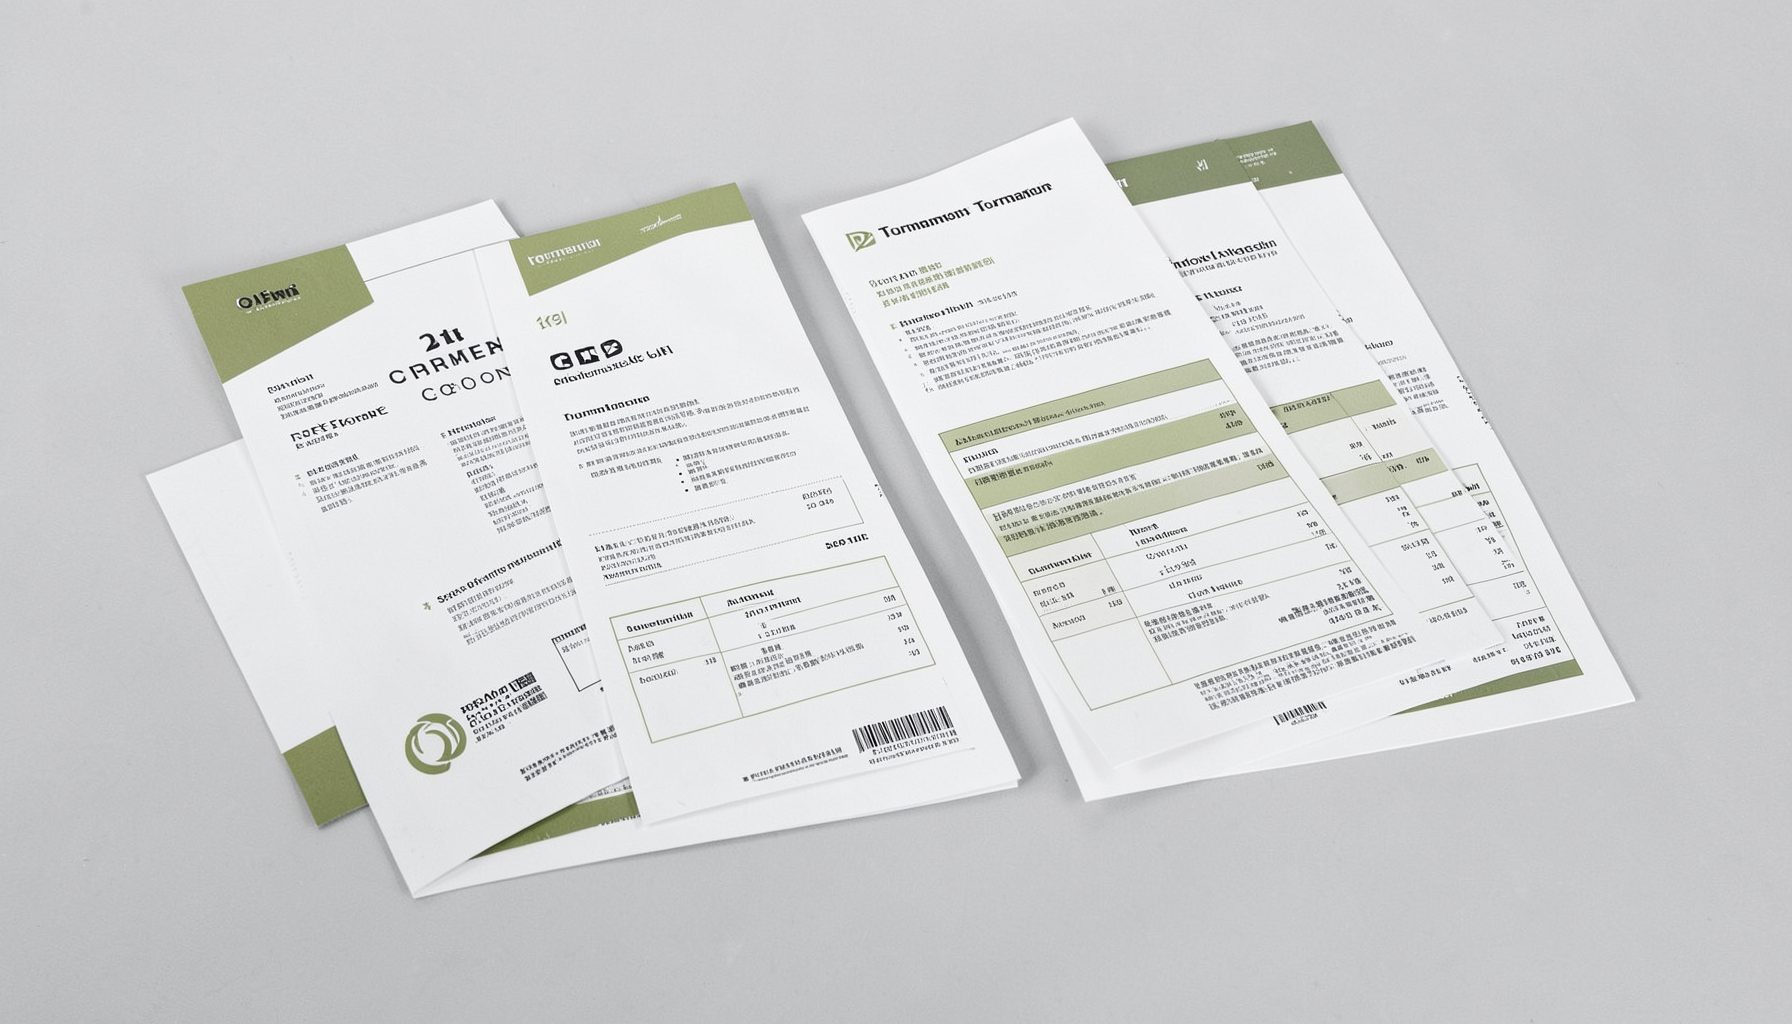
Tournament Packets
Packets from previous Kill Team events are kept here alongside new packets for upcoming tournaments, so organizers and players have what they need in one place.
View Event Data