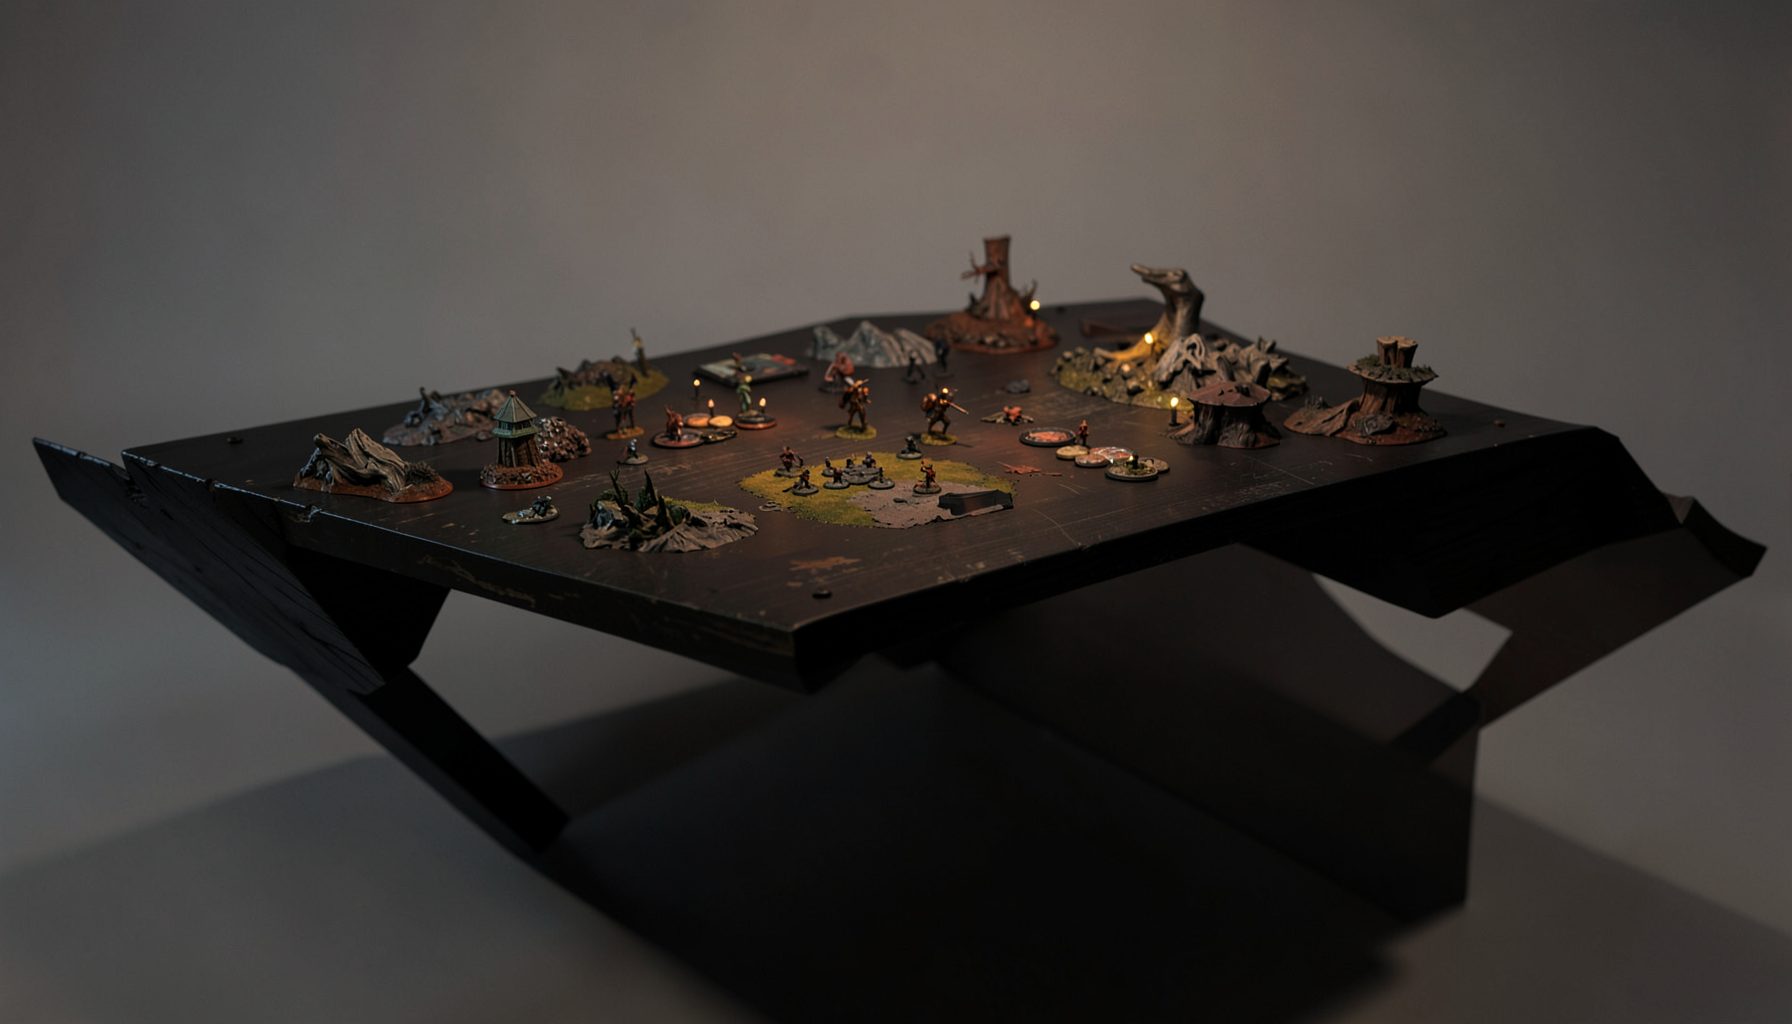
Live-streamed games, recorded matches, and event data gathered in one place.
Kill Team Stream hosts quality live streaming of Kill Team content — tournaments throughout the year on Twitch, regular games streamed to the channel, and tournament data gathered so players can see what's happening in the scene. Powered by WARHAMMER.
Browse tournamentsOfferings
Tournaments
Multiple Kill Team tournaments hosted throughout the year, all live-streamed on our Twitch channel.
Videos
Streams are recorded and uploaded to YouTube alongside original video content we produce.
Event Data
Tournament packets from past events plus resources for upcoming Kill Team tournaments.
Site Directory
Adapting Your Kill Team Strategy To Every Mission Type
A strong Kill Team plan begins before the first operative moves. The mission determines what matters, when points are scored, and how much risk your squad can afford. A roster built around aggressive eliminations may dominate an open firefight, then struggle badly when the winning condition depends on holding several objectives or completing actions under pressure.
Competitive players often talk about “playing the mission”, but that phrase involves more than standing on an objective. You need to identify the score pattern, estimate how much movement the board allows, and decide which operatives can safely perform mission actions. Every decision should support the conditions that produce victory, rather than simply creating the most exciting attack.
That approach is especially useful in Australia, where tournament fields can vary between a compact Melbourne club event, a large Sydney convention, or a regional weekend in Brisbane, Adelaide, Perth or Canberra. Travel, round schedules and local terrain preferences can all influence preparation. Watching recorded games on Kill Team Stream can help you compare how different teams solve the same mission with different maps and tactical styles.
Read The Mission Before Choosing Your First Move
Start by separating the mission into its primary scoring engine. Some operations reward controlling objectives at the end of a turning point, while others care about completing specific actions, reaching locations, or securing a positional advantage. A mission can look like a standard fight, yet still be won by the player who sacrifices fewer operatives to score consistently.
Read every scoring condition alongside the deployment rules. A central objective is valuable only if your team can reach it without exposing key models. Objectives near a board edge may favour durable operatives, concealed specialists or teams with unusual movement options. If the mission requires several points of interaction, identify which models can perform those actions while remaining useful in later turning points.
The first turning point should therefore be treated as an information-gathering phase. You are testing firing lanes, measuring threat ranges and forcing your opponent to reveal priorities. Avoid spending a powerful once-per-game ability simply because an early target is available. If the mission rewards late control, preserving resources may matter more than claiming an early casualty.
Match Your Team’s Strengths To The Scoring Pattern
Teams generally win missions through one of three broad strengths: damage, control or mobility. Damage-focused teams want opportunities to isolate and eliminate valuable operatives. Control teams prefer layered threats around objectives, making it expensive for the opponent to contest them. Mobile teams can score from several locations and punish an opponent who commits too heavily to one side of the board.
This does not mean every team must follow a single identity. A combat-oriented roster may still need to play patiently on a mission with spread-out objectives. A shooting team may have to advance aggressively when the scoring zones are packed into the centre. The important question is how your team’s tools translate into points. A sniper who removes an enemy leader is useful, but a concealed specialist who secures two rounds of scoring may be more valuable.
Consider your action economy as carefully as your weapon profiles. A model that spends its activation performing a mission action is not shooting, fighting or setting up a charge. Teams with cheap activations, plentiful equipment or flexible operatives can absorb this cost more easily. Teams with fewer models should plan each mission action in advance so that the operative completing it is protected and still contributes to the wider battle.
Build A Plan For Objective Control
Objective-focused missions reward a controlled spread of force. Sending your entire team towards the central objective may feel decisive, but it can leave side objectives uncontested and make your movement predictable. Instead, assign roles before deployment: one group contests the main scoring area, another threatens a flank, and a flexible operative remains available to respond to an unexpected push.
The best objective holder is not always the toughest model. A durable operative is valuable when the enemy must fight through it, but a concealed or mobile operative may score more reliably because it is difficult to remove. Think about the objective’s surrounding terrain. A model standing on a point in the open may technically control it, yet be unable to survive the opponent’s next activation.
Use threat ranges to create zones of denial. You do not need to occupy every objective if your opponent cannot safely approach it. A gunner covering a lane, a melee operative threatening a charge, or a counterattack team waiting behind cover can make an objective effectively yours without exposing a model. This is especially powerful on dense boards commonly seen at Australian club nights, where barricades and ruins can turn a small area into a series of protected staging positions.
Adjust Your Approach For Elimination Missions
When victory depends heavily on removing enemy operatives, target selection becomes more important than early board coverage. Look for models that provide command abilities, powerful shooting, reliable melee or mission utility. Removing a specialist can reduce the opponent’s options for several turning points, even when it does not immediately produce extra victory points.
Avoid trading your best operative for a target of equal value unless the exchange improves the mission position. A combat piece that kills one enemy and then dies may be worthwhile if it opens an objective or removes the opponent’s only scoring tool. It is usually poor play if the trade happens far from the scoring area and leaves your remaining team unable to contest the board.
Attrition missions also reward concentration of force. Isolate a section of the opposing team, create overlapping fire or charge threats, and avoid allowing the enemy to activate several models safely in different parts of the board. At the same time, protect your own damaged operatives. A model on one wound can still perform an action, provide a threat or deny an objective, so exposing it for a low-value attack may hand your opponent an easy casualty.
Use Mobility And Timing On Positional Missions
Positional missions ask you to win space, reach specific areas or score by moving through the board at the right moment. These missions often favour patience. Advancing too quickly can place your models in scoring zones before support arrives, allowing the opponent to surround or eliminate them. Waiting too long can leave you unable to reach a distant objective when the scoring window closes.
Measure movement in stages rather than thinking only about the next activation. A fast operative may reach a location first, but a slower specialist might need an earlier move to complete an action later. Plan routes around cover and consider whether an operative can leave the area safely after scoring. A mission action that traps a model in a dead end may be worth one point but cost the game in the following turning point.
Timing is also a weapon. If you can activate after the opponent has committed their final model, you may steal an objective, complete an action or make a decisive move without immediate retaliation. Conversely, keeping a low-impact operative unactivated can preserve an important response. In tournament play, where clocks are often tight, practise these sequencing decisions so the final turning point does not become a rushed arvo scramble.
Prepare For Terrain, Secondaries And Local Events
Terrain can change a mission more dramatically than the printed scoring rules. Open tables reward long-range firepower and make exposed objective holders vulnerable. Dense tables increase the value of movement, close combat and short-range weapons. Before a match, identify which routes are safe, which firing lanes are real, and which pieces of terrain can be used as staging points rather than permanent shelters.
Secondary objectives and tac ops should support the primary plan instead of pulling your team in conflicting directions. Choose goals you can pursue while performing actions you already need to complete. If a secondary requires a risky flank attack, calculate its likely value against the cost in activations and casualties. A simple, repeatable scoring line is generally better than a clever option that depends on several dice rolls.
Local tournament preparation should include practical conditions. Players travelling from Perth or regional New South Wales may face a long day of rounds, so a plan that depends on perfect concentration every turning point is less reliable than a clear priority system. In Sydney and Melbourne, larger events may expose you to unfamiliar terrain layouts and teams from different club metas. Check the event packet, follow the organiser’s terrain guidance and use Kill Team Stream footage to study how experienced players manage similar boards.
| Mission emphasis | Main priority | Common mistake | Useful adjustment |
|---|---|---|---|
| Objective control | Maintain scoring presence across several points | Clustering the whole team in one area | Assign a main push, a flank threat and a reserve |
| Elimination | Remove high-value enemy operatives efficiently | Chasing kills away from the scoring zone | Concentrate attacks and protect damaged models |
| Mission actions | Complete actions with the right specialists | Using key operatives for unnecessary attacks | Plan action carriers and cover them with support |
| Positional play | Reach and leave scoring areas at the right time | Advancing before the team can support the move | Stage behind cover and time the final push |
| Open-board firefight | Deny lanes and preserve valuable models | Exposing operatives for small advantages | Use cover, long-range threats and disciplined trades |
| Dense-board contest | Control short routes and charge distances | Treating every barricade as permanent safety | Fight for staging points and watch countercharges |
Turn Your Game Plan Into Repeatable Decisions
A useful mission plan should be short enough to remember during a tournament round. Identify the primary scoring condition, the enemy model that can disrupt it, and the three operatives most likely to generate points. Then decide what must happen in the first turning point, what you are willing to sacrifice, and what result would leave you ahead even after an unfavourable exchange.
Review the plan after every turning point. Ask whether the scoring race has changed, whether a key threat has been removed, and whether your original deployment still makes sense. A mission may begin as an objective contest and become an elimination game after one side loses its mobility pieces. Adaptation means changing priorities when the board state changes, not stubbornly following the opening script.
Finally, study games with the mission visible rather than watching only for dramatic kills. Notice when players decline an attack, why they keep an operative concealed, and how they spend activations when no immediate target is available. Whether you are preparing for a local Queensland event or a major tournament in Melbourne, the most reliable competitive advantage comes from recognising what the mission rewards and making every activation serve that purpose.
Tournament Packets
Packets from previous Kill Team events are kept here alongside new packets for upcoming tournaments, so organizers and players have what they need in one place.
View Event Data