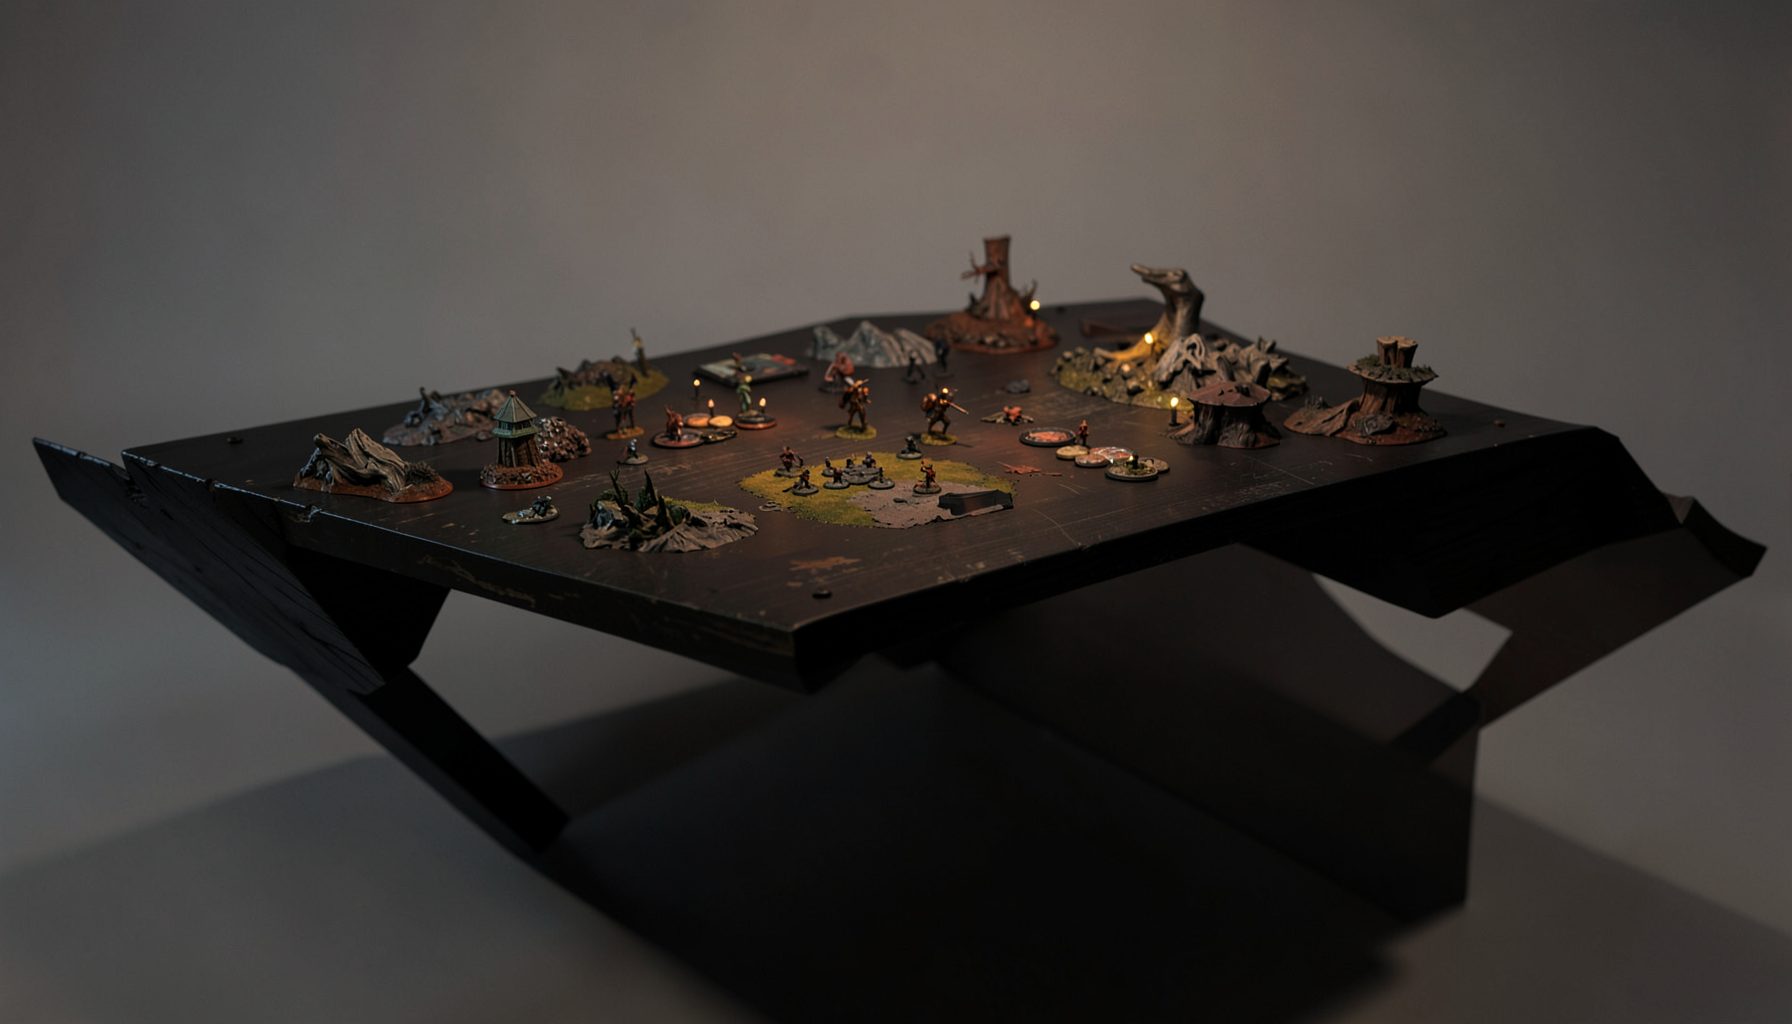
Live-streamed games, recorded matches, and event data gathered in one place.
Kill Team Stream hosts quality live streaming of Kill Team content — tournaments throughout the year on Twitch, regular games streamed to the channel, and tournament data gathered so players can see what's happening in the scene. Powered by WARHAMMER.
Browse tournamentsOfferings
Tournaments
Multiple Kill Team tournaments hosted throughout the year, all live-streamed on our Twitch channel.
Videos
Streams are recorded and uploaded to YouTube alongside original video content we produce.
Event Data
Tournament packets from past events plus resources for upcoming Kill Team tournaments.
Site Directory
Build a Kill Team That Wins Without Trading Models
A kill team can win without killing any models when it treats the mission as the real opponent. Victory points come from controlling objectives, completing mission actions, using operatives efficiently and denying the enemy’s scoring opportunities. Damage still matters, but it becomes a tool for creating space rather than the main route to victory.
This style of play is especially useful for teams with strong movement, utility actions, concealment tricks or objective abilities. A fast operative that survives with one wound can be worth more than a gunner who removes an enemy but leaves your own scoring position exposed. The aim is to make every activation improve your score, your board position or your opponent’s problems.
The approach suits competitive events where the mission pack rewards planning over simple elimination. It also creates entertaining games for streamed matches because the tension shifts from “who shoots first?” to “can the player hold the centre for one more turning point?” Kill Team Stream’s tournament coverage, recorded games and commentary are valuable references for seeing how these decisions unfold under pressure.
Australian events make this mindset practical. A player travelling from Perth to Melbourne, or driving several hours to a tournament in regional New South Wales, may have limited practice time and a small number of games to establish results. A reliable scoring plan is often easier to repeat than a high-risk assassination strategy that depends on perfect dice.
Win the mission before choosing targets
Start every game by identifying how victory points are actually earned. Read the primary mission, tac ops or equivalent secondary objectives, special mission rules and deployment instructions before deciding which enemy operative looks dangerous. A powerful enemy leader may be irrelevant if it cannot reach the objectives that decide the game.
Separate objectives into three categories: points you can score safely, points that require a contest and points that are probably bait. The safest points usually come from early movement, mission actions or controlling a flank with limited enemy access. Contestable points belong to the middle of the table, while bait objectives require too many resources to defend.
A zero-kill plan should usually aim for a points lead by the middle of the game rather than waiting for a final-turn miracle. If you score early, the opponent must advance into your control zones. That gives you the power to retreat, block routes and force inefficient activations while preserving your operatives.
Choose operatives for movement and utility
The best pacifist roster is rarely made entirely of specialists who can score. It needs a mixture of movers, blockers, objective performers and pieces that make the opponent hesitate. A fast operative can reach a marker, perform an action and then become difficult to charge. A durable operative can stand in a doorway and force the opponent to spend several activations dealing with it.
Look for abilities that improve movement, grant free actions, manipulate order status, provide concealment or make an operative harder to target. A model that can dash into position, perform a mission action and remain protected has more practical value than a model with excellent damage that must expose itself to contribute.
Team identity matters here. Some teams reward wide board coverage, some reward concentrated pressure and some rely on tricks that punish an opponent for advancing carelessly. Check the current faction rules and event pack before building around a particular datasheet, since balance updates can change which operatives are dependable.
Build the roster with redundancy. If your only mission specialist is injured, incapacitated or trapped on the wrong side of the board, the whole scoring plan can collapse. Two or three operatives should be able to perform important actions, even if they do so at different speeds or with different risks.
Turn the board into a set of barriers
A non-lethal strategy still needs board control. You are not trying to occupy every inch of terrain; you are trying to make the routes to your important objectives awkward, expensive or predictable. Place durable operatives where they can block a charge lane, guard a climb point or force the enemy to spend an activation moving around cover.
Use terrain to create protected staging areas. The ideal position lets an operative threaten an objective without being visible to several enemy guns at once. If the opponent must expose two models to reach one of your scorers, their attack has become inefficient before any dice are rolled.
Overwatch and similar reactive rules can shape movement even when you never use them to remove a model. A visible threat can make an opponent choose a slower route or delay an activation. For a focused explanation of this idea, the overwatch board control review shows how reactive fire can control space and restrict choices.
| Board problem | Non-lethal answer | Result |
|---|---|---|
| An enemy rushes the central objective | Occupy the approach and threaten a counter-charge | The opponent may lose an activation moving around you |
| A gunner controls an open lane | Use obscuring terrain and alternate routes | Your scorer reaches the marker without a direct fight |
| Two enemy operatives protect one flank | Score on the opposite side and rotate later | Their defensive investment produces fewer points |
| A fragile specialist must perform an action | Screen it with a tougher operative | The action is completed without offering an easy target |
| The opponent holds a late-game objective | Contest with movement rather than attacks | Their score is denied while your models survive |
Make every activation score or restrict
Before activating an operative, give it a job. It might score, prepare to score, screen a teammate, block an enemy route, gather information or force a difficult choice. If an activation does none of these things, it is probably being wasted on movement that could have waited.
Action economy becomes decisive when no one is dying. The player who completes two useful actions with one operative can gain an advantage without firing a shot. Plan movement so that a dash, mission action and repositioning option work together rather than leaving a model stranded beside an objective.
Avoid moving every operative forward at the same speed. Stagger your activations so that the opponent cannot predict which objective will be contested. A front operative can threaten a marker, while a second waits to replace it if the first is forced back. This creates resilience without demanding combat.
The final activation of a turning point is particularly valuable. Use it to claim a marker after enemy threats have committed, perform an action that cannot be interrupted or step into a lane the opponent can no longer answer. Saving one mobile operative for this purpose often matters more than making an early speculative attack.
Treat attacks as space-making tools
A no-kill game does not mean refusing every attack. It means asking whether an attack improves your scoring position. A shot that pushes an enemy away, removes a key overwatch threat or forces a wounded operative to retreat may be worthwhile, even if it does not remove the model.
Avoid attacks that expose your operative to several enemy activations in return. Trading one of your scorers for a minor enemy piece can leave you unable to complete mission actions. Likewise, charging simply because a target is available may pull your operative away from an objective and allow the opponent to score freely elsewhere.
Use threat ranges instead of damage totals. An operative that can charge, shoot or perform a mission action in a zone may control that zone without entering it. Mark likely distances on the table before the game, including movement, dash, charge and climbing costs. This is particularly useful on dense Australian event terrain, where a small difference in doorway width or barricade placement can change an entire route.
When an opponent expects a fight, offer them a problem instead. Stand just outside their reliable charge range, place a concealed model behind the objective and leave a fallback route open. They may advance and risk a poor exchange, or stay back and surrender points. Both choices support your plan.
Build for the missions you will actually play
Roster construction should reflect the missions common in your local scene. If your club in Sydney or Brisbane favours objective-heavy packs, prioritise movement and action reliability. If a Melbourne tournament uses dense terrain and short sightlines, close-range control and durable blockers may matter more than long-range firepower. In Adelaide or Perth, where an event may draw players from a wide area, prepare for varied terrain styles rather than relying on one familiar layout.
Ask what your team does when it loses the first turning point. A strong list should still have a route back through late scoring, denial actions or superior mobility. Avoid a roster that must win immediately through an aggressive opening, especially if your zero-kill plan depends on protecting every specialist.
Practice using the exact event packet where possible. Australian tournaments often have their own terrain layouts, scoring clarifications and timing expectations, and a casual club table may not resemble a packed event hall. Test deployment, objective distances and end-of-turn scoring until the sequence feels automatic.
Keep a written priority order for each mission: score safely, deny the opponent’s easiest point, preserve the operative needed for the next action, then look for a low-risk attack. This prevents emotional decisions when a dramatic shot appears. A mate calling for a flashy charge across the table may be entertaining, but the mission usually rewards the quieter move.
Practise the zero-kill win condition
Practice games should include drills where you are not allowed to deliberately incapacitate an enemy operative. This forces you to learn movement, screening, objective timing and retreat routes. It also reveals which models are genuinely useful when their weapons are treated as deterrents rather than solutions.
Track points at the end of every turning point, along with the operatives that remain able to score. A win with one surviving specialist may expose a fragile plan, while a narrow loss with a full team may show that you failed to contest enough objectives. Record the reason for each lost point instead of focusing only on dice.
Use streamed matches and tournament reports to study decisions before combat begins. Pause a game when players deploy, predict their scoring routes and compare those predictions with the commentary. This develops the ability to read board geometry, which is more transferable than memorising a single attack sequence.
At the event, keep the plan simple enough to use after a long day. Australian tournaments can involve early starts, travel delays, warm venues and several demanding rounds. A repeatable sequence of protected movement, objective actions and controlled denial will usually outperform a complicated plan that depends on perfect concentration.
Make survival part of the scoring engine
Every surviving operative should have a future job. A model that scored in turning point one may screen an objective in turning point two, deny a route in turning point three and complete a late mission action after that. Think of the team as a chain of scoring roles rather than a collection of disposable attackers.
Protecting models also preserves information. A live specialist tells you which objectives remain possible, while a dead specialist removes options before the opponent has even committed. This is why survival can matter more than dealing damage: it keeps your tactical map open.
The strongest finish often comes from refusing the tempting final engagement. If you lead on points and the opponent must expose themselves, retreat behind cover, hold the required marker and make them spend their last activations chasing you. A kill may add satisfaction, but an untouched operative completing the winning action is the cleaner competitive result.
Winning without removing models is therefore a disciplined form of pressure. You control routes, spend actions efficiently, protect scoring pieces and turn the opponent’s need to attack into a liability. When the final score is calculated, the battlefield may look almost unchanged, yet every important decision has favoured your side.
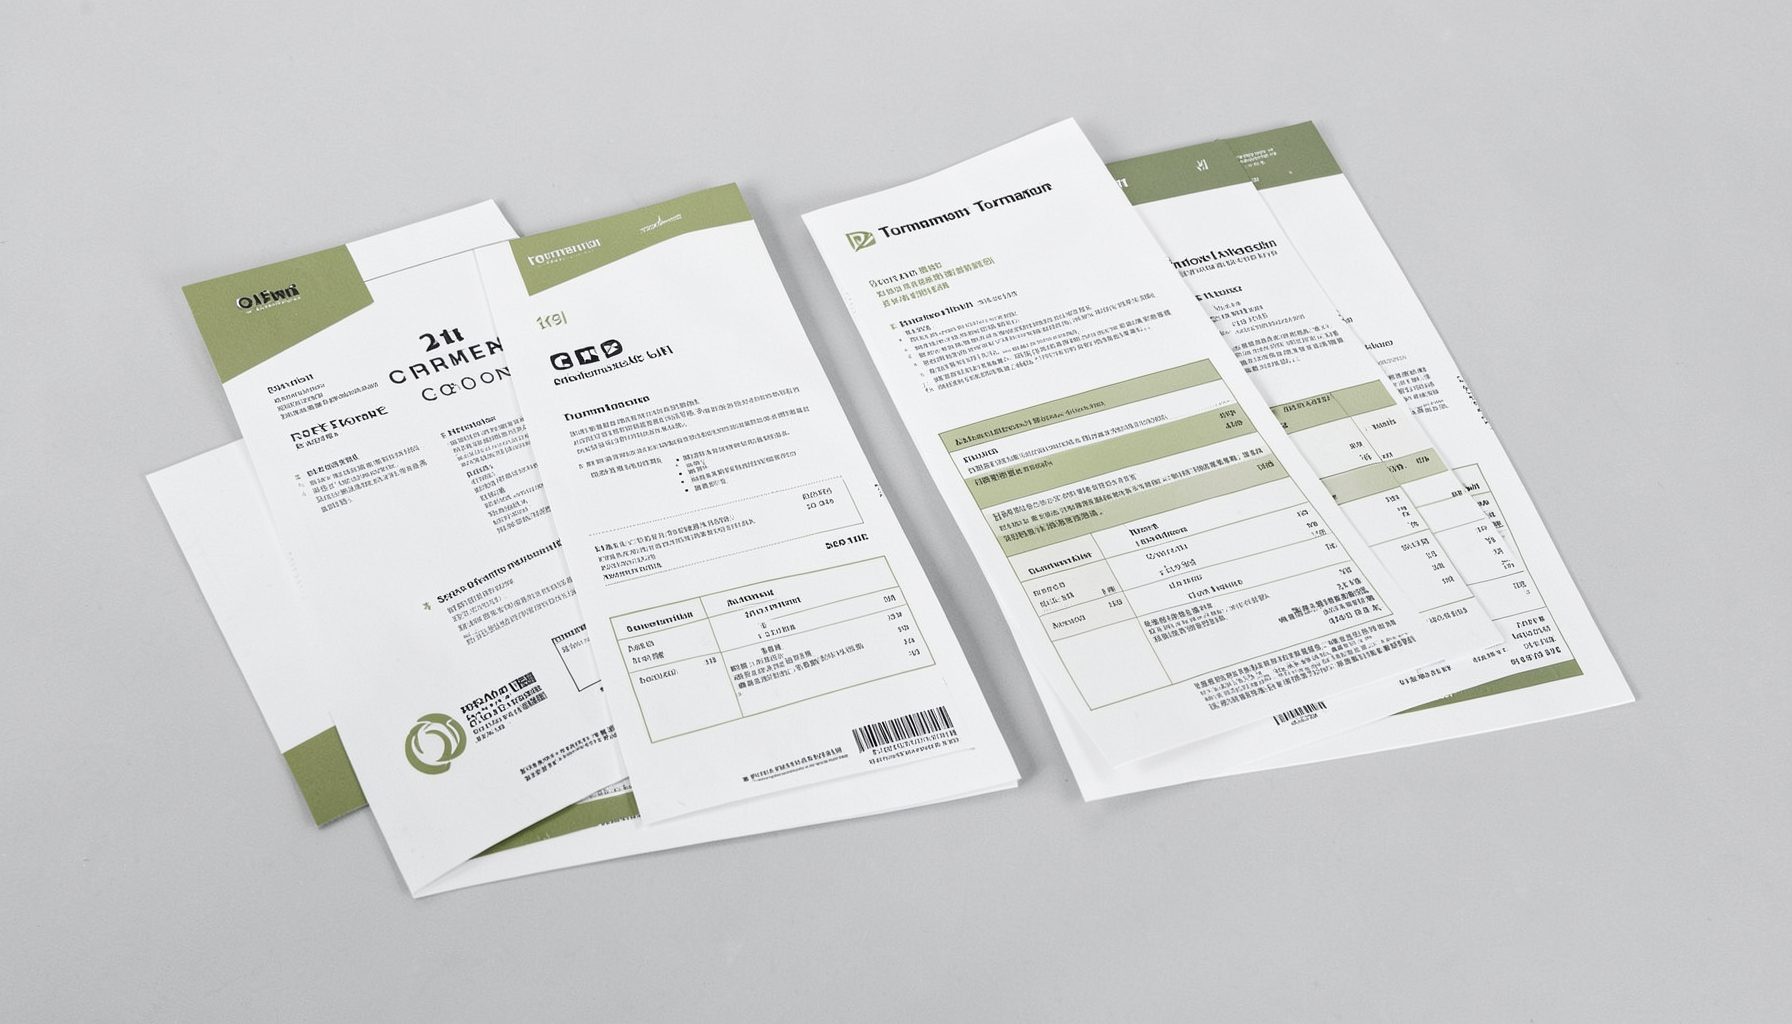
Tournament Packets
Packets from previous Kill Team events are kept here alongside new packets for upcoming tournaments, so organizers and players have what they need in one place.
View Event Data