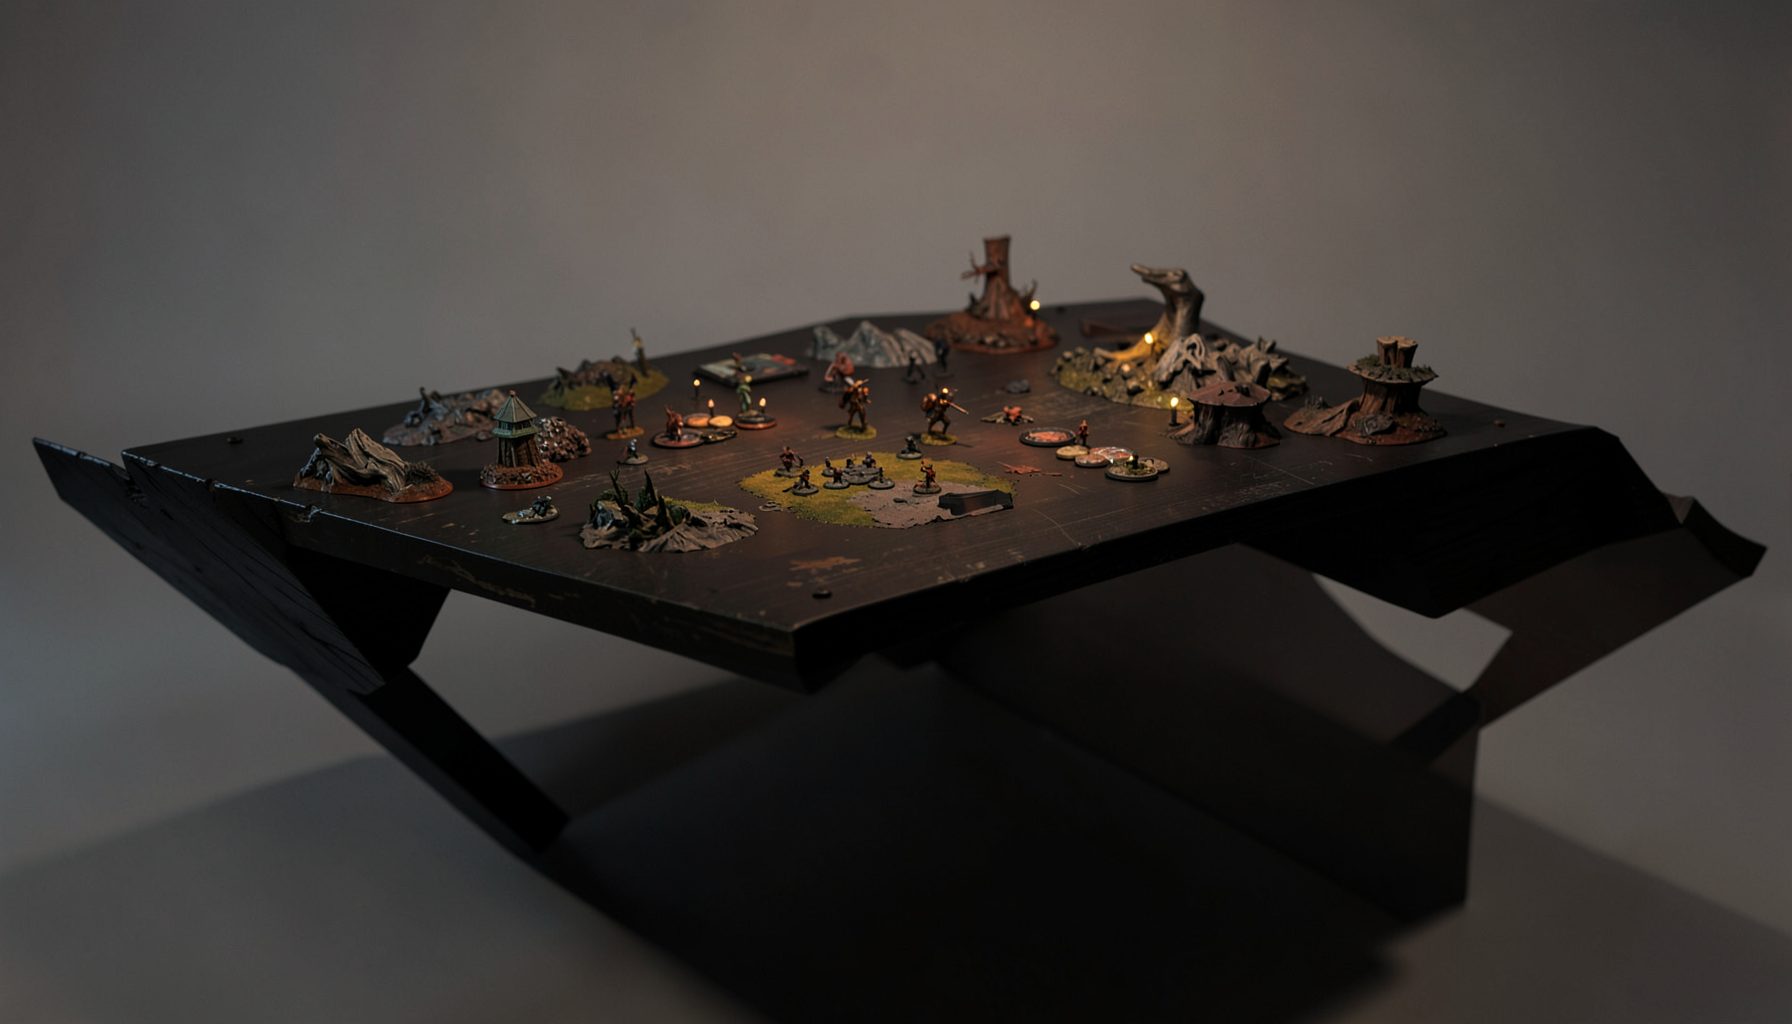
Live-streamed games, recorded matches, and event data gathered in one place.
Kill Team Stream hosts quality live streaming of Kill Team content — tournaments throughout the year on Twitch, regular games streamed to the channel, and tournament data gathered so players can see what's happening in the scene. Powered by WARHAMMER.
Browse tournamentsOfferings
Tournaments
Multiple Kill Team tournaments hosted throughout the year, all live-streamed on our Twitch channel.
Videos
Streams are recorded and uploaded to YouTube alongside original video content we produce.
Event Data
Tournament packets from past events plus resources for upcoming Kill Team tournaments.
Site Directory
How to Counter a Melee-Heavy Opponent with a Gunline Strategy
A melee-focused Kill Team wants to compress the battlefield. Its operatives may begin behind cover, advance through obscuring terrain and threaten a charge before your shooting force has established safe firing lanes. A successful gunline does not simply stand still and roll attack dice. It controls distance, limits movement options and turns every approach into a costly decision.
The core idea is to make ranged firepower support your mission plan. You need enough protection to survive the first push, enough mobility to contest objectives and enough discipline to avoid exposing several operatives to one decisive combat. This approach works particularly well in Australian events, where terrain layouts, long travel schedules and varied local metas can make preparation as important as the roster itself.
| Melee threat | Gunline response | Main objective |
|---|---|---|
| Fast assault operatives | Layered screens and fallback routes | Prevent a first-turn charge |
| Tough melee specialists | Concentrated fire and denial | Remove the model that opens the attack |
| Numerous cheap fighters | Overlapping fire lanes | Punish every crossing |
| Stealthy infiltrators | Early board checks and protected assets | Stop surprise charges |
| Objective-focused brawlers | Flexible movement and counterfire | Trade space without losing scoring |
Build A Firing Position That Controls Space
A gunline is strongest when several weapons can cover the same approach without standing close enough for a single charge to reach multiple models. Start by identifying the lanes your opponent is most likely to use. These may be corridors between ruins, the edge of a large vantage point or a route connecting two safe objective markers. Place your best shooters where they can threaten those lanes while remaining protected from immediate retaliation.
Use terrain to create overlapping zones rather than one obvious “castle”. A plasma weapon, sniper or heavy specialist should have a useful angle, but it should not be the only model capable of contributing. If the opponent can hide from one weapon and advance freely, that weapon has become a piece of scenery. Two or three modest firing angles are often better than one spectacular lane that can be blocked by a single operative.
Measure threat ranges before deployment and again after every important move. A melee operative with a dash, movement and charge can often reach farther than a new player expects. Leave enough distance that an enemy cannot move from concealment into combat with a single activation. In practical terms, count the opponent’s legal movement options rather than relying on how far the model appears to be from your front line.
Use Terrain To Break The Charge
Against melee teams, obscuring terrain is valuable, but it can also hide the enemy until the final moment. Place barricades and heavy terrain so your operatives have safe staging points behind them. A model that can move, shoot and retreat into cover is far more useful than one standing in the open with a perfect first-turn target.
Avoid creating a straight road from the opponent’s deployment zone to your most important specialist. Dense boards reward careful movement, yet they can also produce sudden contact if several pieces line up. Leave gaps that your operatives can cover with fire, while closing routes that allow a fast fighter to bypass your front screen. The aim is to make the attacker choose between a slow, exposed route and a faster route that ends under multiple weapons.
A screen can be a cheap operative, a less important specialist or simply a model positioned where it prevents a charge into something more valuable. Do not treat that screen as disposable without checking the mission. If it is holding an objective or enabling a later counterattack, its survival may matter more than one extra shot. In a Melbourne club game played on a compact board, this distinction becomes especially important because short distances leave little room for recovery after a poor deployment.
Win The Activation And Target Priority Battle
Melee teams become dangerous when they can activate a fighter after you have spent your key weapons, then charge into an exposed model. Preserve at least one meaningful response for the late part of the turning point. A concealed operative may be unable to shoot, but it can still move onto an objective, block a route or force the opponent to spend an activation dealing with it.
Target priority should be based on threat and function rather than wounds alone. Remove the operative that can open the enemy attack, provide a charge-enabling ability or reach your backline in one move. A durable brawler with limited mobility may be less urgent than a lightly armoured model carrying a grapnel, scouting rule or powerful support ability. Once the first assault piece is gone, your remaining weapons often have much more freedom.
Concentrate fire when a target is close to breaking. Splitting shots across several melee operatives can leave all of them alive and ready to charge. However, do not waste a high-quality attack on a target that is already safely outside the mission’s important areas. Competitive shooting is about changing the opponent’s available options. A wounded fighter forced to hide has effectively lost much of its influence, even if it survives the turning point.
Watch your action-point economy as well. A gunner that spends every action moving, aiming and shooting may contribute damage but fail to secure a primary objective. A balanced activation might involve one model firing, another moving onto a marker and a third holding position to deny a countercharge. This is why live tournament coverage can be useful: Kill Team Stream coverage lets players study when experienced competitors choose to shoot, reposition or pass priority.
Fight For Objectives Without Accepting Bad Combats
The biggest mistake with a ranged strategy is treating every objective as a place where you must stand permanently. Objectives are scoring tools, not sacred ground. If a melee specialist is about to reach one, you may be better off scoring it early, abandoning it temporarily and using your shooting to punish the advance. Reclaiming the marker after the threat is removed is often safer than defending it with an isolated operative.
Use movement to force awkward charges. A model positioned just outside an enemy’s preferred range can make the attacker move farther than planned, exposing it to another weapon or preventing it from reaching the objective behind your line. When possible, place a disposable operative where the enemy must charge it rather than your key shooter. The screen may be lost, but the exchange is worthwhile if the attacker ends its activation in the open and can then be finished.
If combat is unavoidable, choose the location carefully. A melee fight near a wall, objective or board edge can reduce the opponent’s follow-up options. A ranged operative that survives combat may fall back, while another model covers the retreat. Do not countercharge simply because an enemy has reached your line. Counterattacks are strongest when they remove a damaged operative, protect scoring or create a safe lane for your next activation.
Australian tournament games often involve players travelling from different cities, with event packets and terrain standards varying between a Sydney venue, a Brisbane store and a Perth club. Learn the mission pack before the event and identify which objectives can be surrendered for a turn. Long-distance travel can limit practice time, so a few rehearsed plans for common objective layouts are more useful than memorising a single deployment pattern.
Adapt Your Roster And Practice The Matchup
A gunline list should still contain tools for the moment when the enemy reaches you. Include a durable operative, a fighter with a reliable counterpunch or a specialist able to move through a threatened lane. Pure damage is tempting, but a roster with no screen, no mobility and no way to contest close objectives will collapse once the first charge lands.
Consider how your weapons interact with enemy armour and defensive rules. High-damage attacks are excellent against elite melee models, while accurate low-damage weapons may be better against numerous attackers. Abilities that push, stun, reduce movement or deny a charge can be as valuable as another attack dice. Review your equipment choices with the mission in mind rather than selecting the same upgrades for every opponent.
Practise the first two turning points with a friend and reset the board after each attempt. Test an aggressive deployment, a conservative castle and a split firing line. Record which enemy operatives can reach your front screen, which weapons can draw line of sight and whether you still have enough models to score. A short practice session in a local Adelaide or Canberra club can expose range mistakes that remain invisible when reading the rules alone.
Watch recorded matches with a specific question rather than passively following the result. Track where the gunline places its weakest model, when it gives up an objective and how it responds after losing a specialist. Pay attention to the spaces experienced players refuse to enter. Those empty areas often reveal the real defensive plan: denying a charge lane, preserving activation order or forcing the melee team to spend its momentum before it reaches the valuable targets.
A ranged force succeeds by making approach, combat and scoring compete with one another. Protect the weapons that shape the board, remove the enemy’s fastest threats, and accept small positional losses when they preserve the overall mission plan. When every advance costs the melee player a model, an activation or a scoring opportunity, the gunline has already won much of the engagement before the first charge is declared.
Tournament Packets
Packets from previous Kill Team events are kept here alongside new packets for upcoming tournaments, so organizers and players have what they need in one place.
View Event Data