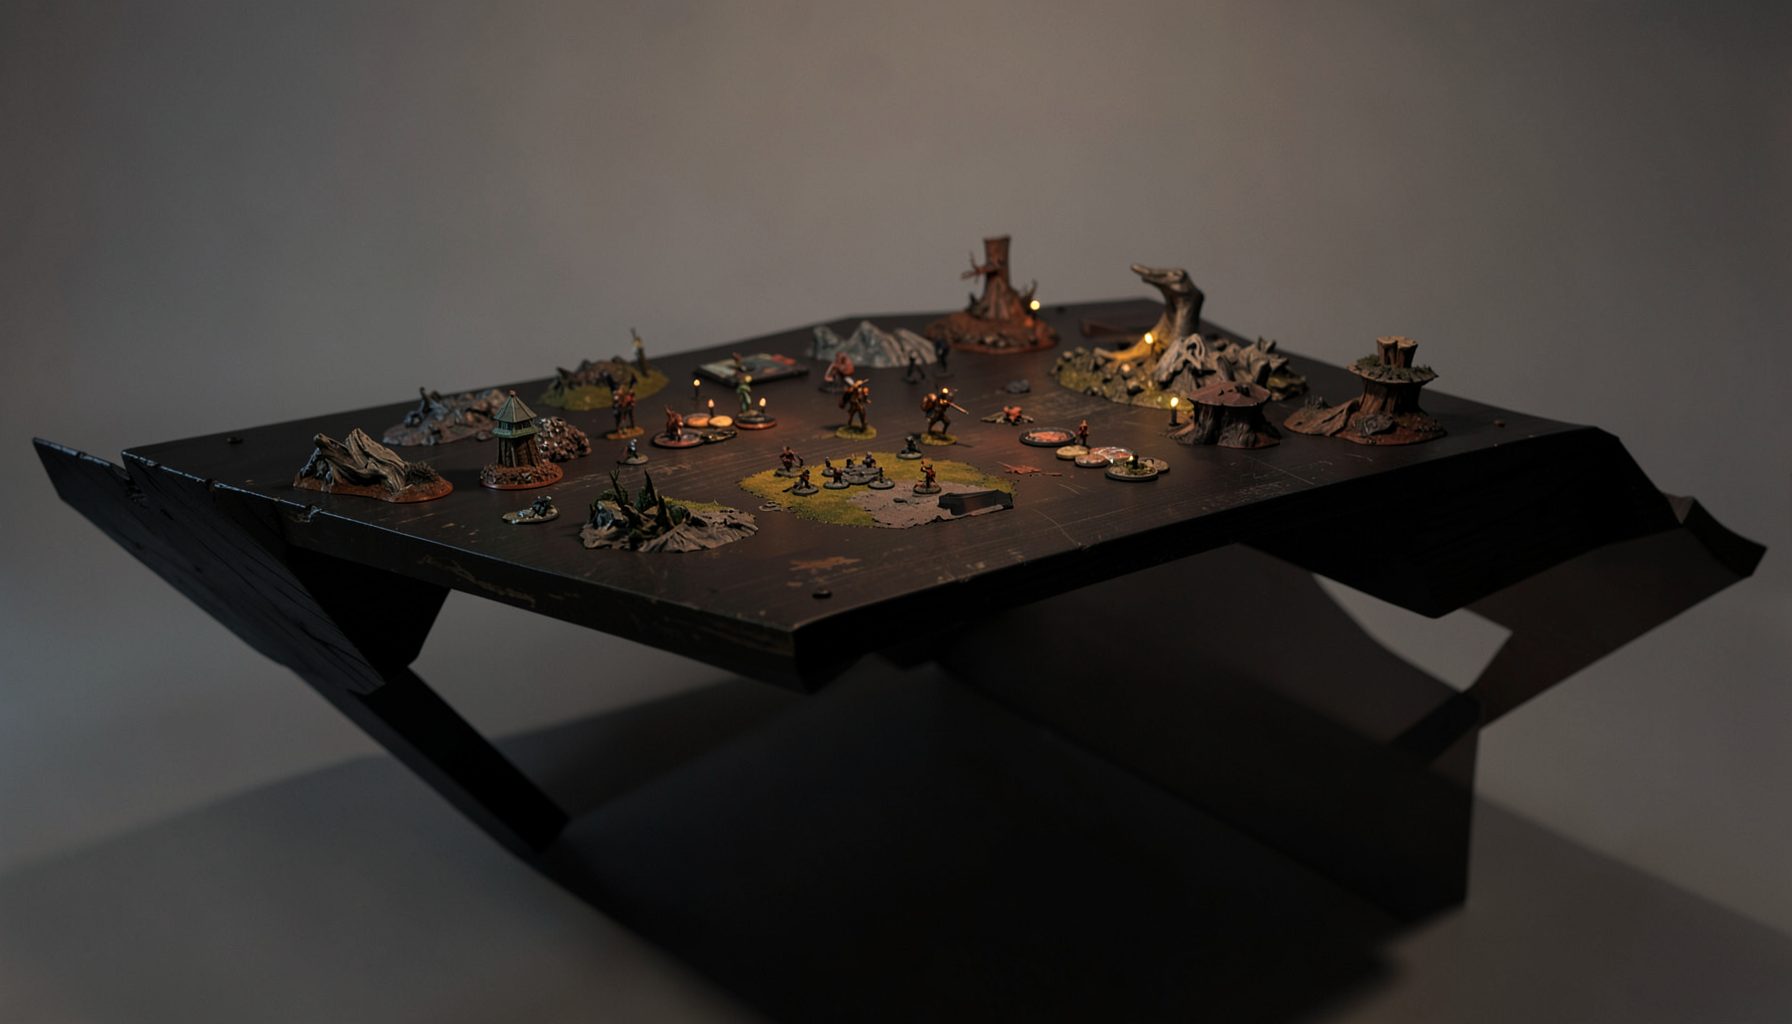
Live-streamed games, recorded matches, and event data gathered in one place.
Kill Team Stream hosts quality live streaming of Kill Team content — tournaments throughout the year on Twitch, regular games streamed to the channel, and tournament data gathered so players can see what's happening in the scene. Powered by WARHAMMER.
Browse tournamentsOfferings
Tournaments
Multiple Kill Team tournaments hosted throughout the year, all live-streamed on our Twitch channel.
Videos
Streams are recorded and uploaded to YouTube alongside original video content we produce.
Event Data
Tournament packets from past events plus resources for upcoming Kill Team tournaments.
Site Directory
How to magnetize your Kill Team for easy loadout swaps
Magnetising a Kill Team turns fixed weapons and heads into removable options, so you can change a scout’s gear between missions without glue, clips or jury-rigged pinches. It is especially useful for players testing several elite shooters, keeping a role-specific operative ready, or sharing models across different kill teams.
The best system is not the one with the strongest magnets. It is the one that releases cleanly, keeps parts aligned and does not turn a light resin model into a lead-weighted lump. Decide whether you need swappable primary weapons, secondary weapons, heads or specialist gear, then design a matching socket for every piece.
Plan the work before touching a drill, and check current tournament rules before altering an official miniature. Magnets can affect balance, contact with the tabletop and event legality, while small magnets pose a serious ingestion risk. A measured approach gives you a durable kit that is pleasant to use and straightforward to maintain.
Decide which parts should move
Start with an honest parts inventory. List each operative, every alternate weapon and head, and the exact body socket where it sits. Remove any loose scenic base, review the assembly instructions, and check whether a printed option is hollow, solid or already pinned. Printing a cavity under a shoulder can create a neat magnetic pocket, but a filled resin body may need a shallow recess instead.
Keep the magnetic features small and local. A common arrangement is a recessed magnet in the operative and a thin steel disc in the removable accessory, or the reverse. Both mating pieces can also use magnets, provided their poles are arranged correctly. Keyed sockets stop a weapon from spinning and make repeated fitting less fiddly.
Decide what must not move. Magnets in every boot, hand and base may help a display, yet they add weight, can pick up filings and may make the model hard to place on a metal surface. For tournament use, the operative must stand unaided under the event’s rules, so a magnetic base should never be treated as a permitted support unless the packet explicitly allows it.
Choose a practical magnetic joint
Small neodymium disc or cylinder magnets usually provide enough holding force for 28–32mm miniatures. Match the magnet diameter to the available space and test several sizes before committing. Too little force invites pieces to fall during a mission; too much makes them difficult to remove, can stress thin resin and encourages players to lever against the model.
Use a thin, rigid steel disc when the removable part should attach to a magnet held in the body. Steel is less grabby around dice and metal trays than a second magnet, although it adds weight. If you use magnets on both halves, orient them so attraction holds the joint rather than repulsion spitting the parts across the table.
Australian hobby suppliers commonly stock 3mm and 4mm disc magnets, epoxy and pin vises, while specialist online sellers offer smaller cylinders and steel washers. Prices are usually quoted in Australian dollars. Imported orders under A$1,000 can attract 10% GST, often collected by the marketplace at checkout, so compare the landed cost rather than the cheerful pre-tax sticker price.
Design the socket and keying
Plan the socket so the removable piece meets the body at its correct height. A blind hole slightly deeper than the magnet creates a positive seat; a counterbore or printed collar can stop the accessory tilting. Leave a little room around a disc magnet so it can seat flat instead of binding on a corner.
Think about polarity and handling before gluing anything. Loose magnets can snap together instantly, so keep them in the supplied tray, handle one at a time with plastic tweezers and keep other steel objects well away. A tiny printed shoulder can stop an impact from levering the magnet out at an angle.
Fit should be controlled rather than forced. The useful lesson from comparing warm UGG boots for warmth and comfort is simple: a well-sized pair supports you, while an overlarge one rubs. Your magnetic joint needs the same discipline, with tolerances that guide the part into place instead of making the player pry at it.
Drill, fit, and secure the magnets
Use a pin vise or hand drill for the pilot holes, a larger bit to clear the magnet pocket, and a scrap of matching material to check depth. Clamp the miniature securely, wear eye protection and keep your fingers clear. Work in short bursts, lift the bit clear often, and clear swarf with a brush rather than twisting the bit against the part.
Test fit each magnet without glue. The removable piece should enter by hand, make contact across most of the mating face and remain aligned when you move the miniature. If it rocks, shave the pocket very slightly or use a thinner washer; if it binds, add clearance rather than forcing a magnet into resin that may split.
Secure the magnet with a thin layer of two-part epoxy, keeping the exposed face clean, and support it while the resin cures. Do not chuck loose magnets into a tool tin; they will race towards the nearest steel driver. Cyanoacrylate can hold a magnet, but it becomes brittle and tends to leave a messy white residue; a mixed epoxy generally gives a more dependable mechanical bond. Follow the cure time on the product rather than the optimistic label on the tube.
Paint the connection for a clean finish
Paint the major shapes before final magnet installation, or mask the mating faces if you fit the hardware first. Primer, basecoat and varnish can build a measurable lip around a socket and stop two flat surfaces from meeting. If the magnet face is painted, it may still look tidy yet hold poorly, so leave that face bare or remove paint from it with a careful scrape.
Colour the visible metal to match the miniature. A thin paint layer on a magnet can prevent chipping, but keep the magnetic contact surface smooth; a steel mating plate can be painted around its edge and still function. Avoid thick glue beneath the joint, where a hidden gap will increase play and let the part shift during a game.
Allow the paint to cure fully before repeated handling. Paint on gaming tables is often handled more roughly than display pieces, so check for a bright ring, loose edges or a gathering of fluff after a session. A small clear coat over the finished magnet area can protect it, although the coating must not make the connection slick or add appreciable thickness.
Test the swaps under game conditions
Run a full loadout test before calling the project finished. Swap every weapon and head in both directions, lift each piece by its body rather than the magnet and inspect the socket under good light. A connection that needs two hands and a jiggle is too tight for the tabletop, while one that turns in your fingers is likely to lose its attachment.
Test with the actual tabletop, dice and terrain in the room. Magnets may alter a model’s centre of gravity, especially on a tall antenna or heavy breacher weapon, and a steel terrain piece can draw a loose accessory away from its socket. If that happens, keep the removable part seated during transport or use a keyed plug instead.
Local tournaments are a good proving ground. Sydney, Melbourne, Brisbane and Adelaide hobby stores often host Kill Team nights, while tournament streams and recorded event coverage can reveal unusual loadouts that are worth building. Kill Team Stream’s Twitch and YouTube streams, event packets, standings, photos and recorded matches can help with local research. Before an interstate event, read the Australian event packet for model-modification, base and magnet rules, and ask the organiser if the wording is unclear rather than assuming every local store applies the same policy.
Store, travel, and repair the set
Store the miniatures and loose accessories in a labelled box, with each magnet seated or trapped in a foam recess. Small magnets must stay away from children, pets and anyone with a pacemaker or another implanted medical device. If a magnet cracks, collect every fragment immediately; damaged rare-earth magnets can produce sharp pieces, and swallowed magnets can attract through the bowel and cause severe injury. If swallowing is suspected, seek urgent medical care.
Travel needs a little care. Keep spare magnets in their original packaging, separate them from tools and check current Australian airport-security and airline requirements before flying to a convention interstate or overseas. For small hobby orders, Australia Post or a courier may be sufficient, but ask about packaging and any restrictions on magnetised items before posting an assembled miniature.
A parked car in Brisbane during summer can become a hotbox, so do not leave magnets, steel washers or epoxy glue there for hours. High heat can damage some adhesives and weaken a magnet’s performance. Keep the kit in a padded, temperature-stable case, and record the magnet size and drill diameter on the base tray so a damaged part becomes a quick repair rather than a missing piece.
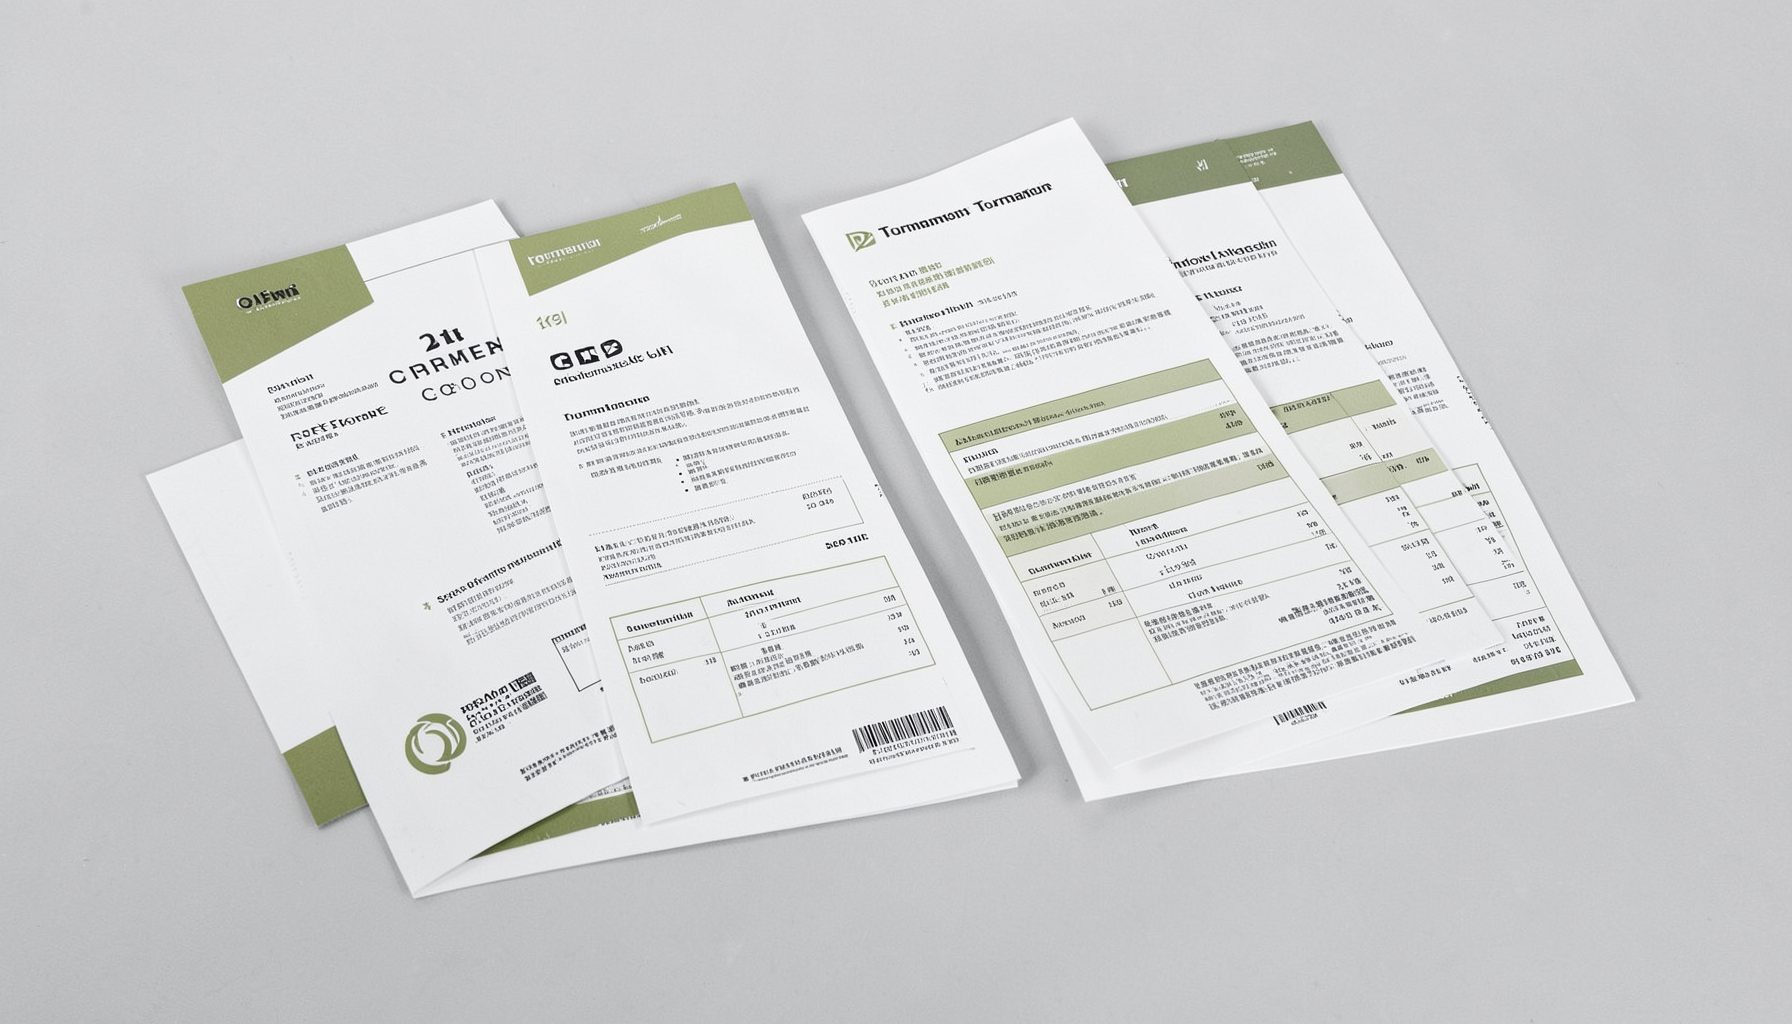
Tournament Packets
Packets from previous Kill Team events are kept here alongside new packets for upcoming tournaments, so organizers and players have what they need in one place.
View Event Data