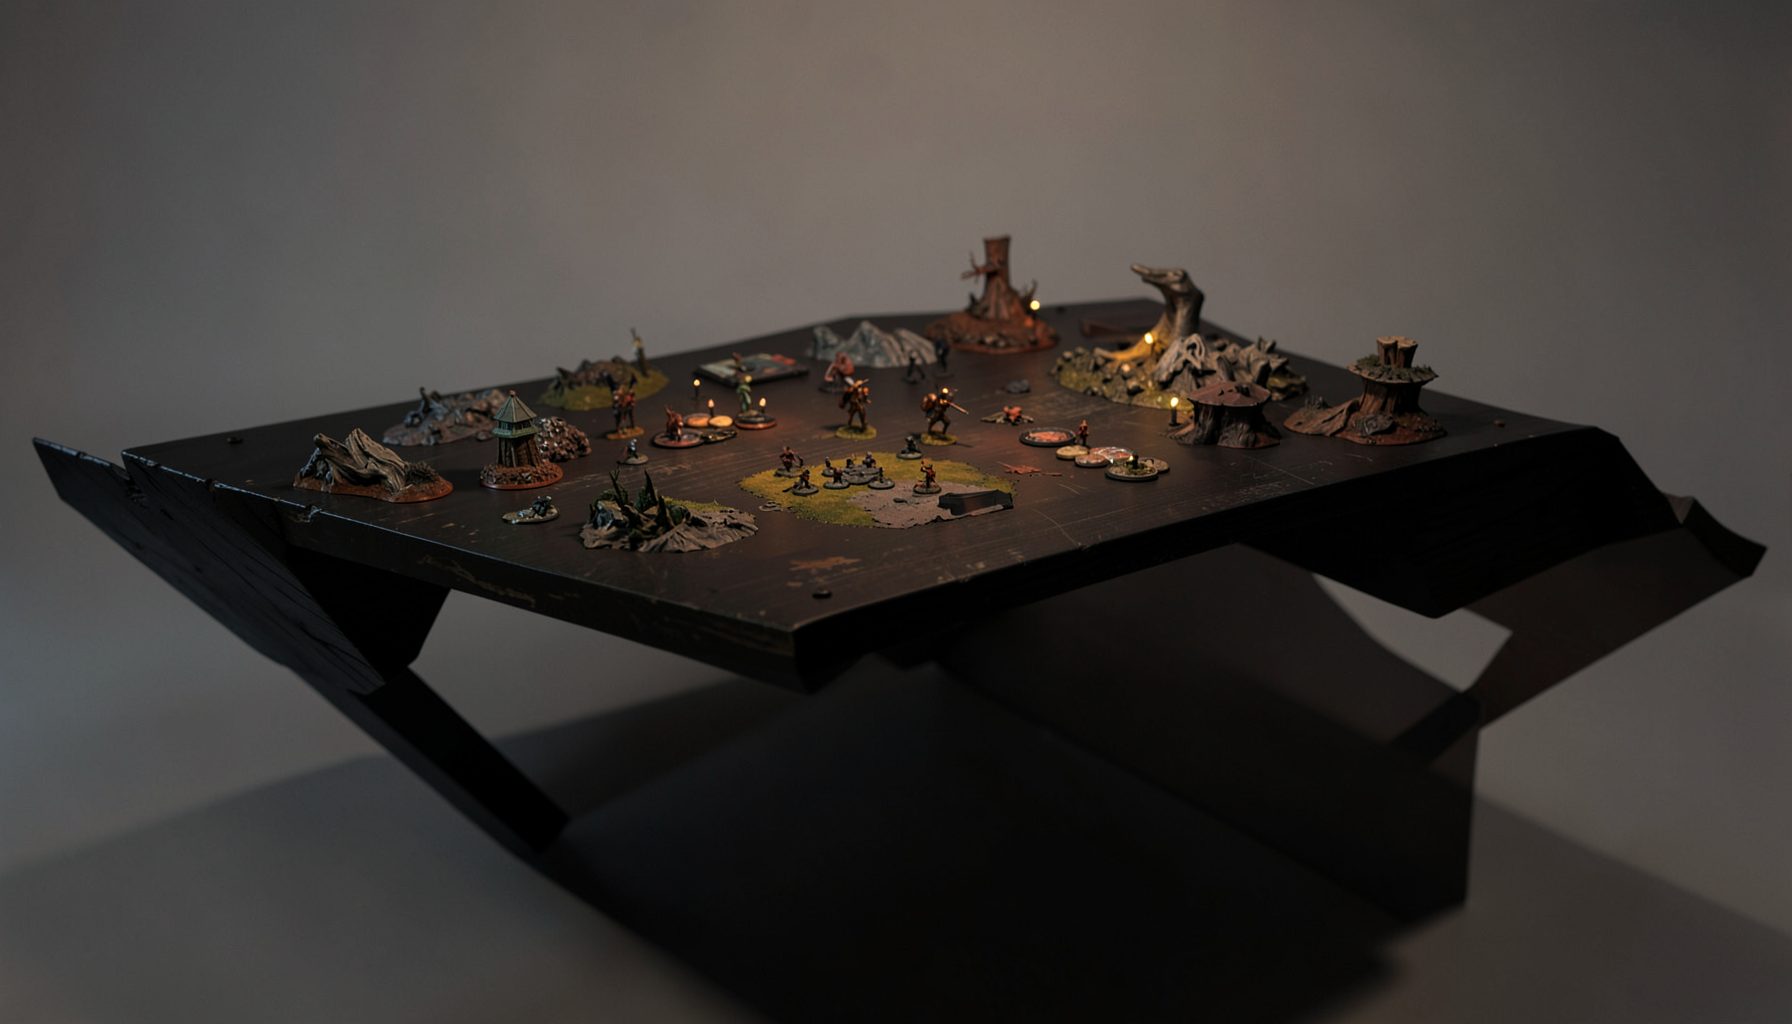
Live-streamed games, recorded matches, and event data gathered in one place.
Kill Team Stream hosts quality live streaming of Kill Team content — tournaments throughout the year on Twitch, regular games streamed to the channel, and tournament data gathered so players can see what's happening in the scene. Powered by WARHAMMER.
Browse tournamentsOfferings
Tournaments
Multiple Kill Team tournaments hosted throughout the year, all live-streamed on our Twitch channel.
Videos
Streams are recorded and uploaded to YouTube alongside original video content we produce.
Event Data
Tournament packets from past events plus resources for upcoming Kill Team tournaments.
Site Directory
Winning The Activation Race In Kill Team
Managing your Kill Team's activation order is one of the clearest ways to turn a capable roster into a dangerous tournament force. Every operative has a moment when it can move, shoot, fight, score, protect an objective, or force the opponent to react. Choosing that moment well often matters more than simply having the strongest datasheet.
Kill Team rewards players who think in terms of tempo rather than isolated activations. A concealed specialist may be worth more as a threat than as an attacker, while a combat operative can lose much of its value if it commits before the opponent reveals an important resource. The best sequence changes from turning point to turning point.
This skill becomes especially important in close games, where both players have limited opportunities to contest primary objectives and set up secondary scoring. A single premature dash can expose a model, waste a free shot, or leave a key operative unable to respond when the opponent makes a late scoring play.
For Australian players travelling between local clubs, tournament halls, and larger events in Sydney, Melbourne, Brisbane, Perth, or Adelaide, activation discipline is also a practical way to play consistently under pressure. When a round is running long and everyone is feeling the strain, a reliable decision process is worth more than a flashy plan that depends on perfect conditions.
Read The Turning Point Before Moving
Before activating anything, identify what must happen during the current turning point. Is the priority to score an objective, remove a particular enemy, preserve a specialist, or establish board control for the next round? The answer determines which operatives need to act early and which should remain ready.
Start by separating your models into functional groups. Some are urgent pieces: an operative must move now to reach a vantage point, claim an objective, or stop an enemy from doing the same. Others are reactive pieces that become stronger when the opponent commits first. A concealed sniper, counter-charge fighter, or mission specialist often gains value from waiting.
Look at the opponent’s ready operatives and ask what each one threatens. If an enemy can reach an objective, open a hatch, perform a mission action, or eliminate your scoring piece, leaving your response until later may be too risky. Conversely, if the opponent has already spent the operatives that can punish a move, your aggressive piece may now have a safer window.
This creates a simple pre-activation checklist:
- Which objective must be secured or contested?
- Which enemy operative can disrupt that plan?
- Which of your models becomes less useful if it activates too soon?
- What information do you still need from the opponent?
The final question is often the most valuable. Early activations should sometimes be used to gather information, not to achieve the biggest immediate effect.
Create Threats Before Spending Your Best Activation
A strong activation order creates several problems at once. Move a gunner into a position where it threatens an objective, keep a melee operative close enough to punish a charge, and preserve a mission piece that can score later. The opponent then has to respond without knowing which threat matters most.
This is why activating your strongest operative first is frequently a mistake. The model may deal damage, but it also tells the opponent exactly what is available. If the attack fails, the enemy may have an easy path to the objective or may be able to expose a more important model. A less important operative can sometimes force the opponent to reveal a key fighter before you commit your main asset.
Think of each activation as changing the board’s risk profile. A movement activation can block a route, protect a model, create line of sight, or make a charge impossible. A shooting activation can remove an enemy threat, but it can also leave the shooter unable to perform a mission action later. The strongest play is usually the one that improves your next decision as well as the current one.
Command points add another layer of timing. A tactical ploy may make an early activation safer, but using it immediately can leave you without the resource needed during a late objective contest. The command point guide is useful when building a broader resource plan, because activation order and CP management are closely connected. Before spending a point, consider which operative will benefit most and whether the opponent can force a more important decision later.
Use Objective Pressure To Control The Sequence
Objectives should influence activation order even when nobody is standing on them yet. An operative that can reach an objective next activation may be more important than one that can deal damage now. If your opponent knows you can score or contest late, they may be forced to activate a valuable model earlier than planned.
This is especially powerful in missions with several scoring locations. You can create a split threat by placing one operative near a central objective and another near a flank. The opponent may answer the obvious threat, leaving the second route open. Do not automatically reveal which objective is your real target; movement, cover, and line-of-sight choices can preserve uncertainty.
Late activations are particularly valuable when the scoring window is clear. A model that moves onto an objective after the enemy has spent its relevant activations may score safely, while the same move early in the turning point could invite a charge or shooting attack. However, waiting has a cost. If the opponent can reach the position first, or if an action requires an uncontested area, delaying too long can turn a good plan into a missed opportunity.
A useful habit is to identify the “last safe activation” for each important operative. This is the latest point at which the model can act and still achieve its job. Once that deadline is known, you can use earlier activations to test the opponent’s responses without risking your scoring plan.
Preserve Flexibility Through Defensive Activations
Not every activation needs to advance your original plan. Sometimes the correct move is to hide, reposition, or stay concealed so the operative remains useful next time. Defensive activations are easy to undervalue because they may produce no immediate damage, but they protect your future choices.
A concealed operative near an objective can force the opponent to spend an activation dealing with it. A fighter positioned behind cover can threaten a charge without exposing itself. A specialist that retreats from a dangerous firing lane may give up a small amount of board space while preserving the ability to score in a later turning point.
Pay attention to activation fatigue as well. After several of your operatives have acted, your remaining models become easier for the opponent to predict. If the opponent has many ready operatives and you have only one or two, avoid placing those final models in situations where a single enemy activation can invalidate them. Sometimes the best sequence is to activate a low-impact model simply to reduce the opponent’s ability to wait you out.
Counteract opportunities, overwatch-style options, and mission-specific rules can alter the value of waiting, so confirm the event pack and current rules before relying on a particular interaction. Tournament formats can differ, and Australian events may use a local packet with timing details that are not identical to casual games at a club night.
Practise Sequences For Tournament Pressure
The most reliable way to improve is to practise activation sequences away from the pressure of a full tournament game. Set up a small position with three or four operatives per side and play only one turning point. Give yourself a clear objective, then replay the same position while changing the order of activations.
Try common situations: an objective is open but exposed; an enemy specialist can score next activation; your gunner has a shot but must later move; or your melee operative can charge now but will be isolated afterward. After each attempt, identify which activation created the greatest number of safe options.
Tournament viewers can learn this by pausing recorded matches before each activation and predicting what the player will do. Streams from major events are particularly useful because commentary often explains why an operative was held back or why a seemingly modest movement mattered. Players in Australia can also compare approaches across local scenes, from a relaxed Melbourne club evening to a tightly timed event in Sydney or Brisbane.
Use the following framework during games:
| Situation | Usually Prioritise | Main Risk |
|---|---|---|
| An enemy can score next activation | The operative that blocks or contests the objective | Acting too early and exposing it |
| Your key attacker has a safe target | A low-risk setup activation first | Giving away your plan |
| Several objectives are available | A move that threatens two routes | Becoming spread too thin |
| Your last scoring model is vulnerable | Protection, concealment, or repositioning | Sacrificing immediate damage |
| The opponent has few ready operatives | Your high-impact activation | Spending it before checking reactions |
| You are behind on points | A sequence that creates future scoring pressure | Chasing damage without board value |
Keep a short record after each game. Note the first activation that felt premature, the operative you wished had remained ready, and the moment when the opponent’s plan became obvious. Over several games, patterns will emerge. You may discover that your roster needs a different deployment, that a particular specialist should almost always activate late, or that a tactical ploy is strongest when reserved for the final objective exchange.
The goal is not to follow a fixed order every round. A rigid sequence is easy to exploit. Instead, build a habit of identifying urgency, preserving uncertainty, and making each activation improve the position of your remaining operatives. That approach produces maximum impact because it gives the opponent fewer clean answers while keeping your own options open.
Tournament Packets
Packets from previous Kill Team events are kept here alongside new packets for upcoming tournaments, so organizers and players have what they need in one place.
View Event Data