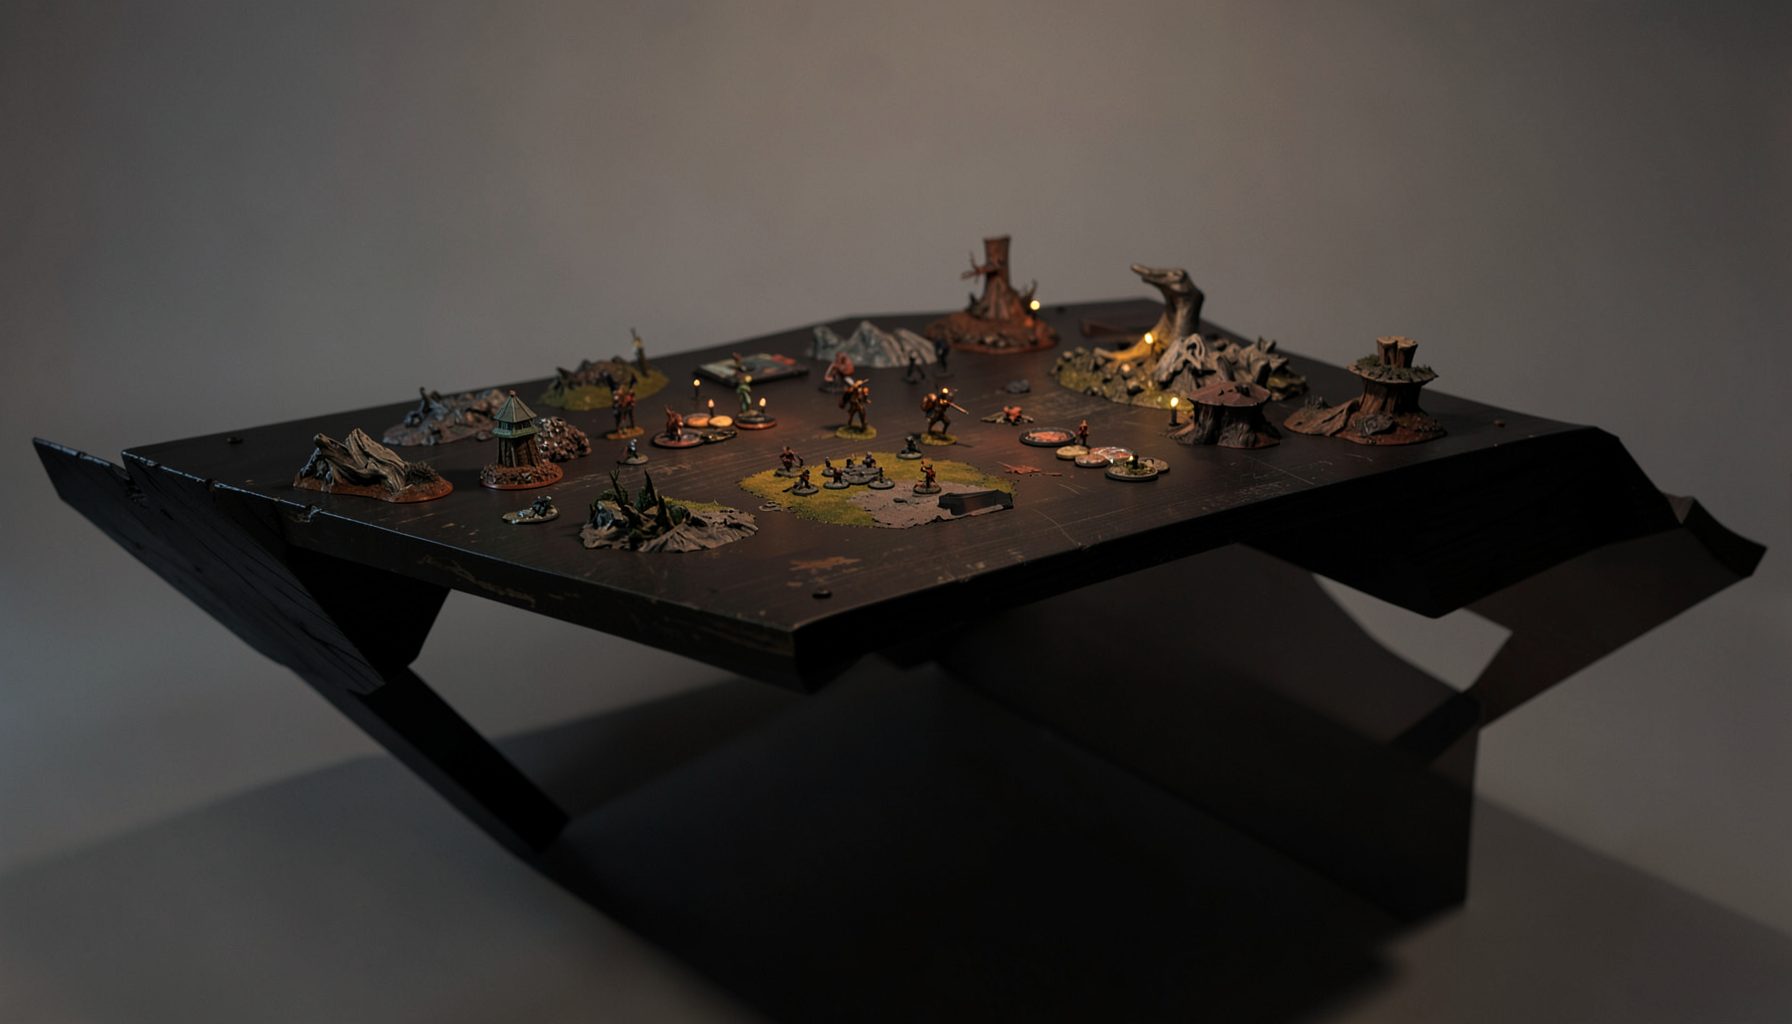
Live-streamed games, recorded matches, and event data gathered in one place.
Kill Team Stream hosts quality live streaming of Kill Team content — tournaments throughout the year on Twitch, regular games streamed to the channel, and tournament data gathered so players can see what's happening in the scene. Powered by WARHAMMER.
Browse tournamentsOfferings
Tournaments
Multiple Kill Team tournaments hosted throughout the year, all live-streamed on our Twitch channel.
Videos
Streams are recorded and uploaded to YouTube alongside original video content we produce.
Event Data
Tournament packets from past events plus resources for upcoming Kill Team tournaments.
Site Directory
Display-quality Kill Team minis without advanced airbrush skills
A display-quality Kill Team miniature does not require a paint booth, an expensive compressor or years of airbrush practice. Brush control, careful preparation and a deliberate approach to colour can produce models that look sharp under tournament lighting and impressive in close-up photographs.
The key is to replace speed-based airbrush techniques with controlled layering. Thin paints, smooth transitions, selective highlights and convincing texture will give operatives a refined finish, even when every stage is completed with regular brushes. The method also works well for players who paint a squad between events rather than spending weeks on a single showcase model.
This approach suits Australian hobbyists especially well. Local stock can vary between specialist shops, Games Workshop stores and online retailers, while dry conditions in Adelaide or Canberra can make paint dry quickly and Brisbane humidity can affect drying times. A practical brush-led workflow is flexible, affordable in Australian dollars and easy to use at a club night, home desk or tournament weekend.
Plan the miniature before opening the paint
Display-quality work begins with a clear visual plan. Choose a dominant colour, a supporting colour and one accent that will draw attention to the operative’s face, weapon or equipment. A navy armour plate, muted grey cloth and bright orange lenses will usually read more clearly than a model covered in equally strong colours.
Think about how the miniature will look at arm’s length on a Kill Team table. Details need enough contrast to remain visible under indoor lighting. A black pouch beside dark blue armour may disappear during a streamed match, so separate nearby materials with value changes: use charcoal for the pouch, a cooler blue for the armour and a pale edge highlight where the forms meet.
Reference images are useful, but they should guide rather than restrict you. Study studio miniatures, tournament photographs and recorded games to see how colours behave under real lighting. The Kill Team FAQ is also a useful place to check practical game-related information while deciding how much effort to invest in weapons, markings and equipment that may matter during an event.
Prepare the surface for a clean finish
Remove mould lines before priming. A fine scraper, hobby knife used carefully and a small set of files can make a greater difference than an expensive paint. Mould lines catch highlights in unwanted places and remain obvious on smooth armour, helmets and blades. Check the miniature from several angles, especially around wrists, shoulder pads and the sides of legs.
Wash resin or heavily handled plastic components with mild soapy water, then allow them to dry fully. Assemble sub-sections when possible, but leave shields, large weapons or awkward backpacks separate if they would block access to the torso. Pinning is worthwhile for fragile parts that will be handled often during games.
Primer creates the foundation for every later layer. A black primer gives deep shadows and works well for grim military schemes, while grey offers a balanced starting point. White or an off-white primer produces brighter colours but exposes uneven coverage more readily. In Australia, avoid spraying outside during very hot, windy weather; Canberra’s dry summer air and dusty conditions can leave grit in the finish.
Use thin layers instead of an airbrush
A good brush-loaded with properly thinned paint can produce remarkably smooth coverage. The paint should flow from the bristles without flooding panel lines. Add a small amount of water to a palette, mix gradually and test the consistency on the palette surface. If the paint runs into recesses, it is too thin; if it leaves ridges and covers in one opaque stroke, it is too thick.
Apply two or three controlled coats rather than forcing complete coverage at once. Leave each layer to dry before adding the next. This is particularly important with pale colours, yellow, red and off-white, which often become chalky when scrubbed repeatedly over a dark basecoat. A slightly translucent first layer can establish colour while preserving the smooth texture beneath it.
A wet palette helps keep paint workable during longer sessions, but it is not essential. In dry parts of Australia, paint may thicken rapidly on a regular palette, so a damp sponge beneath baking paper can extend working time. In humid areas such as Brisbane or Darwin, use less water and allow extra drying time between layers to prevent soft paint from lifting.
Build shadows with controlled washes
Washes are most effective when placed with intention rather than brushed over the entire model. Use a fine brush to guide a darker tone into panel lines, joints, folds and recesses. On a shoulder pad, for example, apply the shade around the lower rim and under attached equipment instead of covering the entire surface and flattening the colour.
A general shade can still be useful on textured areas such as mesh, leather, fur and rugged equipment. Control the amount on the brush before touching the model. If a pool forms on a flat panel, wick it away with a clean, slightly damp brush. This simple correction prevents tide marks and dark rings that can spoil otherwise neat work.
For richer shadows, mix a darker version of the base colour rather than relying solely on black. Deep blue mixed with dark violet often looks more natural than blue shaded with pure black. Brown or red-brown can add warmth to leather, parchment and brass. The result is a miniature with depth that still retains the original colour identity.
Create highlights with layering and edge work
Layering is the brush-painted substitute for many airbrush gradients. Start with the base colour, add a darker mix to the shaded side, then apply a lighter mix to raised areas. Each layer should cover a smaller area than the previous one, leaving a visible transition between tones. Two or three steps are usually enough for gaming miniatures.
Edge highlights make armour panels and hard surfaces readable. Use the side of a fine brush on straight edges, and reserve the tip for corners and small marks. A narrow, pale line along the upper edge of a shoulder pad can suggest a strong light source. Keep the highlight broken on heavily worn surfaces so it looks like reflected light rather than a drawn outline.
For curved surfaces, use short strokes that follow the form. On a helmet, the highlight should arc over the dome; on a cloth fold, it should run along the ridge. Add a final pinpoint highlight only to the sharpest corners, lenses or polished metal. Too many bright marks reduce contrast and make the whole model appear equally shiny.
Paint details that attract attention
Faces and helmets deserve extra care because they draw attention first. Over a dark base, establish the skin or lens colour with thin coats, then shade the recesses and place a focused highlight on the most prominent planes. You do not need to paint every facial feature. A controlled eye socket, nose bridge and cheek highlight often read better than tiny, uneven lines.
Weapons benefit from simple material cues. Dark metallics look convincing when shaded with a brown-black wash and highlighted on corners. Silver edges can be added sparingly to suggest wear. Energy weapons, plasma coils and screens should use a bright focal colour, with a small amount of that colour reflected on nearby surfaces to connect the effect visually.
Transfers, squad markings and freehand symbols can make a team look cohesive. Apply transfers over a smooth surface, soften them with setting solution if available and seal them before weathering. For freehand work, sketch the shape with a muted colour first, correct the outline, then add the brighter final mark. Australian tournament teams often use distinctive colour schemes for identification, and consistent shoulder markings help opponents read operatives quickly.
Finish, photograph and protect the squad
A final inspection under a bright lamp will reveal missed mould lines, shiny patches and thin areas of coverage. Correct mistakes with the surrounding colour rather than repainting an entire section. A pin wash in selected recesses, a few edge highlights and a clean base rim can make a completed model look significantly more polished.
Varnish protects the paint from repeated handling during games. Apply a gloss coat first if you want maximum durability, then use a satin or matte varnish to control the final sheen. Keep lenses, screens and wet effects glossy by adding a small brush-on gloss coat after the matte layer has cured. Spray varnish should be tested on a spare piece, particularly during Melbourne’s cold winter evenings or humid summer weather.
Bases complete the presentation. Use texture paste, sand, slate or small scenic details, then paint and drybrush them with colours that contrast against the operative’s feet. A dark base can support bright armour, while pale industrial flooring can frame darker models. Keep the rim consistent across the whole team. When photographed or streamed, this uniform border helps the squad appear like a finished collection rather than seven unrelated miniatures.
Display-quality results come from decisions repeated carefully: a smooth primer, clean basecoat, restrained shading, deliberate highlights and strong focal details. An airbrush can accelerate some of these stages, but it is not the source of quality by itself. A patient brush workflow gives Kill Team players the control to produce tournament-ready operatives that remain distinctive, durable and visually clear across Australian clubs, events and streaming cameras.
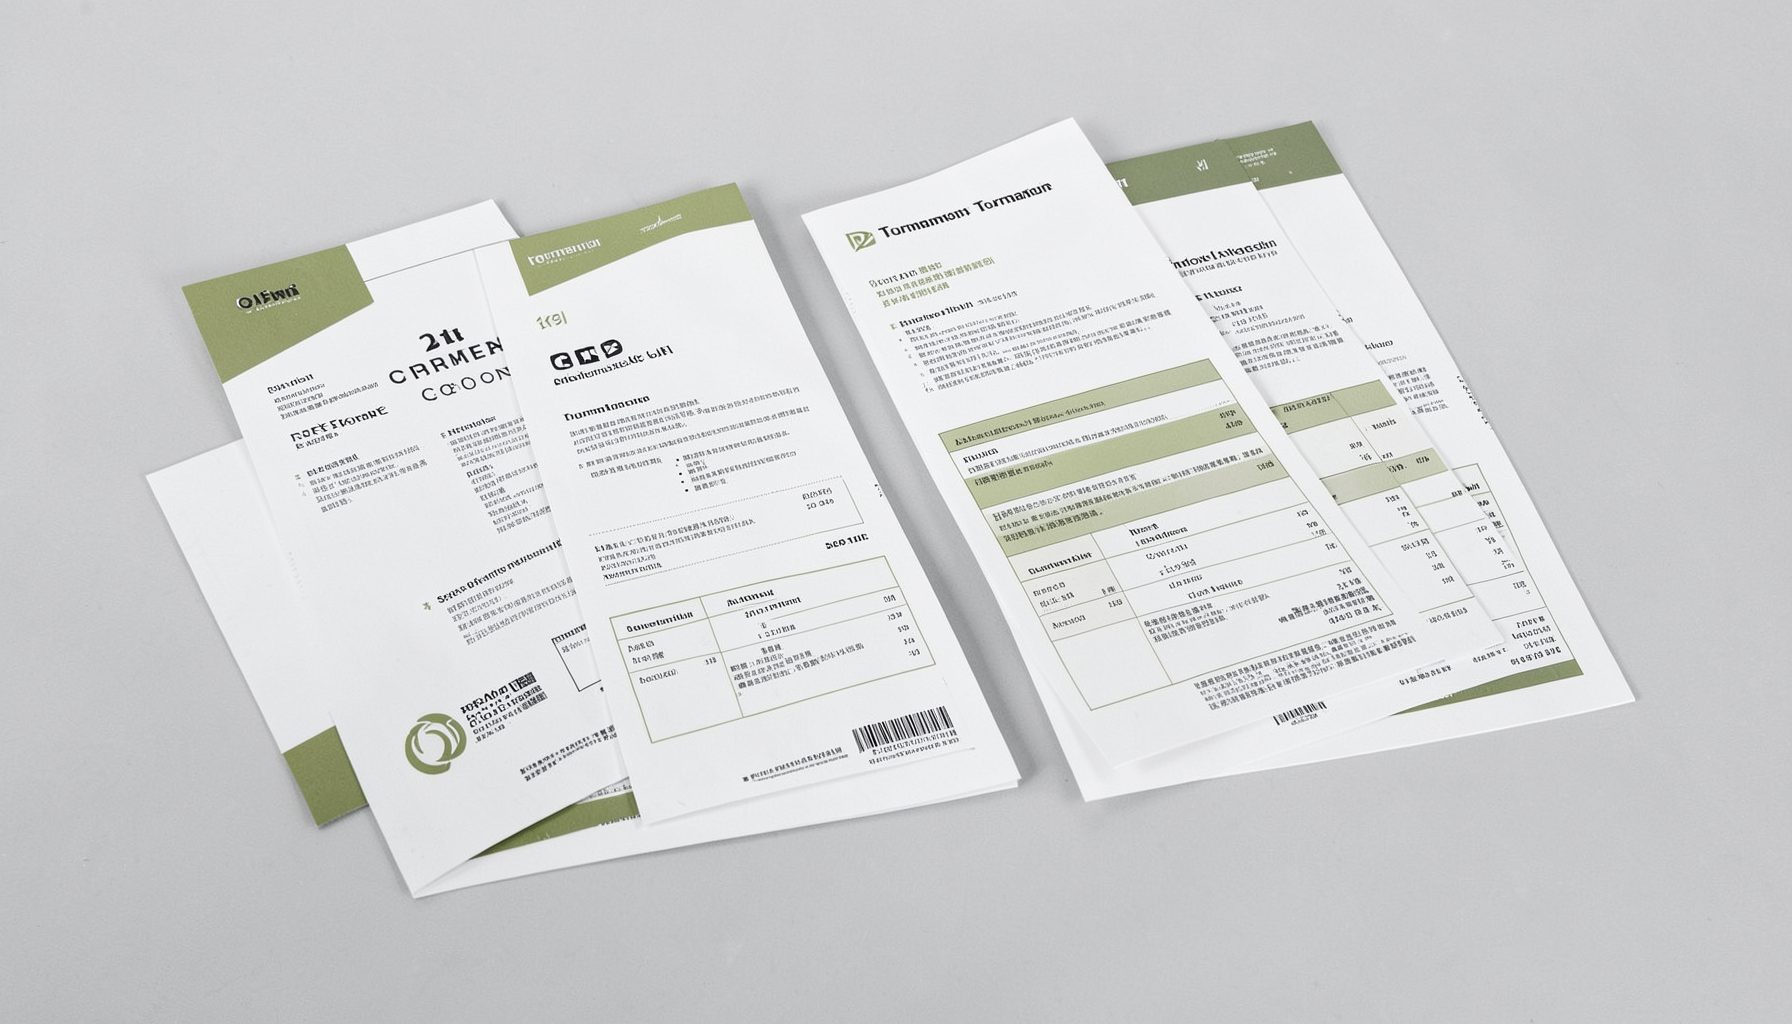
Tournament Packets
Packets from previous Kill Team events are kept here alongside new packets for upcoming tournaments, so organizers and players have what they need in one place.
View Event Data