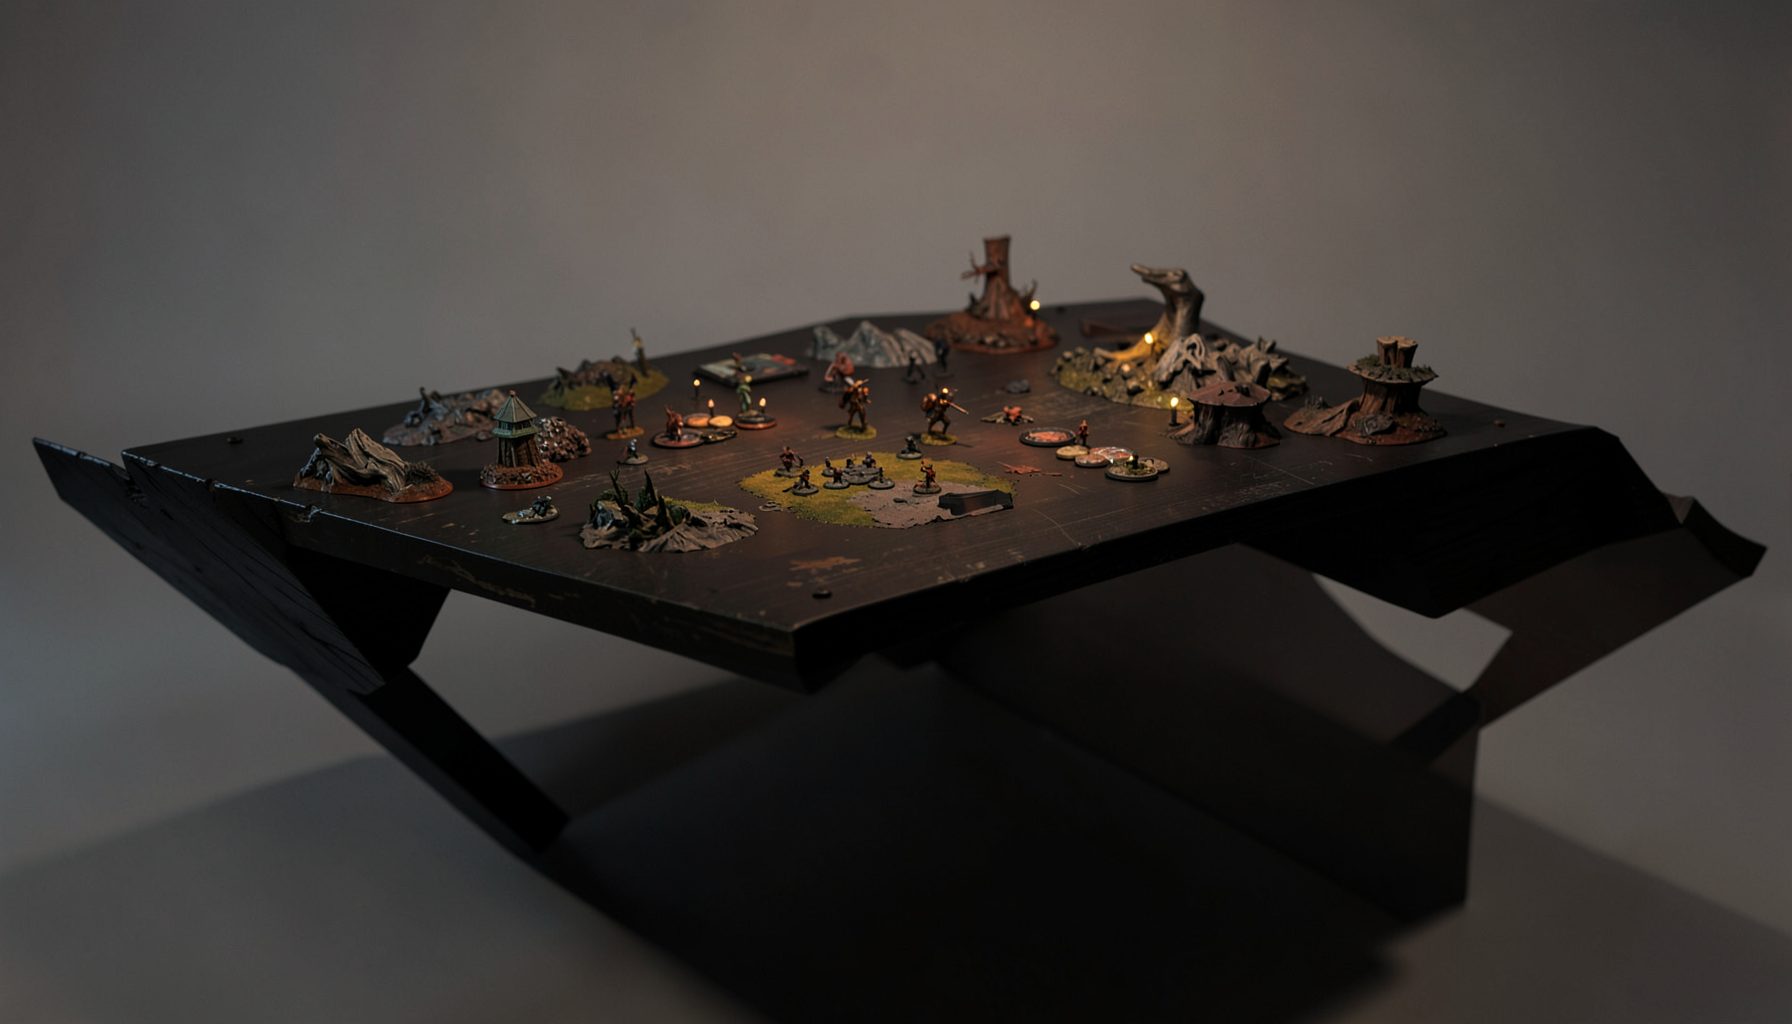
Live-streamed games, recorded matches, and event data gathered in one place.
Kill Team Stream hosts quality live streaming of Kill Team content — tournaments throughout the year on Twitch, regular games streamed to the channel, and tournament data gathered so players can see what's happening in the scene. Powered by WARHAMMER.
Browse tournamentsOfferings
Tournaments
Multiple Kill Team tournaments hosted throughout the year, all live-streamed on our Twitch channel.
Videos
Streams are recorded and uploaded to YouTube alongside original video content we produce.
Event Data
Tournament packets from past events plus resources for upcoming Kill Team tournaments.
Site Directory
How to recover after a bad first turning point in Kill Team
A poor opening turning point can make a Kill Team match feel finished before the real decisions begin. An operative may be exposed, an early trade may go badly, or an ambitious scoring play may leave your kill team scattered across the board. The immediate temptation is to chase the lost advantage with even riskier activations.
Competitive games are rarely decided by the first mistake alone. Recovery comes from identifying what is still valuable, protecting your scoring plan and forcing the opponent to solve a new problem. Whether you are playing at a club in Melbourne, attending an event in Sydney or following a streamed tournament from home, the same discipline applies: stabilise before trying to dominate.
| Opening problem | Unhelpful response | Better recovery |
|---|---|---|
| A key operative is injured or lost | Rush another model into danger | Preserve the remaining pieces and trade selectively |
| The opponent wins initiative or tempo | Spend every resource immediately | Keep options for the next turning point |
| Early objective play fails | Abandon scoring entirely | Recalculate which points remain realistic |
| A concealed model is exposed | Continue the original plan | Change the plan around safer angles and cover |
| A key attack misses | Repeat the same attack | Create a favourable activation or target instead |
Assess the position before making another move
The first recovery skill is emotional control. A failed attack, unlucky save or lost operative creates the feeling that you must repair the damage immediately. That feeling often causes a second error. Pause and evaluate the board as it exists now, rather than replaying the decision you wish had worked.
Count the operatives each side has left, then identify which models still have meaningful jobs. A wounded specialist may be poor at fighting but excellent at holding an objective, screening a route or threatening a mission action. Your opponent may have more bodies, yet some of those models could be badly positioned or unable to contribute during the next few activations.
Check the score and the likely scoring windows. If the first turning point has cost you one point, the game is still fundamentally different from a match where you have lost control of the board and two operatives. Separate permanent damage from temporary inconvenience. This prevents a small setback from becoming a self-fulfilling defeat.
Protect the pieces that can still score
After a bad opening, players often focus too heavily on revenge. The operative that eliminated your specialist becomes an emotional target, even when attacking it is strategically poor. A stronger response is to identify the models that can generate points over the next two turning points and keep them alive.
Objective holders, mission-action specialists and mobile operatives usually deserve more protection than damaged combat pieces. Move them into cover, use line-of-sight blockers and avoid ending an activation where several enemy models can respond. If a model has already completed its useful task, preserving it may be more valuable than searching for an extra attack.
This is especially important in dense tournament terrain. Australian events often use carefully arranged boards with ruins, barricades and large line-of-sight-blocking pieces. Treat those elements as resources. A model that survives behind a ruin may contribute later, while a model exposed in open ground can disappear before it has a second meaningful activation.
Rebuild your activation order
A bad first turning point often leaves the opponent with the initiative in practical terms, even when the formal initiative roll is undecided. They have established firing lanes, forced your models into cover or created threats that must be answered. Your next priority is to regain control over activation order.
Start with low-risk actions that reveal information or limit the opponent’s choices. A safe reposition can deny a charge lane, protect an objective or force an enemy shooter to spend its activation moving. Avoid activating your most important model simply because it is available. Holding a key operative can make the opponent commit first, giving you a clearer target and a better response.
Look for situations where one activation solves several problems. A model might move into cover while contesting an objective and blocking a charge route. Another may take a mission action while becoming a difficult target. Efficient activations are essential when you have lost a body, because each remaining operative must contribute more often without being placed in unnecessary danger.
Change the mission plan without abandoning it
Recovery does not mean pretending the original plan is still intact. If your opening involved controlling a central objective and that position has become unsafe, continuing to force the same play can lose the match. Adjust the route to scoring while keeping the mission as your priority.
Consider which objectives can be secured with the least exposure. A side objective may be worth more than a contested central point if it can be held safely for several activations. If a mission action now requires an exposed operative, ask whether the reward justifies the risk or whether another model can perform it later.
Tournament packs can shape these decisions significantly. An event in Brisbane may use a packet with different scoring timing or terrain expectations from a local club night in Adelaide. Read the mission conditions carefully, including when points are scored and whether an objective must be held at a particular stage. Players recover more effectively when they respond to the actual scoring structure rather than to the visual drama of the centre of the board.
Spend command points and abilities with restraint
A first-turn setback can make resources feel like emergency money. Players spend command points, tactical ploys or once-per-game abilities to force a low-probability attack, rescue an exposed operative or gain a small positional advantage. Sometimes that is correct, but panic spending is difficult to recover from.
Before using a resource, define the result you need. If the ability merely improves a speculative attack, it may be better saved. If it secures an objective, prevents a confirmed enemy kill or creates a decisive trade, its value is easier to justify. Think in terms of turning-point swing rather than individual dice.
Also consider the opponent’s remaining options. If they have already used a critical defensive ability, your next attack may be stronger without additional support. If they still have a powerful counter available, a flashy play can become a trap. Experienced players on Kill Team Stream broadcasts often appear calm because they are tracking future resource exchanges, not just the current attack.
Create a favourable trade
When behind, you do not always need to eliminate the opponent’s strongest operative. You need exchanges that improve your position. A cheap operative trading for a durable enemy model may be excellent, while sacrificing an expensive specialist for a minor target may deepen the problem.
Look for targets that are isolated, wounded, unable to score or forced to activate before they can receive support. A damaged enemy model behind cover may be less valuable than a healthy model standing on a mission-critical objective. Prioritise the target that changes the opponent’s next decision.
Avoid equal-looking fights that leave your model exposed to several enemy activations. A good recovery attack should either remove a meaningful threat, secure a point or force the opponent to spend multiple resources responding. If it does none of those things, repositioning is often the better play.
This is where watching recorded matches becomes useful. Pause before an important activation and predict the recovery line. Compare your choice with the player’s actual decision, then ask what the move threatened and what it protected. The lesson is not to copy a particular faction’s sequence, but to recognise the value of forcing difficult choices.
Use the next turning point as a reset
A bad first turning point does not need to be erased; it needs to be contained. Your objective is to reach the next stage with enough operatives, resources and scoring access to make the opponent uncomfortable. That may mean accepting a modest score while preserving a powerful specialist or denying the enemy a clean target.
At the end of the turning point, review four things: which models are safe, which objectives are realistically available, which enemy threats must be answered and which resources remain. This short audit gives you a working plan instead of a vague sense of being behind.
The physical conditions of Australian play can make this reset particularly valuable. Long travel between events, warm venues in Perth or humid summer conditions in northern cities can affect concentration across several rounds. A brief pause to record remaining command points and mission priorities helps prevent fatigue from turning one poor turning point into a tournament-wide slump.
Turn the mistake into a repeatable lesson
After the game, separate decision quality from dice results. A failed attack may have been correct if it offered strong odds and protected your position. A successful attack may still have been a mistake if it exposed a key model for no worthwhile gain. Review the information available when you made the decision, not only the outcome.
Write down the first moment the game changed direction. Was it an exposed operative, a rushed mission action, a poor deployment lane or an incorrect assumption about the opponent’s threat range? Then identify one replacement habit. Examples include measuring before every aggressive move, keeping a second model near an objective, or reserving one command point for defence.
Australian players have a useful learning network through local stores, club leagues and tournament communities. A match in Sydney or Melbourne can provide more practical feedback than solitary theory because another player can explain what threat they believed they were presenting. Online streams and event recordings add a second perspective, especially when commentary explains why a player declines an attractive attack.
The aim is not to play without mistakes. It is to make the first mistake the last one that matters. When you assess the board calmly, protect scoring pieces, manage activation order and choose trades carefully, a damaged opening becomes a position to navigate rather than a verdict on the game.
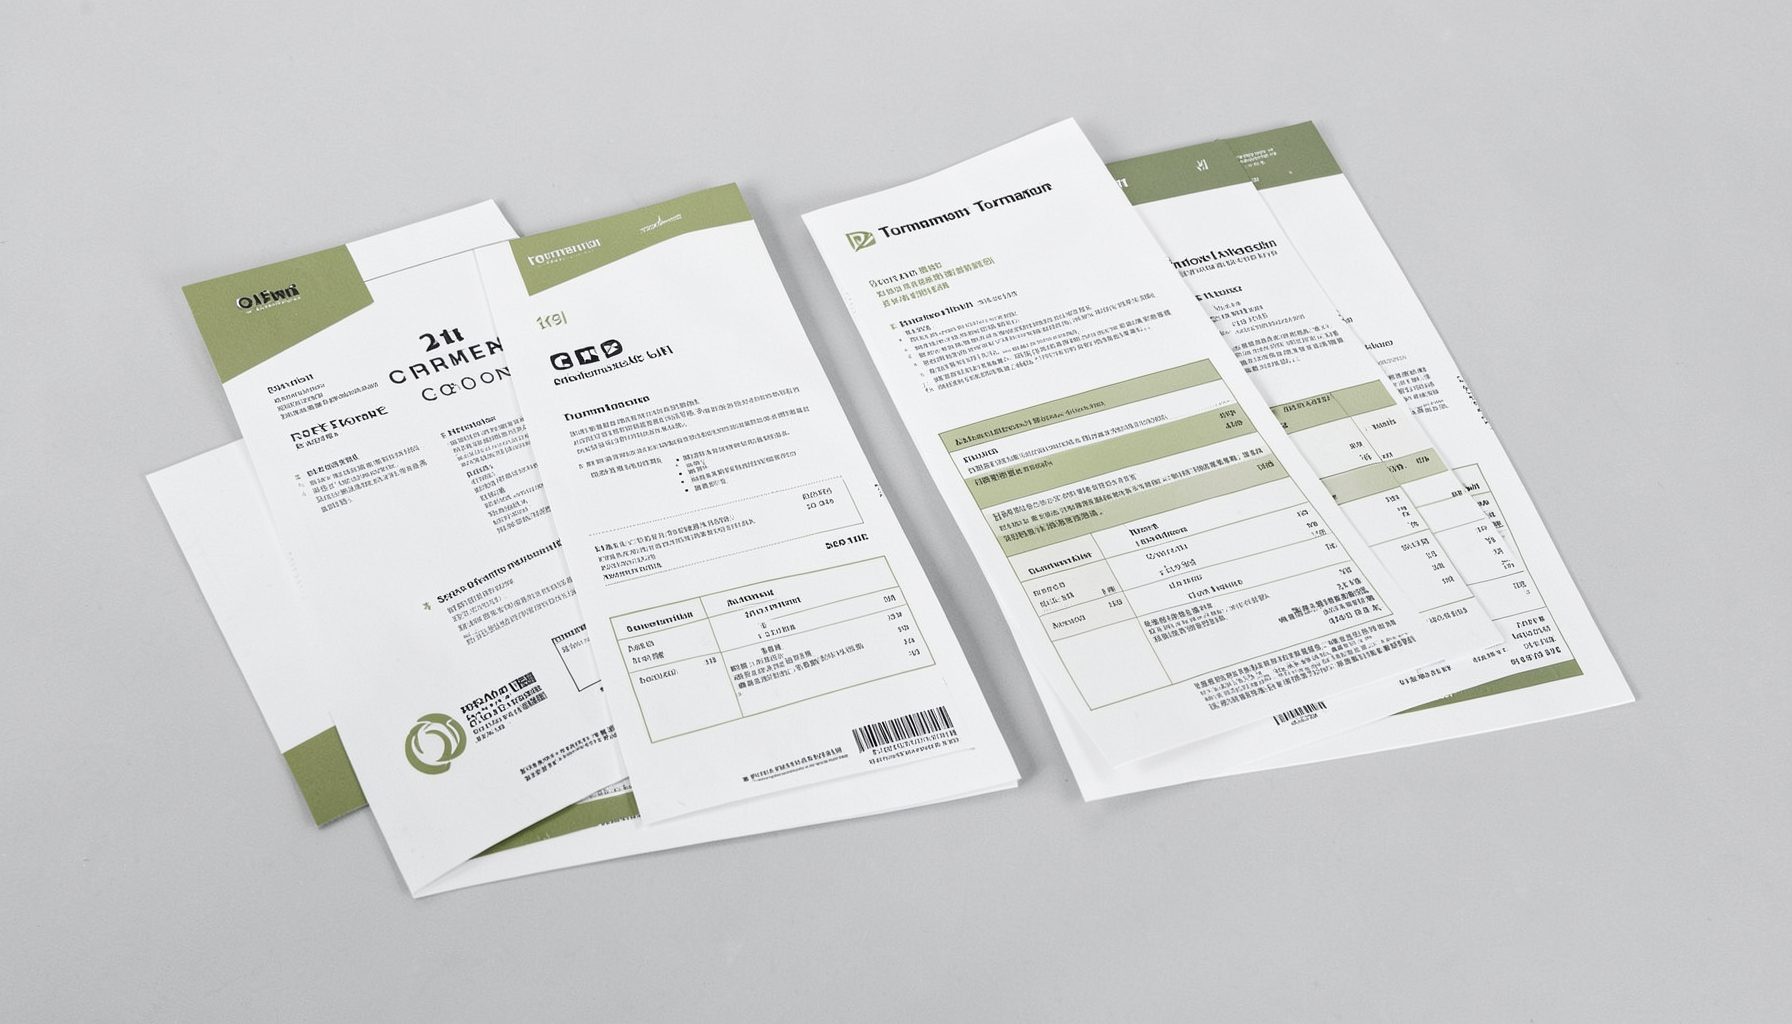
Tournament Packets
Packets from previous Kill Team events are kept here alongside new packets for upcoming tournaments, so organizers and players have what they need in one place.
View Event Data