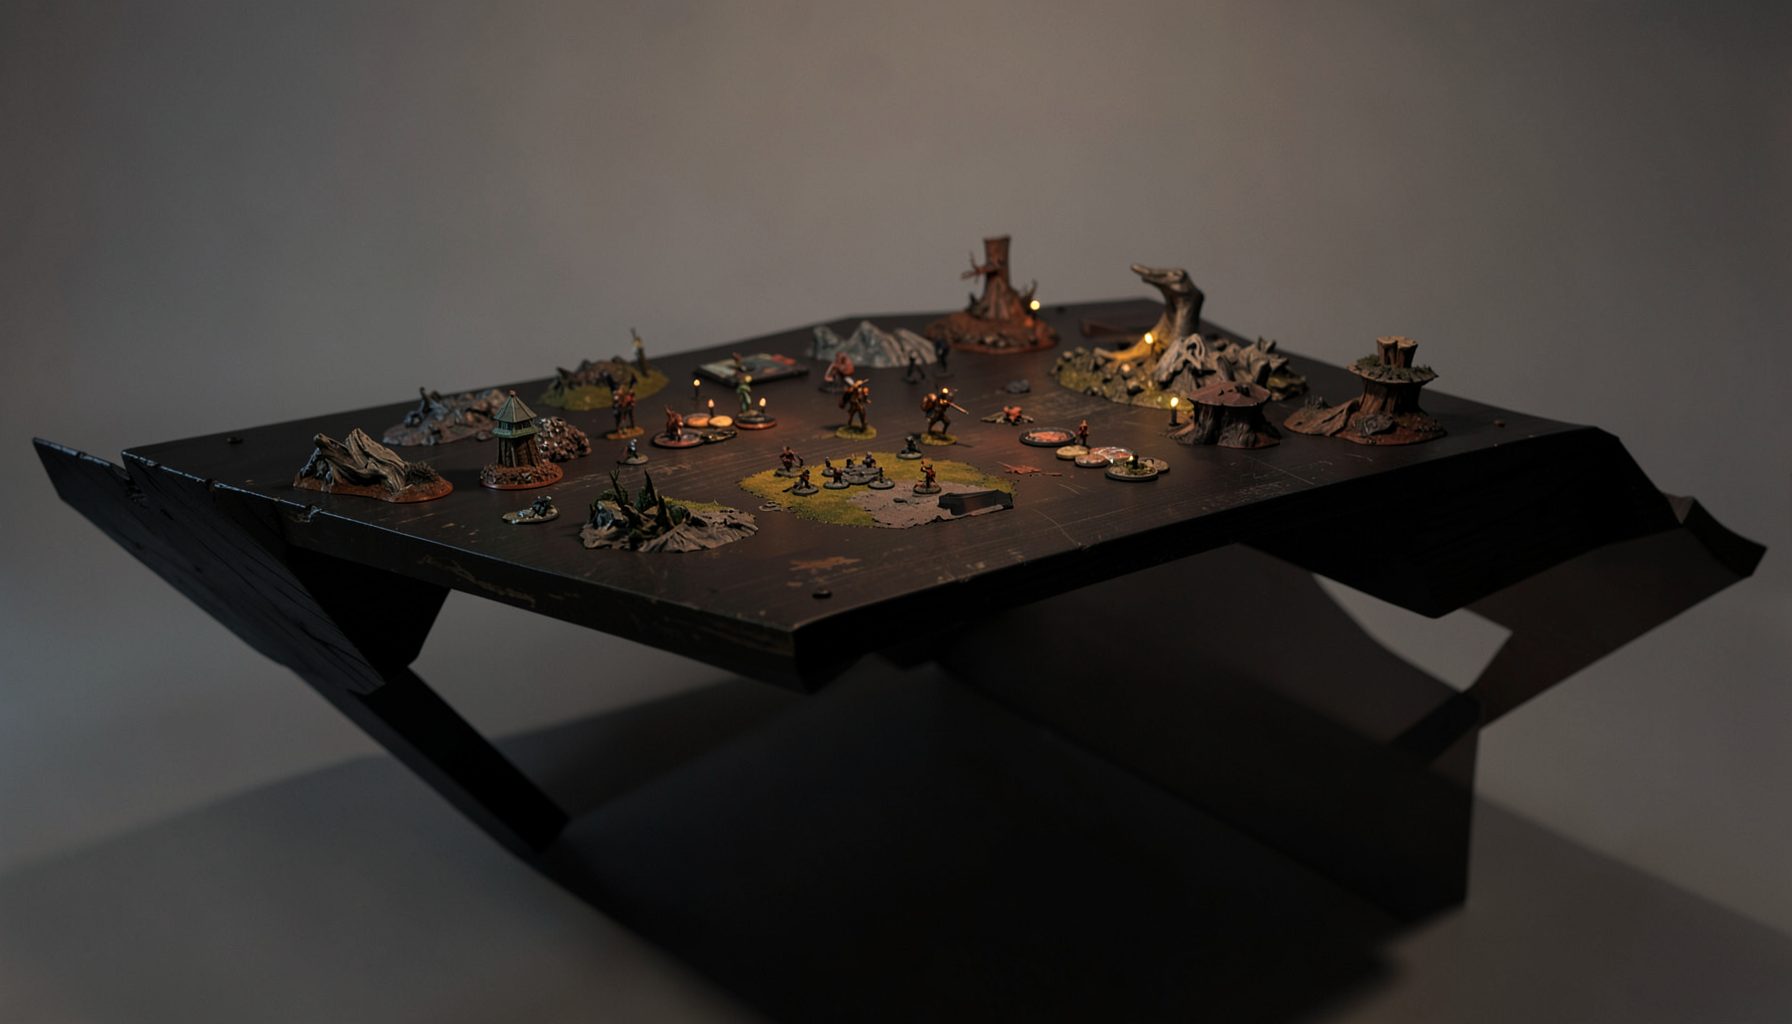
Live-streamed games, recorded matches, and event data gathered in one place.
Kill Team Stream hosts quality live streaming of Kill Team content — tournaments throughout the year on Twitch, regular games streamed to the channel, and tournament data gathered so players can see what's happening in the scene. Powered by WARHAMMER.
Browse tournamentsOfferings
Tournaments
Multiple Kill Team tournaments hosted throughout the year, all live-streamed on our Twitch channel.
Videos
Streams are recorded and uploaded to YouTube alongside original video content we produce.
Event Data
Tournament packets from past events plus resources for upcoming Kill Team tournaments.
Site Directory
How to Set Up a Balanced Board for Competitive Play at Home
A home battlefield should do more than provide somewhere to roll dice. It should reproduce the pressure of a tournament: readable sightlines, meaningful cover, fair access to objectives and enough room for the mission to develop. A balanced board lets tactical choices matter because neither commander receives terrain advantages that were never agreed upon.
Balance does not mean every piece of scenery must be identical or every route must have the same length. It means both players begin with equivalent opportunities. A useful layout offers several approaches, makes the central scoring areas contestable and prevents one faction’s models or weapons from deciding the result before the first turn.
Preparation begins before any models are unpacked. Decide which mission you will practise, how many players will attend and what board or table area is available. Sketch the layout, assign the terrain and record fixed positions so the same arena can be rebuilt after an evening of gaming.
That approach suits Australian players, who often practise in suburban spare rooms, garages or community halls rather than dedicated studios. Regular sessions are available through Games Workshop stores and independent hobby shops around Melbourne, Sydney, Brisbane and Perth, yet a dependable home setup saves travel time and supports repeated testing against the same scenarios.
Start With the Mission and Player Count
A mission gives the board its tactical purpose. A scenario centred on holding a marker needs a capture space that several units can contest, while a mission rewarding control of ground may favour broad lanes and scattered cover. Identify where models will score, where fighting is likely and how a player might be drawn away from the main objective.
Player count changes the geometry. More operatives create congestion around objectives, deployment areas and doorways, so a layout that feels open in a duel may become a traffic jam with six players. Choose the expected roster, allow enough table area for every model to enter legally and avoid forcing early movement through a single gap. A short setup card listing the mission, roster limit, terrain, starting positions and turn-order method prevents these problems before initiative is rolled.
Design Fair Terrain Distribution
Functional symmetry is a strong starting point. Use equivalent cover on opposite approaches, comparable height near each objective and enough full cover to break long firing lanes. Exact mirrored scenery can look tidy, but footprints and profiles matter more than visual neatness: a broad ruin offers different concealment from a narrow block even when both are labelled as full cover.
Distribute terrain in connected groups rather than scattering isolated props. Players need movement chains that link low cover, elevated positions and alternate routes, yet every chain should include a cost. A central block can anchor the board if it leaves access around its sides; a high wall beside an objective can dominate the scene if it creates one protected firing point. Board edges should complete the battlefield, not hide a shortage of terrain. Where your kit is uneven, replace a missing piece with another of similar height and footprint instead of leaving one approach bare.
Control Sightlines Without Making Them Predictable
A tournament layout needs clear shooting lanes, but clarity should come from sound terrain design rather than memorised geometry. Each major sightline should have at least one answer: a repositioning model, a piece of cover, an alternate angle or a short route around the obstacle. Players should be able to explain why a shot is available without consulting a diagram drawn for only one faction.
Test sightlines with the actual models and the height of the table in mind. Windowed pieces, low walls and raised platforms often behave differently from solid blocks, especially when a model can occupy several positions around them. Brisbane’s strong daylight can reveal narrow gaps in a garage or verandah screen that disappear under evening lighting, so check the setup under the light conditions likely at play. Remove improvised sightline notes before scoring begins, and use removable markers only while building or testing the board.
Balance Objectives and Kill Zones
Objective markers must offer comparable value, access and risk. If one marker is easier to reach, protected by dense terrain or visible from several angles, it can dominate the mission regardless of the rest of the board. Give each objective enough surrounding space for multiple operatives, preserve a route for later turns and make the shortest approach carry some exposure rather than rewarding an immediate rush every game.
Kill zones should frame decisions, not conceal bad terrain. Place them where models are likely to exchange fire and where the marker changes the value of shooting or movement, then check that each one has relevant cover nearby. A kill zone that overlaps an objective can make scoring exceptionally dangerous, so move it if the mission already creates that pressure. Use the same official-style markers for every practice game and record their coordinates in your setup sheet; otherwise a small placement adjustment can create an accidental advantage.
Build Fair Deployment Zones
Deployment space is part of the battlefield, not an administrative afterthought. Each player should have an equivalent amount of usable ground and broadly comparable routes to the first meaningful contest. Keep the full width of an area available, and do not let tall scenery beside a deployment zone grant better forward views than the corresponding ground across the table.
Watch for bottlenecks at doors and around the table edge. A wide zone can still be unfair if every model must pass through one corner, while a cramped zone can force a commander to deploy in the open. Confirm that deployment is legal for the mission and that the operative limits match the space being used. If regular games involve more players than your board comfortably supports, enlarge the playing area or reduce the density of terrain rather than compressing every fight into the centre.
Test the Board With Real Operatives
A layout that looks balanced on paper still needs to survive real movement. Place representative models from the factions you expect to field, measure common routes and run at least one match from each starting position. Swap factions after the first game so terrain, mission and deployment are tested against different tools rather than favouring the models used during construction.
Keep a short record of each test. Note blocked lines, slow advances, scoring congestion and any turn where one player had little choice beyond waiting. Tournament recordings and commentary on Twitch or YouTube can expose patterns that a tabletop glance misses, while background material from The Legacy Pit can help with terrain references and competitive discussions. A photograph taken from the players’ seated viewpoint is often more revealing than one from above.
Standardise Your Home Tournament Setup
Once the layout works, convert it into a repeatable procedure. Photograph the finished board, label terrain positions and keep the objective markers, kill zones and deployment boundaries consistent. Lay out tape, pencils, tissue, dice, measuring tools, a timer, the mission reference and score sheets before players arrive. Agree on when initiative is rolled and allow random methods for deployment or other setup effects only when both players understand them beforehand.
Many official Kill Team references use inches, while Australian hobbyists are accustomed to metric rulers and templates. Keep both tools available or prepare a conversion card for the distances used most often, and confirm every measurement against the current rules. Clear metric equipment can still be part of the setup, provided no improvised substitute changes the result. Large conventions in Sydney and Melbourne often use broad hotel or games-centre halls, so practise rebuilding the board within a larger footprint and make the packed terrain easy to identify.
A final inspection should occur before models are placed. Check the table surface for slope, confirm that terrain feet are stable, verify the playing area against the mission and remove anything that could catch a base or block a camera. Community evenings hosted by local stores are a useful test environment, and portable trays or foam boards can help preserve the layout when moving between halls. The completed setup then becomes a fixed competitive reference: the same terrain, the same deployment limits and the same conditions allow every result to reflect tactical decisions rather than accidental preparation.
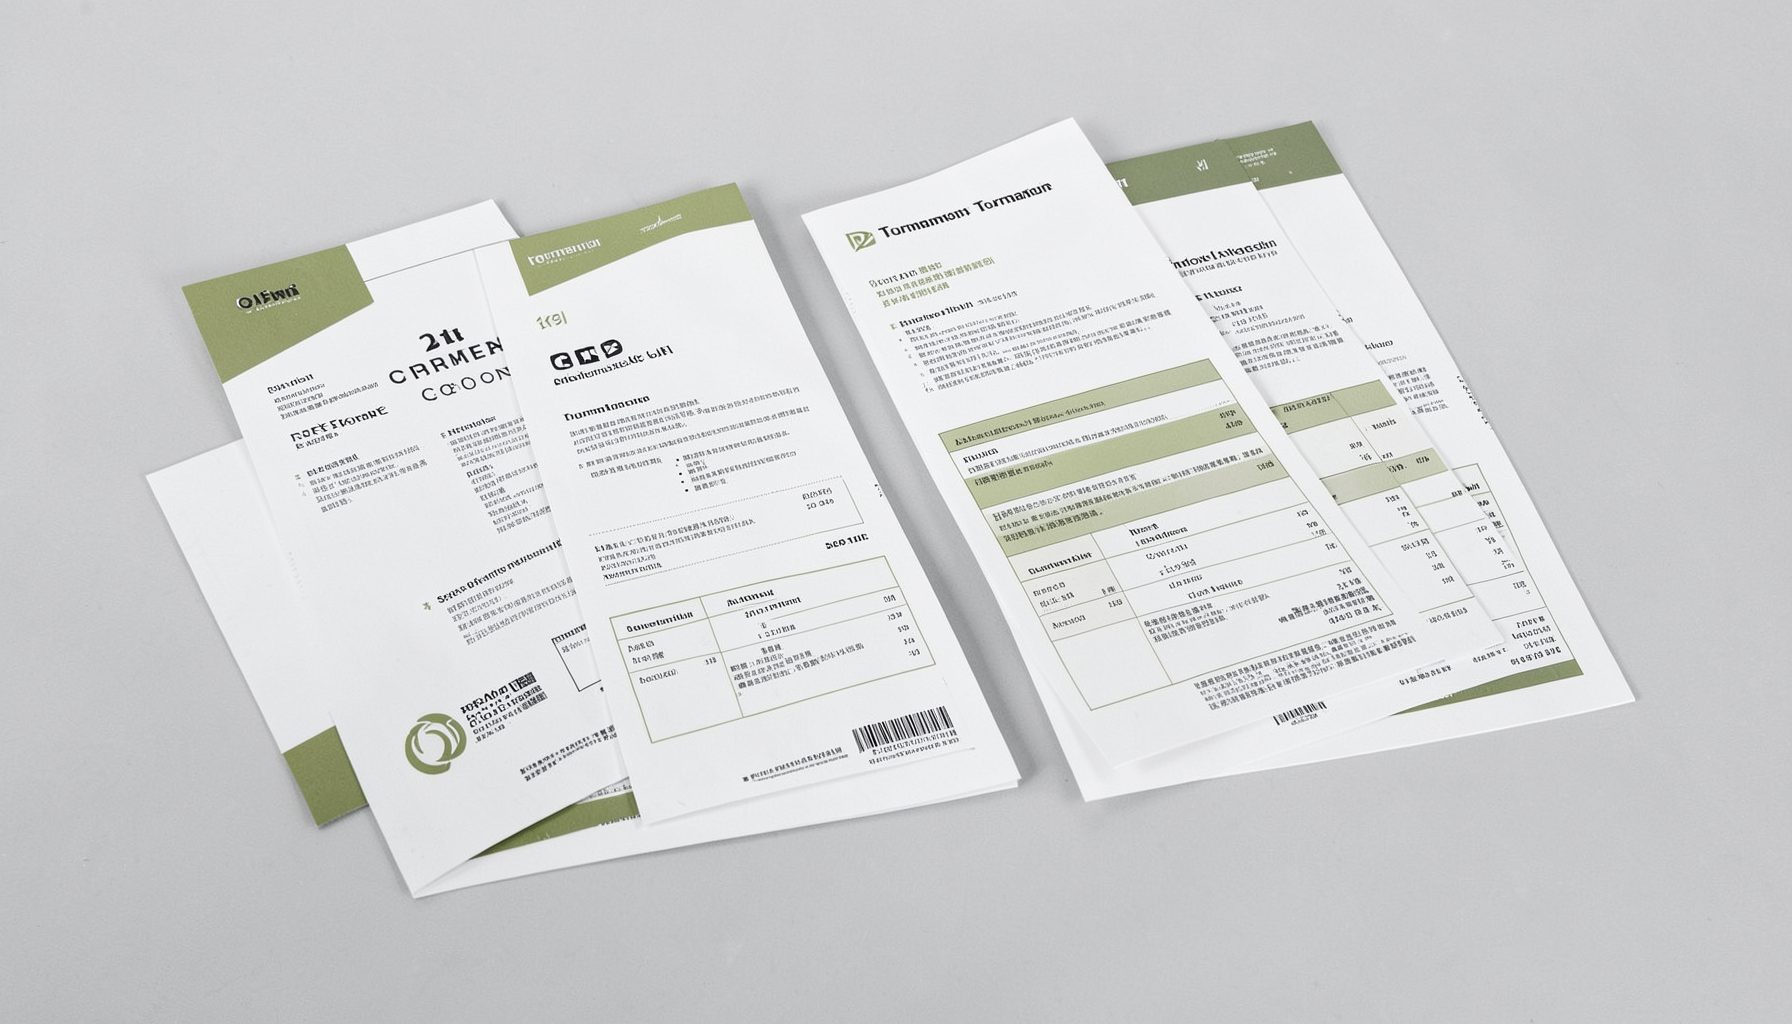
Tournament Packets
Packets from previous Kill Team events are kept here alongside new packets for upcoming tournaments, so organizers and players have what they need in one place.
View Event Data