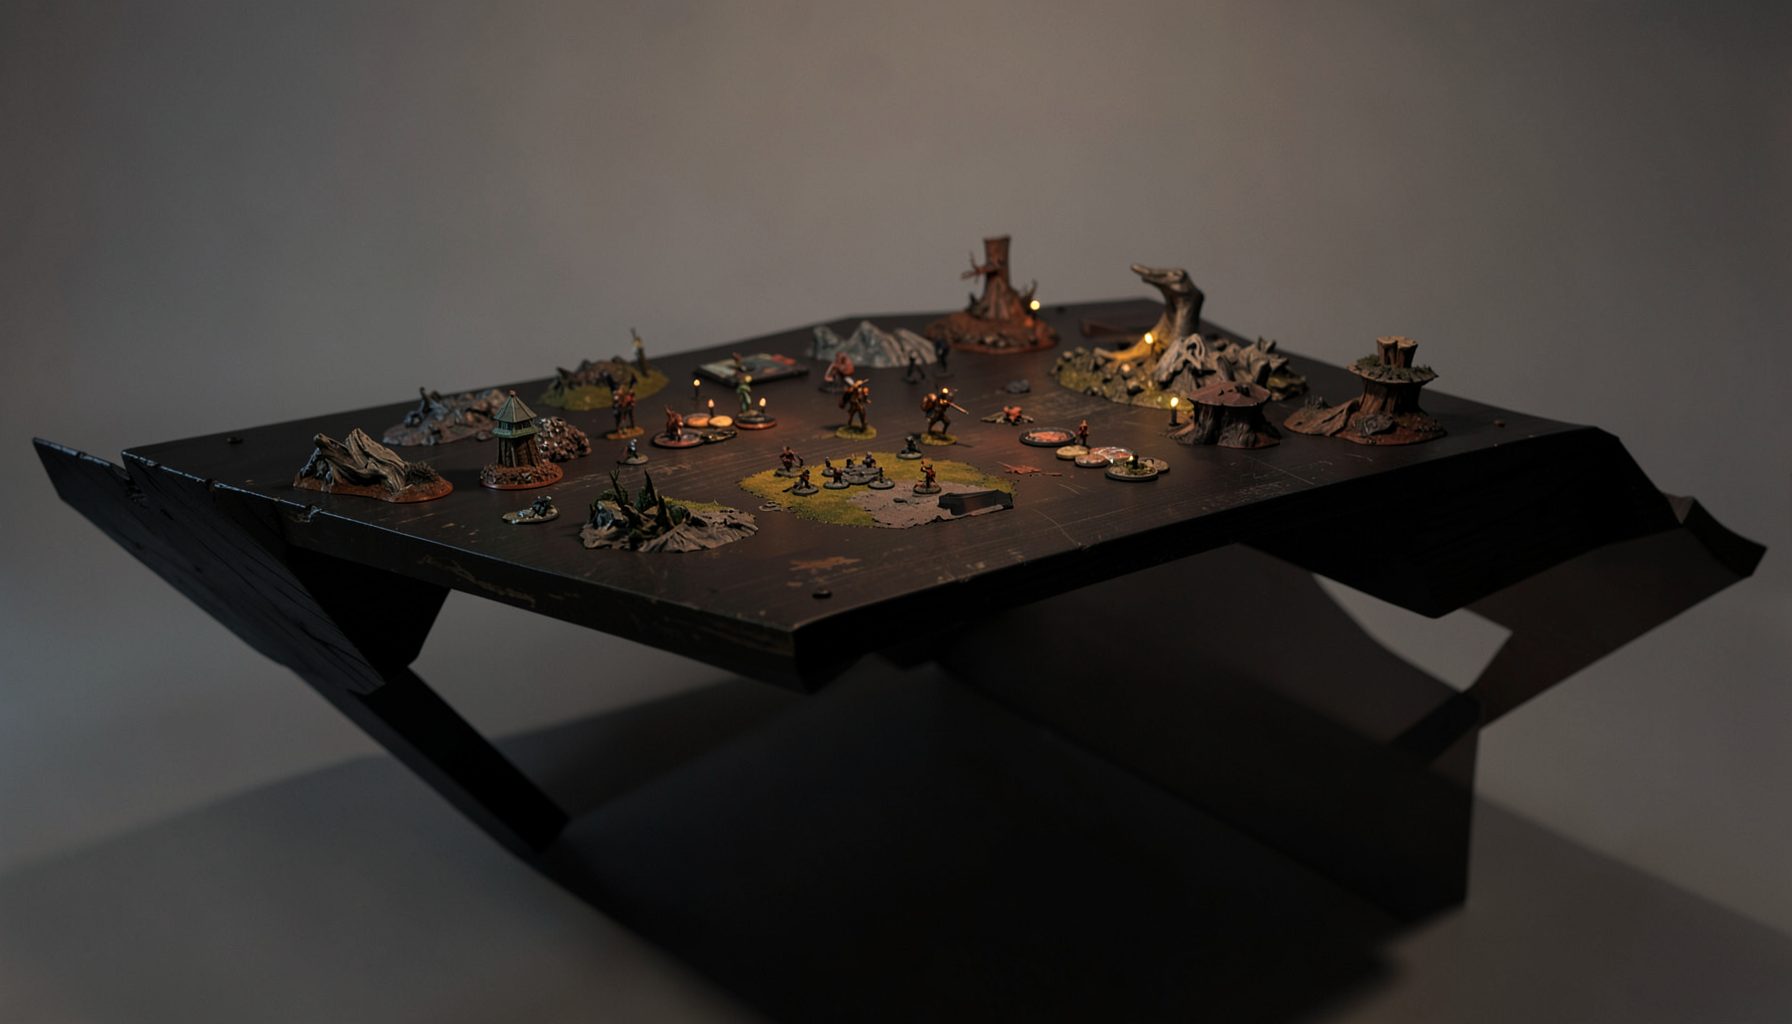
Live-streamed games, recorded matches, and event data gathered in one place.
Kill Team Stream hosts quality live streaming of Kill Team content — tournaments throughout the year on Twitch, regular games streamed to the channel, and tournament data gathered so players can see what's happening in the scene. Powered by WARHAMMER.
Browse tournamentsOfferings
Tournaments
Multiple Kill Team tournaments hosted throughout the year, all live-streamed on our Twitch channel.
Videos
Streams are recorded and uploaded to YouTube alongside original video content we produce.
Event Data
Tournament packets from past events plus resources for upcoming Kill Team tournaments.
Site Directory
How to use chip damage to force tough choices on your opponent
Using chip damage is about making an opponent spend attention and actions on a problem rather than simply adding wounds. In Kill Team, a well-placed one-wound hit can threaten a casualty, alter an operative’s usefulness and create uncertainty around the next activation. The aim is not simply to win an exchange at any cost; it is to make every answer the opponent chooses carry a visible cost.
This mindset changes how you read the board. A shooter’s job is not always to remove a model immediately. If a damaged operative can still tie up a route, contest an objective or expose a valuable unit behind it, your shot has created leverage even before the kill. Chasing a cheap casualty while an untouched specialist sits behind a scoring lane can hand the round to the other player.
Start with the opponent’s scoring rather than your damage total. Identify which operatives carry objectives, control deployment, reveal information or threaten a multi-model plan. Then decide whether a wounding shot improves those possibilities. Tournament packets can reward elimination, holding points and card plays in different ways, so check the mission and faction rules before choosing a target. The same shot that looks attractive against one list may be a bad trade against another.
Good chip damage is a sequence: make one threat credible, preserve a second and wait until the opponent must decide which risk to accept. The principle works with a single model, but it becomes sharper when several of your operatives contest different routes. Match recordings and commentary on Kill Team Stream can show how experienced players turn these positions into repeatable routines rather than isolated tricks.
Understand what chip damage actually changes
Most standard operatives have two wounds, so a single successful hit can leave them one step from a casualty. Some faction abilities, injuries and special rules alter that baseline, but the tactical value remains: a wounded operative occupies space, can become a less reliable defender and may be finished on a later turn. This controlled attrition is valuable when it changes what the enemy wants to do, not when it merely looks impressive on the roster.
Damage also changes the opponent’s calculation of risk. A full-health model may be worth shooting because it is dangerous; a one-wound model may be worth shooting because it is cheap, or may be left alive because killing it exposes a better target. Read the model, the weapon and the objective before committing. If terminology or packet details are unclear, the site’s frequently asked questions is a sensible place to check before an event.
Create competing threats with positioning
Positioning turns chip damage into a decision problem. Put two of your operatives on separate angles, ideally with different cover, line of sight and routes into the objective area. A shot at the nearer model may protect a scoring lane; a shot at the farther model may prevent reinforcement or a reveal. When the opponent cannot answer both, your damage has done work beyond the wound itself.
Before you shoot, ask what the enemy will do after each result. If they ignore the damaged operative, it can advance or shoot; if they kill it, you gain space and may create a favourable trade; if they move away, you have protected the objective. This is stronger than pointing at the biggest threat. It also makes your positioning adaptable: a covered angle that threatens two targets is often better than a clear shot that threatens only one. Target priority should emerge from those competing consequences.
Make every activation matter
Timing is the difference between pressure and a wasted turn. Chip an operative early enough that the enemy must react before the board state improves, but late enough that your shot still has a purpose. A model with one wound left can absorb an activation, occupy a doorway or force a defensive move, giving your next activation more options. The goal is to make the opponent spend a turn dealing with a problem rather than advancing their own plan.
Try to create a choice between two useful enemy answers. You might threaten an objective carrier with one shot and a specialist with another, then watch which one they activate. If they deal with the first, the second develops; if they remove the first, they expose their position to a trade. Resist the urge to finish every target immediately. Sometimes preserving a damaged operative keeps a model alive as a screen, while a second, healthier operative prepares the decisive attack.
Trade damage without overcommitting
Shooting is the cleanest form of chip damage because range and cover let you choose the timing of the threat. Use a shot that is likely to wound without putting your operative in a position where it can be charged immediately. A model at half health can be a useful screening piece, but a model at half health in the open may simply be a gift. The same rule applies to melee: threaten a fight, watch the opponent’s commitment, and retreat or reposition if the exchange does not favour you.
Do not confuse pressure with suicide. If you must move into close range to deliver the wound, account for the damage you will receive and the chance the enemy can retaliate. Sometimes the best chip is a shot that makes an opponent hesitate, while your real target is the space behind them. Use cover, angles and the edge of the deployment area to make your threat credible without committing your whole team. A small wound that draws a predictable response is often worth more than a flashy damage total.
Coordinate chip damage with objectives
Objective play gives chip damage its clearest payoff. A damaged model sitting on or beside a point can still deny it, and the opponent may have to choose between killing it and scoring elsewhere. If your operative is contesting a marker, a hit can make the enemy spend movement to remove it; if it is off the point, the hit may simply waste their shot. Always compare the value of a casualty with the value of the ground it occupies.
Build examples around a pair of choices. You have one operative on the central objective, one threatening a flank, and a specialist whose shot could secure a kill card. Wounding the central model may force a contest; damaging the flank may protect your specialist’s line. The right play depends on the packet, not a universal priority list. Where kill cards matter, a cheap casualty may give the opponent a useful card, so check the exchange before taking it. Record what the opponent does after each small success, because those responses reveal whether the pressure is working.
Adapt the plan to Australian tournaments
Local conditions shape how much time you have to create a second threat. Melbourne’s hobby stores and convention rooms can be busy, so crowded tables may limit movement lanes; Sydney players often travel in from outer suburbs for a single weekend round. Brisbane’s summer heat and the reliance on air-conditioned venues can make an early start kinder, while Perth’s long distances reward a simple opening that survives a rushed setup. These are small practical differences, but they matter when a measured chip becomes a rushed mistake.
Australian hobby shops commonly price models, rules and terrain in Australian dollars with GST included, and community organisers often rely on shared tables, spare dice and a familiar deck-list rhythm. Bring your own tape measure, spare bases and a clear way to track wounds, and wear comfortable boots for long days at a venue. After the event, review the round on Kill Team Stream and compare your timing with the commentary; the useful lesson is not merely that you wounded a model, but that the opponent’s answer created the next opening.
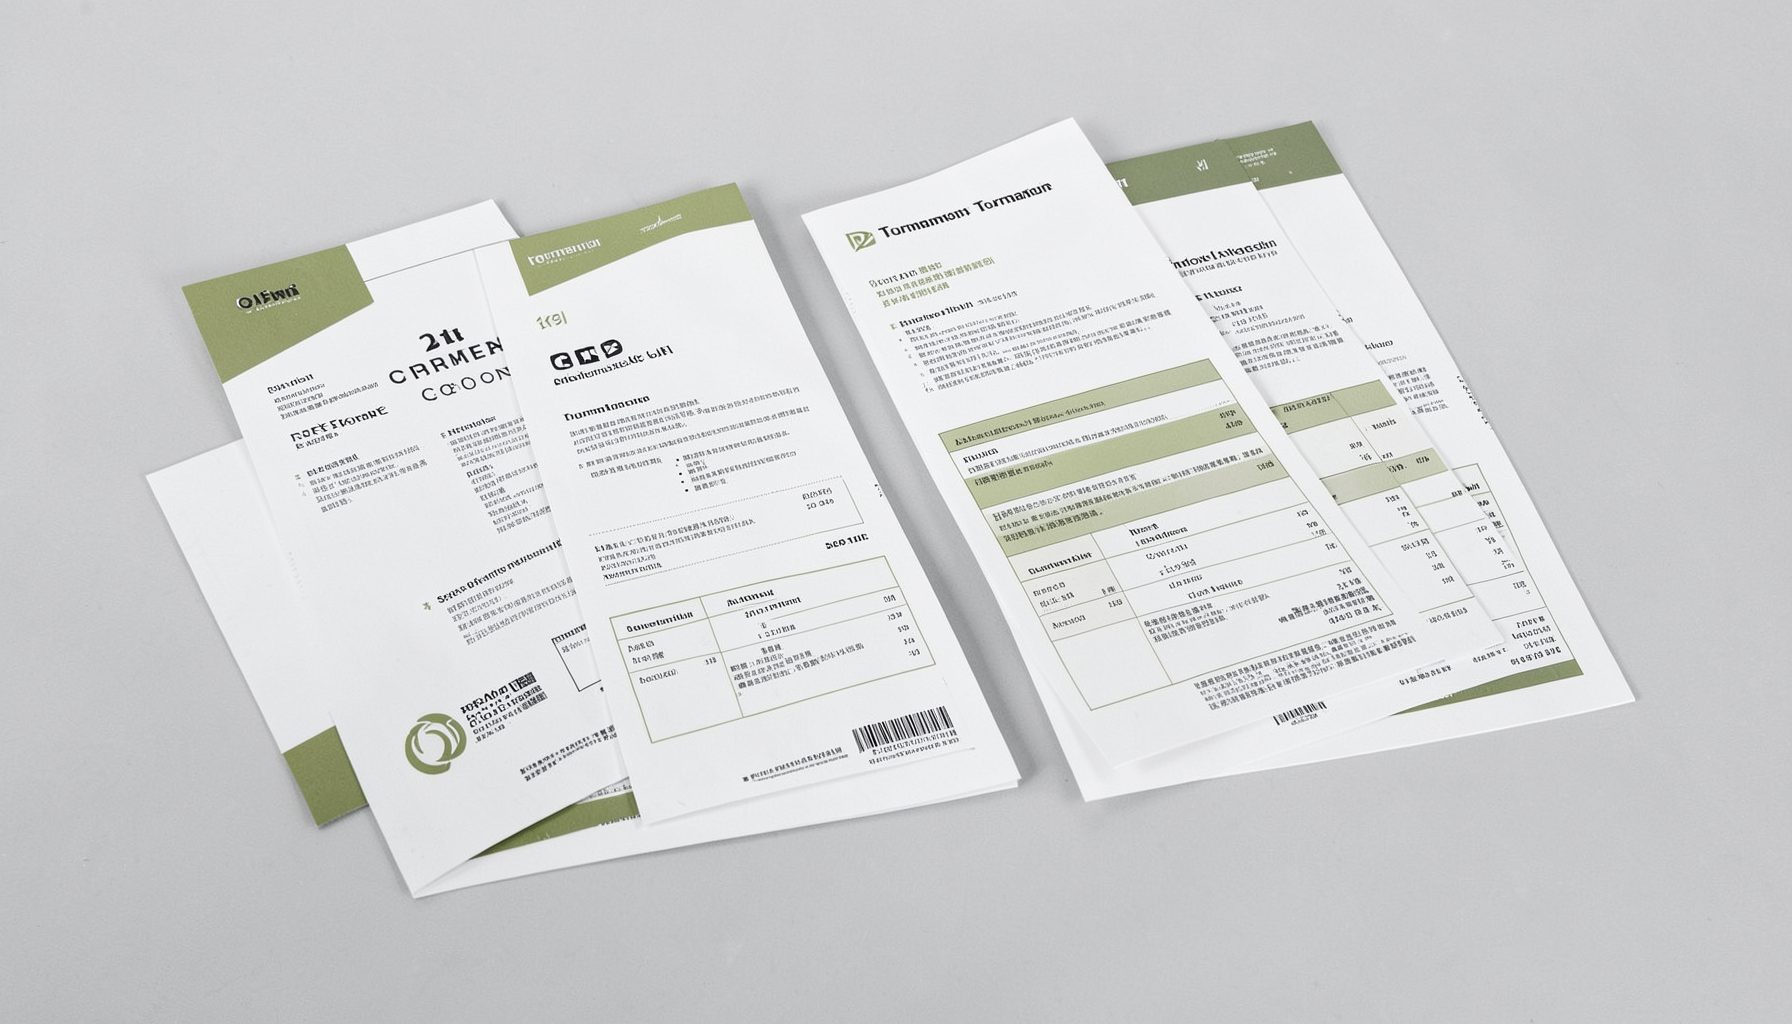
Tournament Packets
Packets from previous Kill Team events are kept here alongside new packets for upcoming tournaments, so organizers and players have what they need in one place.
View Event Data