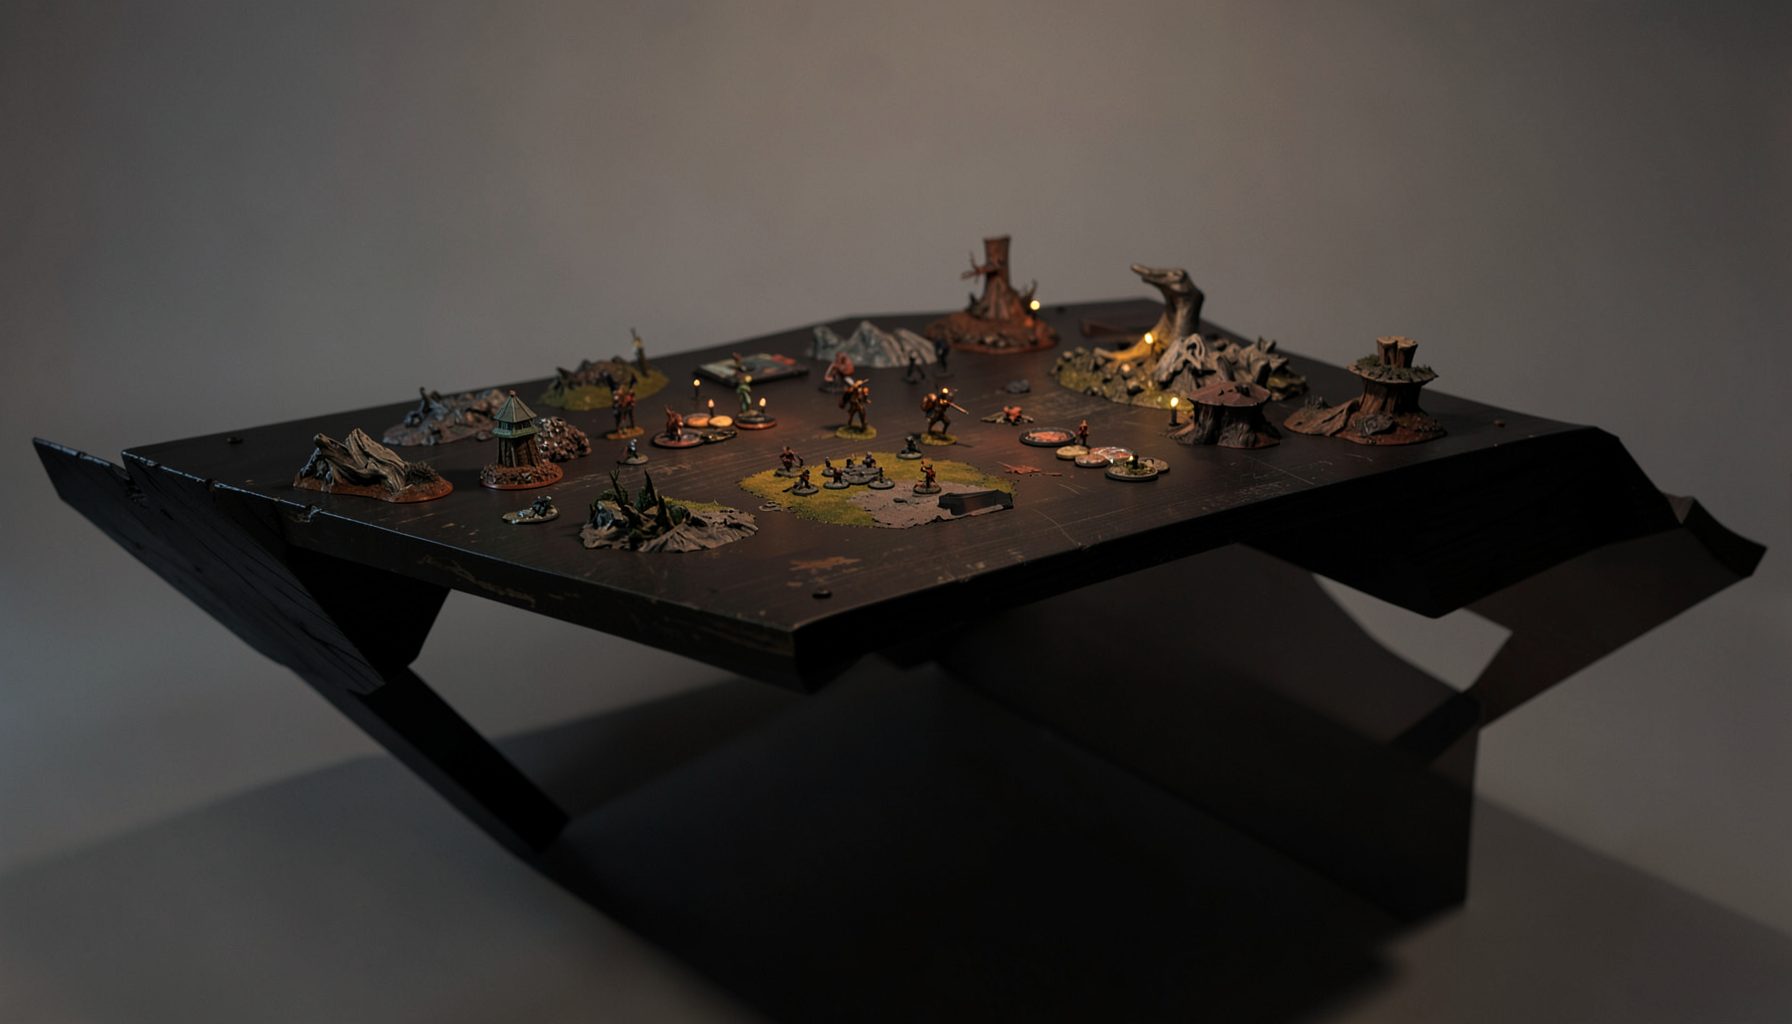
Live-streamed games, recorded matches, and event data gathered in one place.
Kill Team Stream hosts quality live streaming of Kill Team content — tournaments throughout the year on Twitch, regular games streamed to the channel, and tournament data gathered so players can see what's happening in the scene. Powered by WARHAMMER.
Browse tournamentsOfferings
Tournaments
Multiple Kill Team tournaments hosted throughout the year, all live-streamed on our Twitch channel.
Videos
Streams are recorded and uploaded to YouTube alongside original video content we produce.
Event Data
Tournament packets from past events plus resources for upcoming Kill Team tournaments.
Site Directory
How to use Kill Team Phobos armor tactics for stealth wins
Phobos Strike Team wins rarely come from standing in the open and trading damage. Their advantage is information, positioning, and the ability to make an opponent react before the real attack begins. In a competitive Kill Team match, a concealed operative in the right corridor can be more valuable than a visible fighter holding a powerful shooting lane.
Stealth tactics are therefore more than simply selecting Conceal orders. A successful Phobos plan combines deployment, line-of-sight control, mission actions, specialist abilities, and carefully timed aggression. Your operatives should appear where the opponent least wants them, threaten several objectives at once, and punish any attempt to chase them.
The strongest Phobos players also understand that a stealth win may look quiet during the first turning point. Early actions establish safe routes, deny movement, and collect victory points. Once the enemy team is divided or exposed, the Phobos force changes tempo and delivers precise attacks.
Build a plan around information and timing
Before choosing an opening move, identify the parts of the board that control the mission. Look for objectives that can be reached from cover, walls that block long sight lines, and routes that allow an operative to approach without being seen. Phobos models are most effective when they have multiple legal destinations rather than a single obvious lane.
During deployment, avoid placing every specialist near the same objective. A compact cluster is easy for the opponent to screen or charge. Instead, establish two or three threats across the board. One group can pressure a central objective while another uses a flank to threaten a mission action or a valuable enemy operative.
Conceal orders are strongest when they force difficult decisions. If an enemy must spend an activation checking whether a hidden Phobos operative can reach an objective, you have already gained value. Use that uncertainty to delay enemy movement, protect your own scoring pieces, and preserve the option to reveal an attacker later in the turning point.
Use specialists as a connected network
Phobos specialists work best when each model supports a wider plan. A Voxbreaker or Commsman can improve the reliability of a coordinated push, while a Helix Adept helps preserve the team’s staying power. These operatives should not be treated as isolated utility pieces; they create the structure that lets your dangerous models take calculated risks.
The Saboteur and Minelayer are particularly effective when the opponent has predictable routes. A mine or explosive threat can make a narrow passage unusable, protect an objective, or force an enemy to spend movement entering an unfavorable area. The goal is not always to cause immediate damage. Sometimes the threat of the ability is enough to redirect the opposing team.
A Marksman or other long-range specialist should be positioned to punish exposure rather than seek a reckless first-turn shot. Keep the model concealed when possible, then reveal it when an enemy operative has moved beyond support or when a successful hit changes the scoring position. Phobos shooting is most valuable when it removes a key piece or makes an objective impossible to contest.
Reivers add a different kind of pressure. Their mobility and close-combat presence can threaten a backfield model, finish a wounded target, or force the opponent to screen important operatives. Use them as a delayed threat rather than sending them forward alone. A Reiver that attacks without support may trade away the pressure your opponent was trying to avoid.
Convert concealment into board control
Concealment is not passive. Every concealed operative should contribute to the mission through movement, objective actions, screening, or threat projection. If a model spends several activations hiding without affecting the board, the opponent will eventually gain enough space to ignore it.
Move from cover to cover and consider where the operative will end the activation, not just how far it can travel. A safe position with two possible routes is usually better than a forward position that can be surrounded. Keep track of enemy charge distances, shooting lanes, and the locations from which opposing models can perform mission actions.
Phobos teams often win by controlling access rather than owning every objective immediately. A concealed operative near a marker can make the opponent commit two models to contest it. A second operative can then take a different objective or perform a mission action elsewhere. This creates an activation advantage, because one enemy model is spending effort responding to a threat that may never become an attack.
Use terrain to break the opponent’s visual information. Dense cover, heavy terrain, and obscuring walls allow Phobos operatives to move without revealing every intention. When setting up a route, ask whether it protects the model from both shooting and charges. A path that avoids bullets but ends within an enemy charge range is not truly safe.
Choose when to reveal the attack
The most important tactical decision is often the moment to switch from Conceal to Engage. Revealing too soon gives the enemy time to focus fire, fall back, or screen the intended target. Revealing too late may leave you behind on victory points or allow a high-value enemy to escape.
A useful trigger is the appearance of a target that cannot be protected by the rest of its team. If an enemy specialist moves onto an objective alone, steps into a firing lane, or ends an activation within reach of a supported charge, the Phobos player can convert hidden positioning into immediate pressure.
Do not reveal several operatives simply because one attack is available. A single precise activation can be enough to remove a wounded model or force an opponent to abandon an objective. Preserve the remaining concealed pieces so they can continue scoring, threaten a second attack, or punish the opponent’s response.
When using a shooting operative, prioritize targets that influence the next two activations. A model with a powerful weapon is an obvious choice, but a mission specialist, leader, or operative holding a critical objective may be more important. Damage is valuable when it changes the board state. A low-probability attack against an irrelevant target usually does not.
| Tactical situation | Preferred Phobos response | What the play achieves |
|---|---|---|
| Enemy spreads across several objectives | Keep multiple operatives concealed and rotate toward the weakest flank | Forces the opponent to divide support |
| Enemy advances a specialist alone | Reveal a Marksman, Reiver, or supported attacker | Punishes an isolated activation |
| A narrow route leads to a key objective | Use a Minelayer or Saboteur to make the route dangerous | Denies movement and delays scoring |
| Your leader or utility model is threatened | Use cover, repositioning, and support rather than a solo counterattack | Preserves team function |
| Enemy team is weakened late in the game | Switch from evasion to concentrated aggression | Secures kills and locks down points |
| You are ahead on victory points | Maintain Conceal orders and deny safe enemy actions | Protects the lead without unnecessary trades |
Make mission actions part of the ambush
Phobos tactics become much stronger when the mission itself creates the bait. An enemy model that performs an action may be unable to shoot, charge, or reposition afterward, depending on the mission and rules. This makes objective play an opportunity to attack, not merely an exchange of points.
Place a concealed operative where it can threaten an enemy action without needing to expose itself immediately. If the opponent ignores the threat, you can perform your own mission action or attack next activation. If the opponent sends a model to clear the area, you can redirect another operative toward a different objective.
Avoid assuming that killing the most visible enemy is always the best play. Competitive missions reward primary objectives, secondary tasks, and positioning. A Phobos force can win with fewer kills if it consistently denies mission actions and forces the opposing team to spend activations on recovery.
Track your action economy throughout the turning point. Utility operatives should not all spend their activations on support abilities if the team is falling behind on objectives. Likewise, an aggressive operative may need to perform a mission action instead of chasing a target. Stealth wins depend on making every activation advance the score or create a credible threat.
Protect the team from predictable counters
Opponents will try to defeat Phobos tactics by flooding the center, using indirect fire, rushing with melee operatives, or placing expendable models in front of valuable targets. Anticipate these responses before committing your specialists. A concealed operative is safe only until the opponent has a practical way to reach its position.
Screen your important models with terrain and distance. Do not allow a single enemy charge to reach both a forward attacker and the support operative that makes the attack effective. Keep enough separation that the opponent must spend another activation to continue the assault.
Against durable teams, avoid spreading damage across several targets unless the mission requires it. Phobos weapons become more effective when two or three activations focus on the same exposed operative. Removing one model reduces the opponent’s ability to contest objectives and makes later stealth movement safer.
Against hordes, use mobility and terrain rather than trying to win every firefight. Choke points, mines, and concealed movement can force numerous enemy models to take inefficient routes. Let the horde waste activations reaching you while your team scores elsewhere. If a melee swarm finally closes in, choose a controlled counterattack with support rather than sending one specialist into the crowd.
Adjust the approach by turning point
The first turning point should establish routes and deny the opponent a comfortable advance. Preserve your strongest specialists, gather safe information, and score where possible. A dramatic early attack is worthwhile only if it removes a major threat or creates a lasting positional advantage.
In the middle turning points, Phobos teams should exploit the gaps created by earlier movement. This is often the best time for a coordinated reveal: a Marksman attacks from cover, a Reiver pressures the flank, and a utility operative completes a mission action. The opposing team is usually more spread out by this stage, making isolated targets easier to punish.
The final turning point changes the value of risk. If you are ahead, concealment and denial are usually preferable to a low-value attack. If you are behind, use the remaining operatives in a concentrated push toward the objectives that can still change the result. Do not confuse survival with victory; a model that hides safely while losing the mission has achieved very little.
Review your games by asking when the board first became unwinnable. Often the decisive error was not a missed shot, but an early movement that removed a safe retreat, exposed a specialist, or allowed the opponent to control the center without paying a cost. Recorded tournament matches are especially useful for studying these turning points and comparing different Phobos deployment patterns.
Practical habits for stealth-focused players
- Mark safe movement routes before the battle and identify which terrain pieces block both shooting and charges.
- Keep at least one concealed threat on each important side of the board so the opponent cannot commit freely.
- Reveal an operative only when the attack changes damage, scoring, or board control in a meaningful way.
- Use mines, specialists, and mission actions to restrict enemy choices instead of chasing kills automatically.
- After every game, review the first activation in which you lost control of an objective or exposed a key model.
Phobos armor rewards disciplined decisions more than flashy plays. Build a network of threats, keep your specialists connected, and make the opponent spend activations responding to possibilities. When the opening finally appears, strike with enough support to make the attack matter, then disappear behind terrain or shift pressure to another objective.
Follow live Kill Team tournaments, recorded matches, event resources, and expert commentary through Kill Team Stream to see these principles applied against a wide range of competitive teams. Use those games as practical study material, then bring a stealth-focused Phobos plan to your next match and turn careful positioning into a decisive result.
Tournament Packets
Packets from previous Kill Team events are kept here alongside new packets for upcoming tournaments, so organizers and players have what they need in one place.
View Event Data