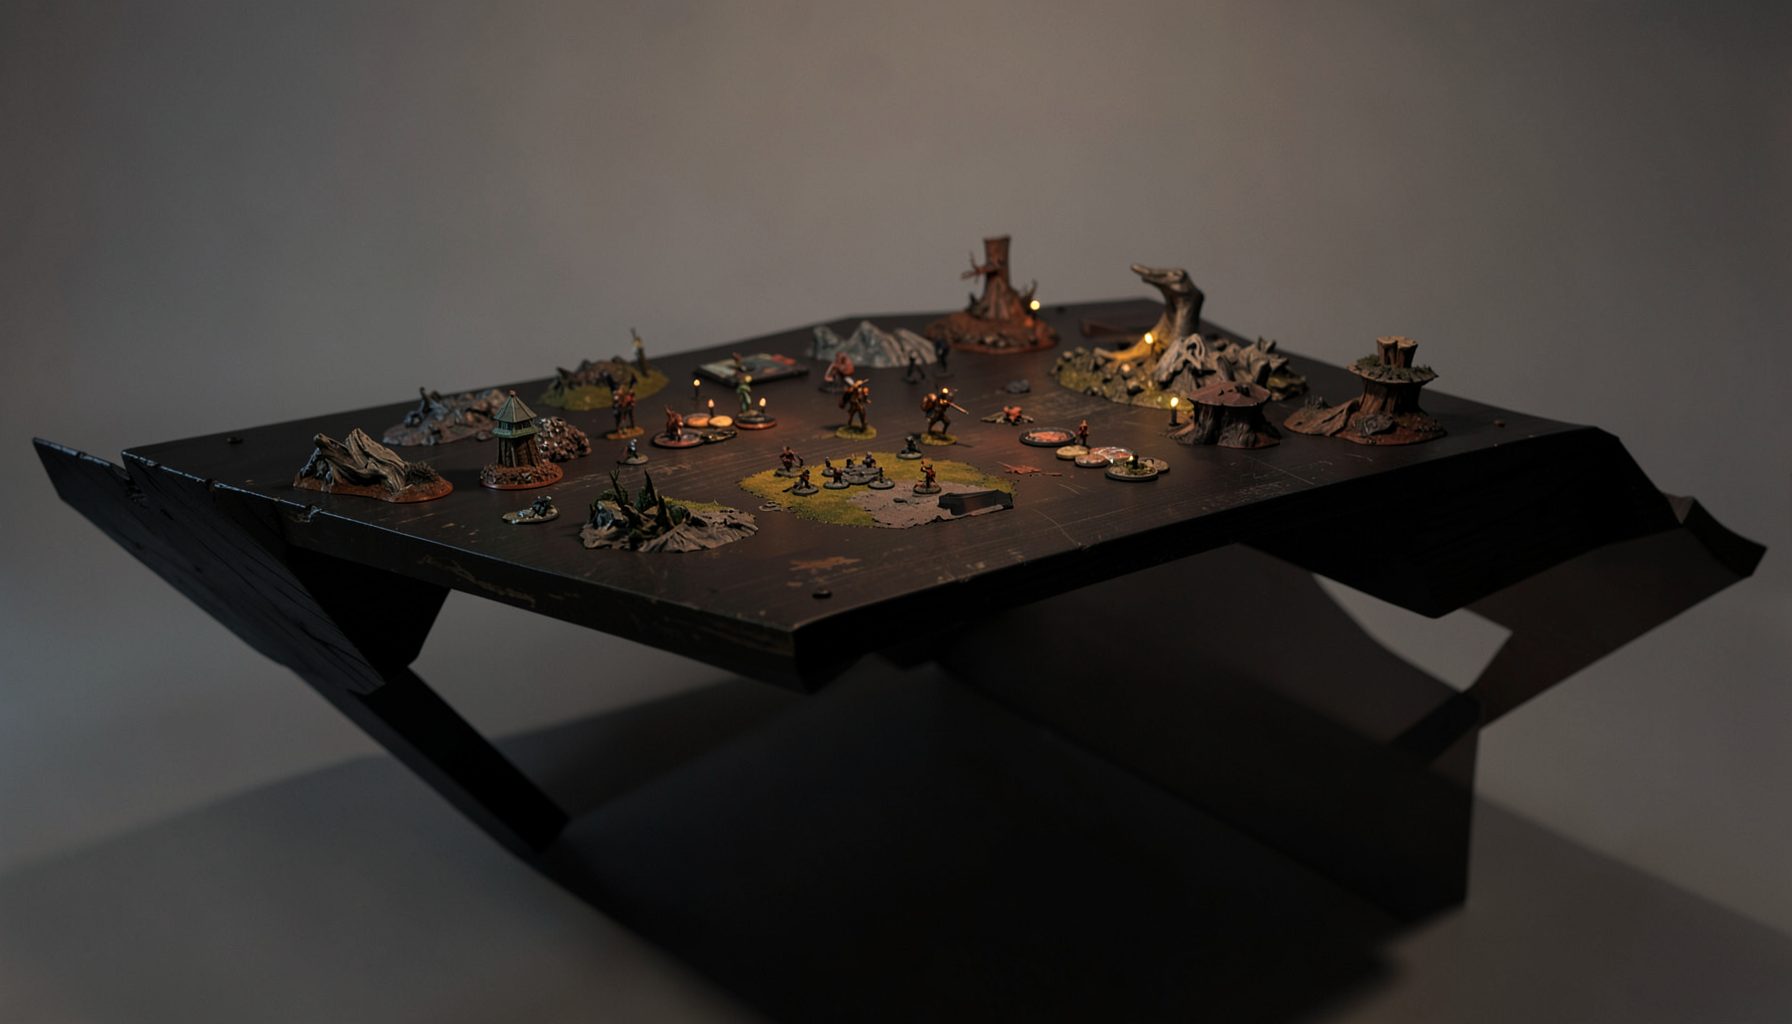
Live-streamed games, recorded matches, and event data gathered in one place.
Kill Team Stream hosts quality live streaming of Kill Team content — tournaments throughout the year on Twitch, regular games streamed to the channel, and tournament data gathered so players can see what's happening in the scene. Powered by WARHAMMER.
Browse tournamentsOfferings
Tournaments
Multiple Kill Team tournaments hosted throughout the year, all live-streamed on our Twitch channel.
Videos
Streams are recorded and uploaded to YouTube alongside original video content we produce.
Event Data
Tournament packets from past events plus resources for upcoming Kill Team tournaments.
Site Directory
How to Use Kill Team Recon Drone Abilities Effectively
The Recon Drone is one of the most useful support operatives available to a T’au Pathfinder player. It may not attract attention like a powerful gunner, but its value comes from controlling information, improving access to objectives, and creating better opportunities for the rest of the kill team. Used well, it can influence several activations in the same turning point.
Many players lose value by treating the drone as a disposable forward model. It is usually more effective as a carefully positioned utility piece. Its abilities reward planning before the turning point begins, especially when you understand which enemy operatives need to be exposed, delayed, or forced away from an objective.
The exact wording of drone actions and abilities can vary between Kill Team rules packages, team updates, and event packets. Always check the current operative card and matched-play rules. The principles below apply broadly to competitive Pathfinder play and help translate the Recon Drone’s rules into practical decisions.
Understand Its Battlefield Role
The Recon Drone is best viewed as a force multiplier rather than a conventional damage dealer. Its profile and equipment may allow it to contribute attacks, but its strongest turns often involve positioning, scouting, supporting a shooting sequence, or performing a mission action at the right moment.
That distinction affects how you measure success. A drone that survives while helping a Pathfinder gunner remove an important enemy operative may have done more than a drone that advances aggressively and scores a single early elimination. Its job is to make the team’s strongest operatives more reliable.
Before deploying it, identify the three jobs it could perform during the turning point: enable a shooting lane, contest or complete a mission action, and interfere with the opponent’s plan. If one position allows it to perform two of those jobs without becoming an easy target, it is usually a strong placement.
Plan Around Information And Line Of Sight
Recon abilities are most valuable before dice are rolled. Use the drone to help you understand which enemy models are safe, which are exposed, and which routes remain open after the first activation. This is particularly important on dense killzones where a small change in visibility can determine whether a Pathfinder can make a legal attack.
Avoid moving the drone simply because it has spare action points. A forward move should have a purpose. It might reveal an enemy operative, establish a support position, threaten an objective, or force the opponent to activate a concealed model earlier than planned. If the move accomplishes none of these things, keeping the drone behind cover may be better.
Think in terms of future visibility rather than its current location. A Recon Drone on a vantage point may have a broad view, but it can also become the easiest model to shoot. A position close to heavy terrain can provide almost as much information while preserving defensive options. The best location often sees important lanes without exposing the drone to every enemy gunner.
Coordinate With Markerlights And Shooting
The drone should rarely operate independently when the Pathfinder team has a strong shooting opportunity. Its position can help create a sequence in which a target is identified, marked, and attacked by the operative best equipped to finish it. This sequence is more valuable than using the drone’s own weapon simply because the target is available.
Activation order matters. If the drone’s ability improves a target’s vulnerability, visibility, or accessibility, activate it before the key shooter. If the drone needs information from an enemy move first, delay it and preserve the option to respond. Good T’au play often comes from keeping several possible sequences open until the opponent commits.
Do not spend a support ability on a target that a basic Pathfinder can already eliminate comfortably. Use the Recon Drone to improve difficult attacks: targets in cover, high-value specialists, models with strong defensive abilities, or operatives whose survival would disrupt your scoring plan. The bigger the consequence of the attack, the more worthwhile the drone’s assistance becomes.
Use Mission Actions As A Threat
Mission actions are one of the clearest ways the Recon Drone can create pressure. Even when it is not completing an objective, its presence can force the opponent to respect a possible action in the next activation. That threat may make an enemy operative remain in place, abandon a firing lane, or spend an activation guarding an area.
Plan objective plays one turning point early. A drone that moves onto an objective only after the opponent has removed nearby threats is often safer than one that rushes forward at the start. Conversely, an early objective action can be correct when it forces the enemy to expose a valuable operative or gives the Pathfinder team an immediate scoring advantage.
Remember that mission actions compete with movement, shooting, and support abilities. Before committing, check whether the action requires a particular location, whether the drone can legally perform it while threatened, and whether an enemy can interrupt the plan. A successful mission action is valuable only when the drone’s position afterward remains useful or the score makes the trade worthwhile.
| Situation | Best Recon Drone Priority | Common Mistake | Better Follow-Up |
|---|---|---|---|
| Early turning point | Take a protected information position | Advancing into open ground | Preserve cover and observe enemy routes |
| Important enemy specialist exposed | Support the team’s strongest attack | Firing with the drone first | Coordinate with a gunner or marked target |
| Objective is lightly defended | Threaten or perform the mission action | Waiting until the area is uncontested | Force the opponent to react before scoring |
| Enemy has a powerful counterattack | Screen a key Pathfinder | Sacrificing the drone without benefit | Block movement and protect activation order |
| Late turning point | Secure points or deny a route | Chasing low-value damage | Choose the play with the clearest scoring impact |
Protect The Drone Without Wasting It
A Recon Drone is durable only when the terrain supports it. Its size, movement options, and ability to reach unusual firing lanes can tempt players into placing it where several enemy operatives can attack. The drone should take risks when the reward is substantial, not merely because it can reach a distant position.
Use heavy terrain to deny enemy visibility and light terrain to improve survivability where appropriate. Consider every opposing weapon that can target the drone, including indirect attacks, long-range specialists, and models that can charge from unexpected distances. A position that is safe from the nearest enemy may still be vulnerable to a gunner across the killzone.
The drone can also screen more important models. Place it where an enemy charge would have to pass through or around it before reaching a Pathfinder gunner, leader, or objective holder. This does not mean sacrificing it automatically. A screen is successful when it buys time, denies a charge, or forces an inefficient activation.
When the drone is already damaged, change its role. It may no longer be the right model to expose for a marginal support effect. Use it for concealed objective work, movement blocking, or a final mission action. A weakened utility operative can still win a turning point through positioning.
Read The Turning Point Before Activating
At the beginning of each turning point, identify the opponent’s most dangerous activation and the model most likely to score points. The Recon Drone can then be assigned to one of three jobs: support your attack plan, prevent the opponent’s scoring play, or preserve a route for a later activation.
This prevents a common mistake in Kill Team: spending an ability because it is available rather than because it changes the board. If the drone’s effect does not improve a meaningful attack, secure a realistic objective, or disrupt an enemy plan, hold it. Flexibility has value, particularly when the opponent has several concealed operatives.
The drone is also useful for managing activation economy. If the opponent has fewer ready models, activating the drone early may protect your stronger operatives from being caught without a response. If you have the activation advantage, delay the drone and make the opponent reveal more information first. Its value rises when it can act after the enemy has committed.
Avoid Common Recon Drone Errors
The first error is confusing visibility with safety. Seeing an enemy operative does not mean the drone should expose itself to attack. Information is useful only when it leads to a favorable decision. Keep track of which enemy models can retaliate before moving into a firing lane.
The second error is using the drone’s ability on the wrong target. A modest improvement against a low-value operative rarely matters as much as a coordinated attack against a specialist, leader, or model holding a key objective. Evaluate the target’s strategic importance, not just its distance.
The third error is ignoring the end of the turning point. A drone may achieve its immediate task and still leave your team vulnerable to a counterattack. Before activating, consider where it will finish, whether it can be charged, and whether the opponent can use its new position to deny your next scoring opportunity.
The final error is treating every game as a damage race. Kill Team missions reward positioning, objective control, and tactical operations as much as eliminations. A Recon Drone that denies an enemy route or preserves a scoring position can be performing exactly as intended even if it never fires.
Practical Habits For Better Drone Play
- Mark the enemy’s most important shooting lane before deployment and place the drone where it can influence that lane without standing in the open.
- Decide whether the drone is supporting damage, scoring, or screening before spending its first action point.
- Keep a strong Pathfinder shooter ready when the Recon Drone exposes or supports a priority target.
- Reassess the drone’s role after it takes damage; shift toward concealment, screening, or mission actions when further attacks are inefficient.
- Review the current operative rules and tournament packet before an event, especially if your games use a recent balance update.
Effective Recon Drone play is built on restraint. The model should appear in the places where its presence changes the opponent’s decisions, then disappear behind cover before the counterattack arrives. Its strongest turns are often quiet: an enemy specialist is forced into an awkward position, a Pathfinder gunner receives the support needed for a decisive attack, or an objective becomes safe enough to score.
Watch Kill Team Stream’s live tournaments and recorded Pathfinder matches to see these decisions unfold under time pressure. Match footage, tournament standings, event packets, and expert commentary provide a practical way to study drone positioning, activation order, and mission-focused play before your next competitive game.
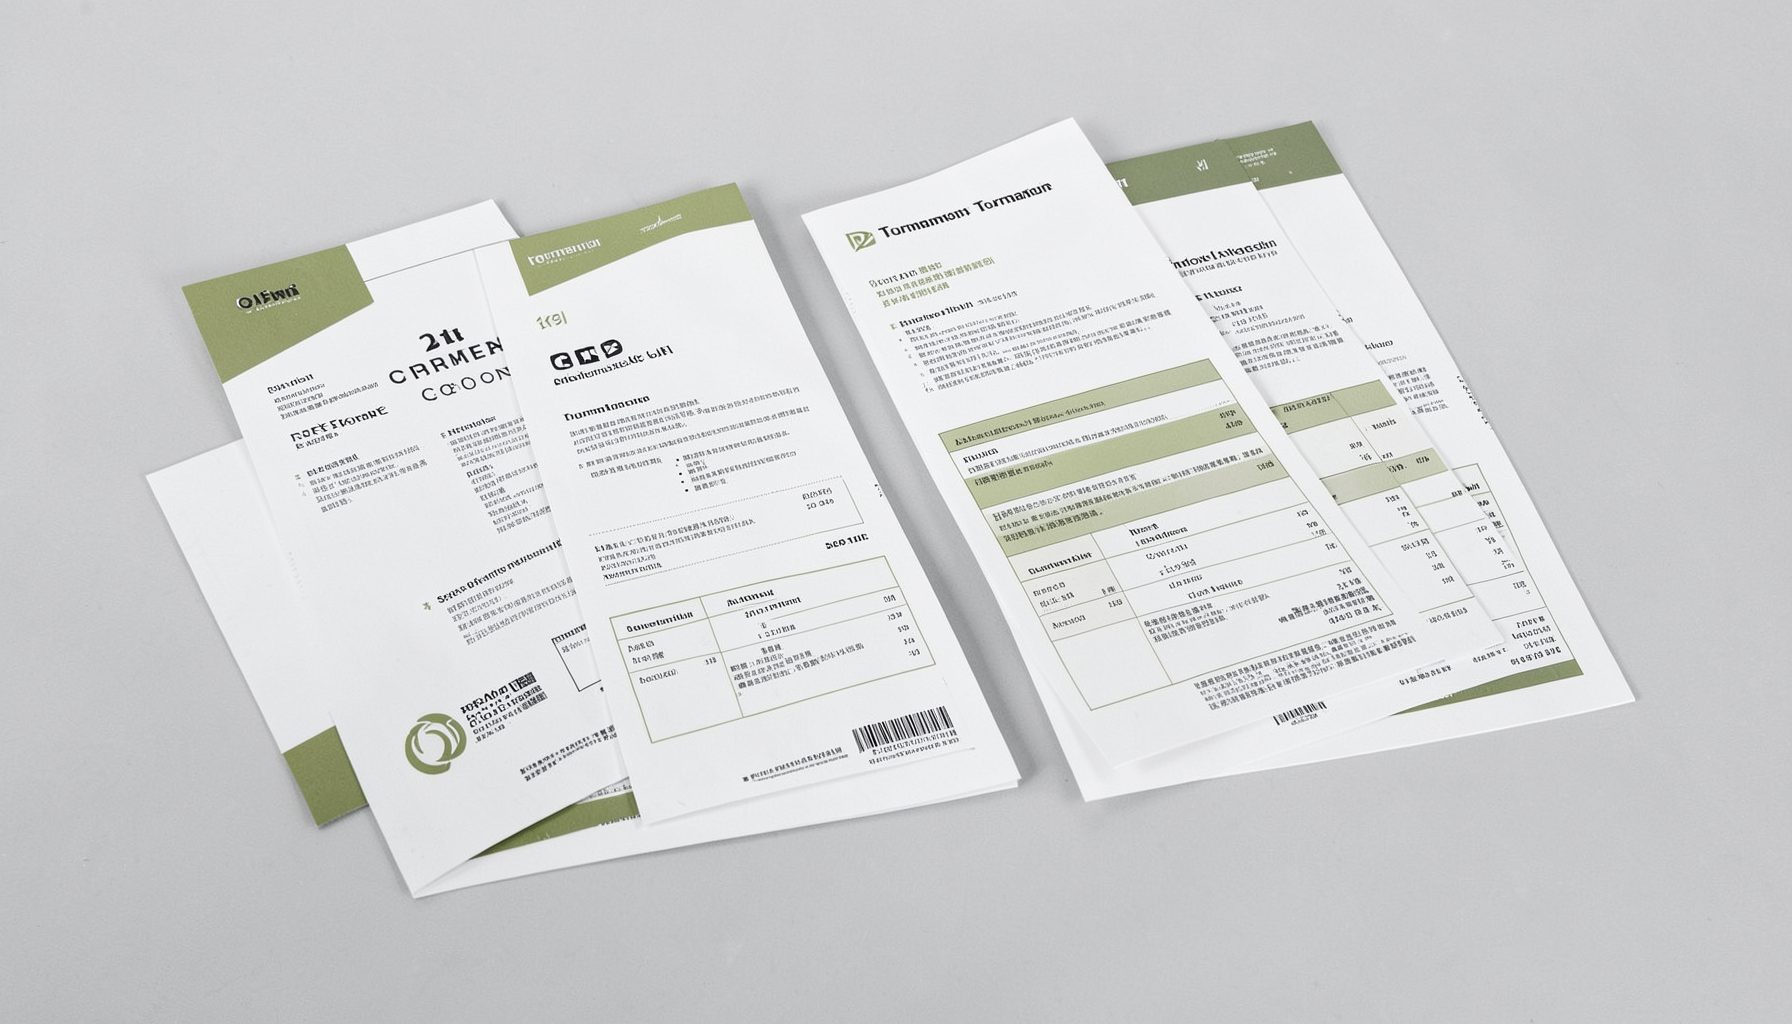
Tournament Packets
Packets from previous Kill Team events are kept here alongside new packets for upcoming tournaments, so organizers and players have what they need in one place.
View Event Data