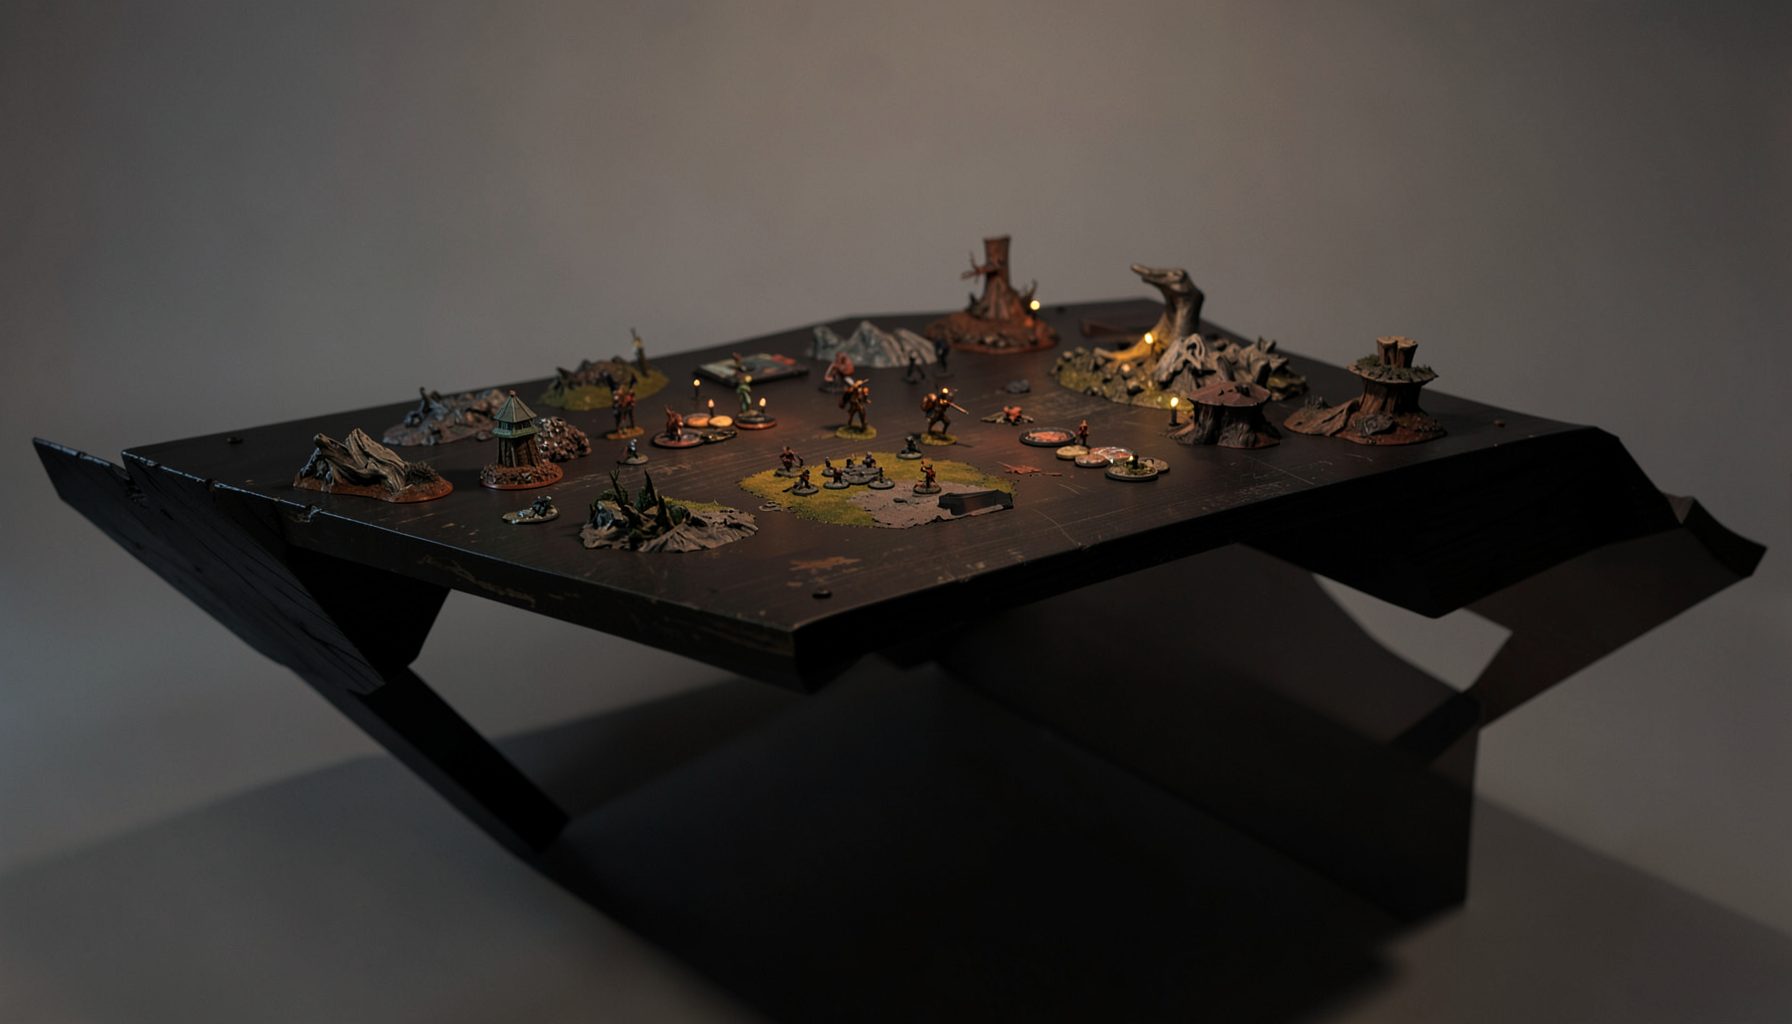
Live-streamed games, recorded matches, and event data gathered in one place.
Kill Team Stream hosts quality live streaming of Kill Team content — tournaments throughout the year on Twitch, regular games streamed to the channel, and tournament data gathered so players can see what's happening in the scene. Powered by WARHAMMER.
Browse tournamentsOfferings
Tournaments
Multiple Kill Team tournaments hosted throughout the year, all live-streamed on our Twitch channel.
Videos
Streams are recorded and uploaded to YouTube alongside original video content we produce.
Event Data
Tournament packets from past events plus resources for upcoming Kill Team tournaments.
Site Directory
How to use stun effects to deny your opponent points
Kill Team rewards pressure on the objective as much as damage on a model. A well-timed stun can freeze an opponent just when they want to move onto a marker, finish a turn or cover an approach to your own scoring area. The important distinction is that a stun does not delete a model or its influence. It creates a short window in which that model cannot fight back.
Using stun effects to deny points works when the temporary loss of control is connected to the actual scoring test. In marker-based missions, points are awarded from operative positions and contesting distance, often at the end of a turn. If the frozen operative is still beside the marker, that marker may still be contested. The stun becomes valuable when it prevents a move, delays a threat or sets up removal.
That makes a stun a supporting move rather than an automatic point loss. A solid sequence holds the enemy still with one operative, forces a bad decision with another and then takes away the model that matters. It also asks less of the dice than a sequence built entirely around damage. You win the exchange only when the model you stopped would otherwise have changed the score.
For Australian players, the scene runs through local stores and convention tournaments such as Melbourne’s Resurgence, CanberraCon and events in Brisbane and Adelaide. Broadcasts on Twitch and YouTube make tactics easier to study, although a Melbourne event beginning at 10am starts at 8am in Perth during normal time. At the table, a clean denial might earn a “nice one”, while a reckless push is “full send”. The same scoring logic applies in a packed convention hall or a quiet game store.
Know exactly what the stun changes
A stunned operative cannot be activated or use the usual movement, shooting and melee actions available to that operative. It remains on the board and can still be attacked, so the status is not a protective bubble. Its duration is temporary, but its tactical value can be immediate: the enemy loses time and choices while you choose where the fight happens.
Do not confuse a stun with removal. A stagger can stop an operative taking effective actions after serious damage; an incapacitation takes the operative out of play and ends their control of markers; a broken operative is also out of play. These statuses may assist a denial, but they do not all work in the same way. Always read the status in the mission packet and the rules you are using.
There are two common routes to a stun. A successful melee hit usually applies one, sometimes alongside damage, while certain special ammunition or weapon effects can stun at range. Most operatives cannot shoot and then melee in one activation unless an operative or weapon rule allows it. That restriction turns the choice of tool into part of the plan: ranged control and close-range control solve different problems.
Read the scoring window
Start with the objective markers and work backwards to the activation order. Know when points are scored, how close an enemy must be to contest a marker and whether the marker must be under an operative’s base. At a table such as Resurgence or a busy CanberraCon game, someone may claim a point while you are still working out the sequence. The rules require checking the packet rather than assuming every mission behaves identically.
The most useful stun timing is the moment the opponent has committed to a scoring plan. If their carrier has already acted, a stun can prevent the second half of the manoeuvre, such as clearing your approach. If their next operative can reach the marker, consider whether a stun available now will still matter when that operative becomes eligible. Initiative, remaining activations and the timer on the status all belong in that calculation.
A common mistake is to treat the enemy model as if the stun marker has removed it from the scoring footprint. It has not. A stunned model can still contest by its position, and it can still sit where you need to enter. Convert the stun by moving the threat onto its landing space, by eliminating it or by forcing the enemy to spend another activation elsewhere.
Make the stun support a two-operative plan
One operative rarely controls a whole scoring area alone. A practical setup uses a second model to cover the route that a stunned operative would use to escape or counterattack. Position the covering model first, then deliver the stun. When the enemy cannot shoot or fight back, your second operative can take the angle, remove a carrier or protect a teammate who is collecting points.
Ranged stun ammunition is often valuable here because it can freeze a target without exposing the attacker to melee. The trade-off is ammunition and the target’s ability to shoot back next turn. A melee stun can be stronger when it also wounds, but it requires you to enter the enemy’s threat range. Use terrain, smoke and the mission’s cover rules so the frozen operative cannot turn your own pin into a free attack for their team.
Keep the second step conditional. If the pinned model is your priority carrier, threaten removal. If it is a cheap distraction, make it wait while you score elsewhere. This prevents the stun from becoming a tax on your whole round. One denied marker can be worth more than several scattered kills, but only if the plan also preserves the markers you already hold.
Use sightlines to make the denial inevitable
Stuns work hardest when the enemy has no comfortable answer. A model pinned in the open can often shoot the attacker who caused the stun once it recovers. The same model pinned behind low cover may have to move before it can return fire. Position the control effect across a useful firing lane, then use your second operative to threaten the lane the enemy must enter.
Think about entry rather than the target alone. A carrier can be stopped at the marker, but a second model may still arrive to contest it. Force that reinforcement through a narrow angle, a patch of bad visibility or an area occupied by your own threatening model. You are not trying to cover the entire board; you are making one route to the objective more expensive than its value.
Local measurement habits can help here. Australian players often think in metres even when the rulebook uses inches, so six inches becomes roughly 15 centimetres and twelve inches becomes about 30 centimetres. Use the official scale for play, but a quick metric conversion can make melee reach, weapon range and contesting distance easier to recognise across a crowded convention table.
Target the points that matter
Not every objective is equal. A marker next to your deployment area may be safe, while the central one can decide the match. Stun the operative whose movement would unlock the better point, or use a control effect to protect a teammate already scoring. If a mission offers several markers, the denial that stops an opponent taking the best remaining one may be worth more than the chase for a model beside your own deployment zone.
Use the stun to ask the enemy a question with only one attractive answer. If they want the central marker, they must enter a lane you control. If they want to remove your scoring operative, they must spend an activation while their own carrier is pinned. Clear choices produce predictable play, and predictable play is easier to counter with a second model, a repositioning action or a shot that lands during the scoring window.
Removal can create a second scoring opportunity. When an incapacitated operative no longer controls a marker, your remaining operative may be able to score it if the position meets the mission conditions. Some missions also award points for casualties, so the same attack can support both forms of scoring. That makes a stun a strong setup move: it delays the carrier, improves the odds of removal and opens the objective afterwards.
Practise the sequence before the clock starts
Repetition is more useful than memorising a single famous stun play. At your local store or an Australian convention, run the sequence with the scoring window in mind: freeze, threaten, remove or redirect. Use a marker on the table and a spare model for the enemy so you can see when the status stops mattering. The goal is a repeatable answer to a familiar objective, not a surprise that depends on one lucky roll.
Kill Team Stream’s recordings and other Twitch or YouTube coverage can reveal why a denied point looked inevitable. Pause when an operative is pinned and note its position relative to every marker, the distance of the covering model and the activation order. Copy the whole sequence, not just the hit that applied the stun; the setup is usually what makes the result repeatable.
Tournament travel adds another layer. A player coming from regional Victoria to Melbourne, or from Brisbane to a major event in Sydney, may spend more time in transit than at the table. Keep a legal roster ready, pack dice, tokens, a tape measure and the relevant rules reference, and avoid relying on a spare model being available in another city. The strongest denial leaves the opposing player looking at a marker they cannot contest, a scorer they cannot reach and a scoring window that has already closed.
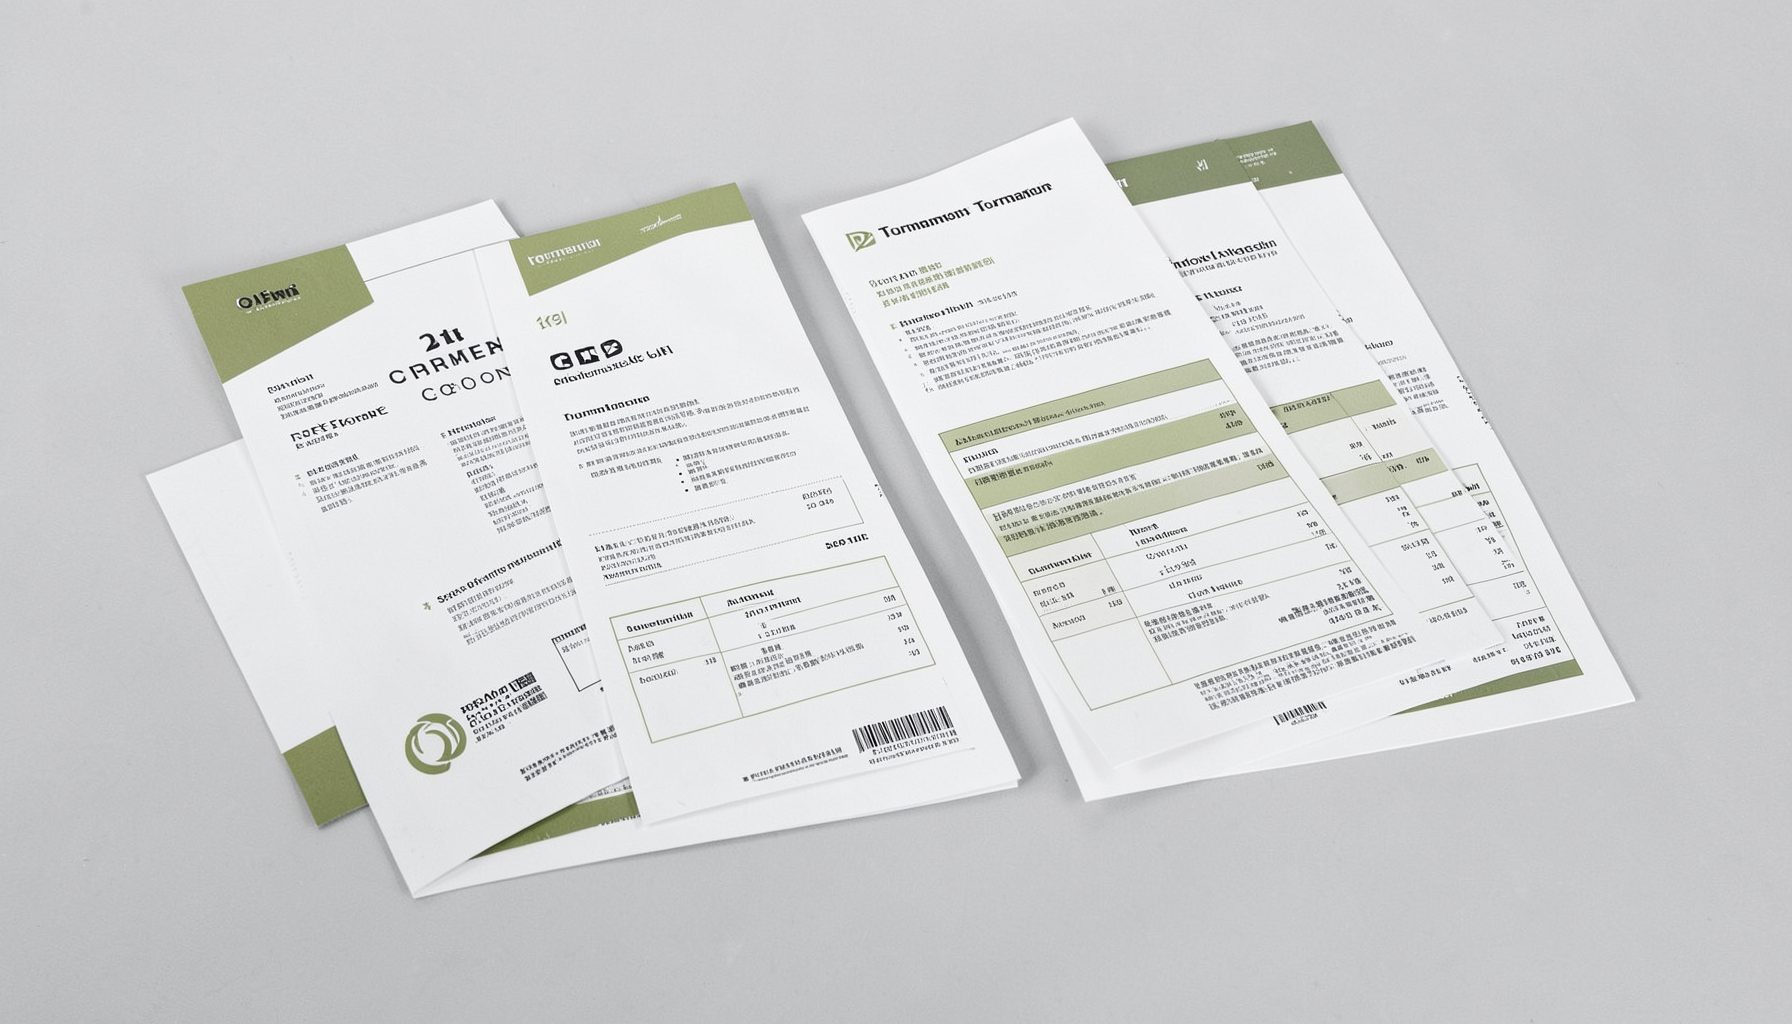
Tournament Packets
Packets from previous Kill Team events are kept here alongside new packets for upcoming tournaments, so organizers and players have what they need in one place.
View Event Data