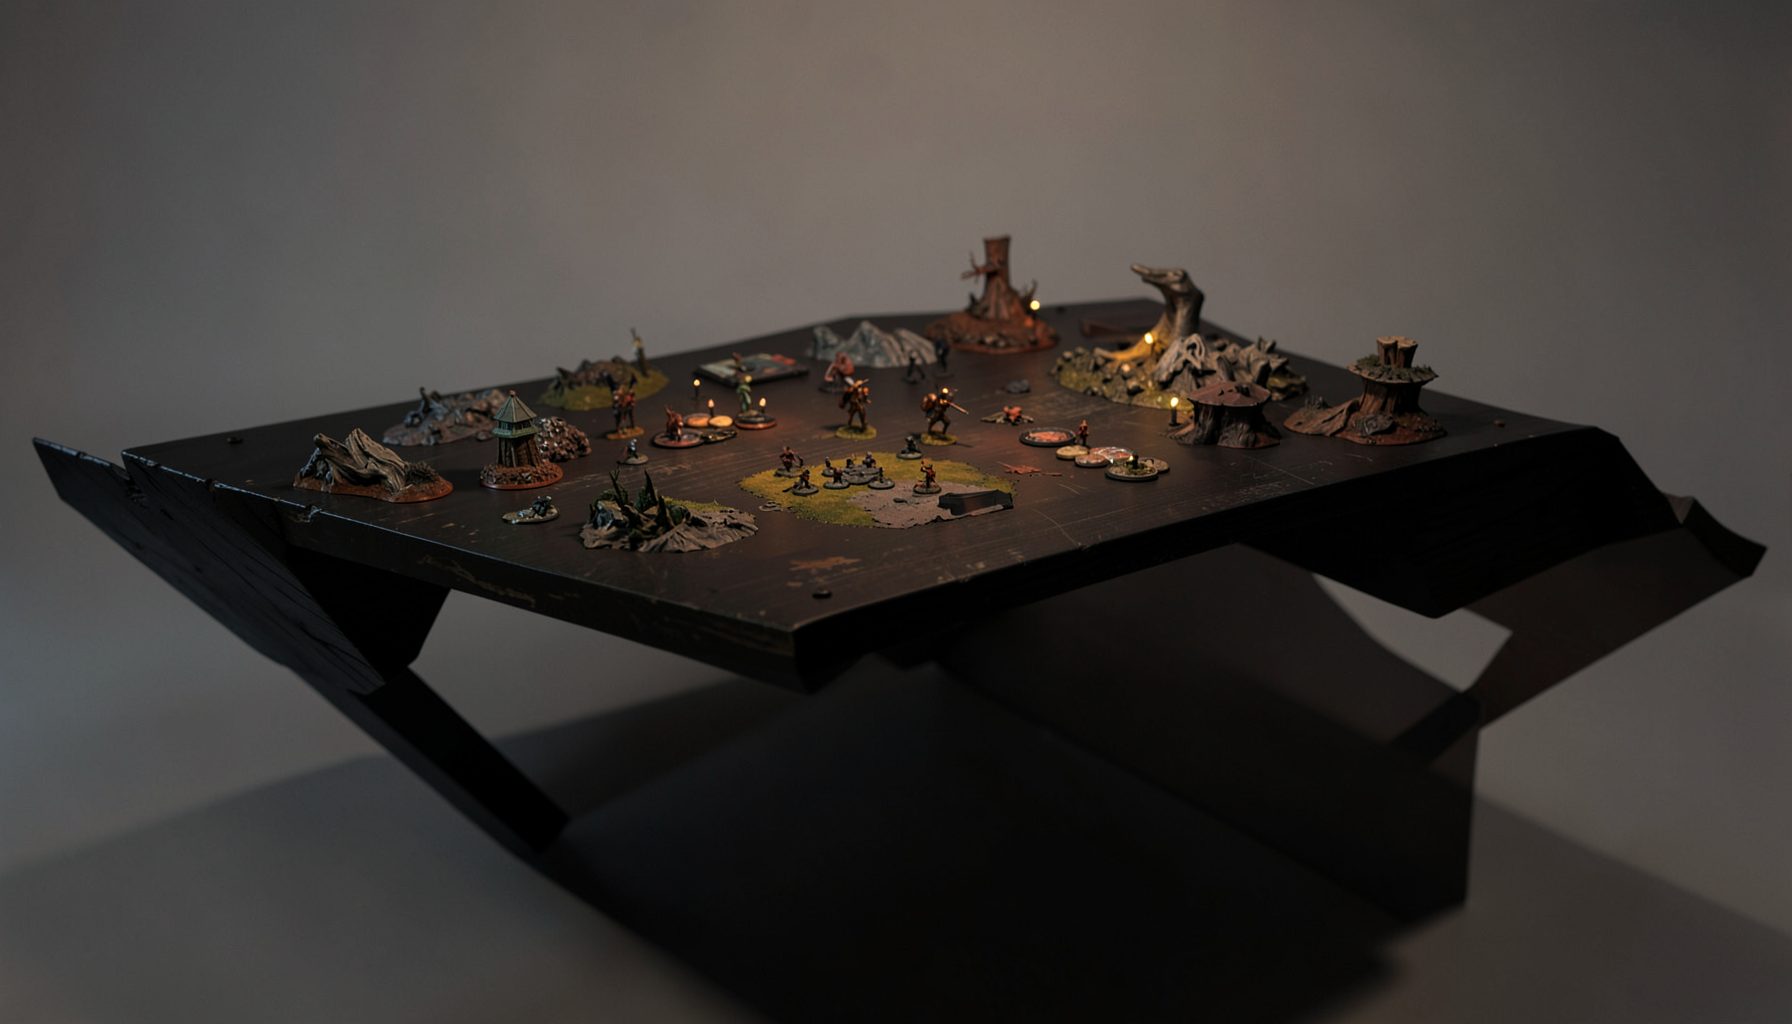
Live-streamed games, recorded matches, and event data gathered in one place.
Kill Team Stream hosts quality live streaming of Kill Team content — tournaments throughout the year on Twitch, regular games streamed to the channel, and tournament data gathered so players can see what's happening in the scene. Powered by WARHAMMER.
Browse tournamentsOfferings
Tournaments
Multiple Kill Team tournaments hosted throughout the year, all live-streamed on our Twitch channel.
Videos
Streams are recorded and uploaded to YouTube alongside original video content we produce.
Event Data
Tournament packets from past events plus resources for upcoming Kill Team tournaments.
Site Directory
How the Aid Assistant Rule Wins More Doubles Games
Doubles Kill Team rewards coordination in a way that standard matched play does not. Two players share a battlefield, a mission and the pressure of a single scoreline, yet each person still has their own operatives, priorities and habits. The Aid Assistant rule gives that partnership a practical way to turn nearby models into a working team rather than two separate kill teams.
The strongest use of the rule is rarely dramatic. It may be an operative helping secure an objective, enabling a mission action, protecting a vulnerable specialist or creating a safer activation sequence. Once both teammates understand its timing and limitations, the rule becomes part of deployment, target selection and turn planning rather than a last-minute rescue button.
Read the Rule Before You Build the Plan
The first step is to check the exact wording in the doubles event pack. Kill Team rules can vary between official formats, league packets and tournament house rules, particularly when a format combines two players, two rosters and shared scoring. Confirm which operative may provide aid, who can receive it, the required distance, line of sight, action cost and whether the assistant must be ready to activate.
Treat the rule as a permission with conditions, not as a general statement that friendly operatives can help each other. A model may be close enough but unable to assist because it has already activated. It may have line of sight to the intended target but not satisfy the rule’s positioning requirement. The recipient may also be performing an action that the Aid Assistant wording does not cover.
Before your first round, write the key restrictions on a small reference card:
- Which actions can receive assistance?
- Does the assistant spend an action, an AP cost or a special resource?
- Can the support happen during either player’s activation?
- Does the effect work across allied kill teams?
- What happens if the assistant is injured, engaged or out of range?
This short check prevents the most common doubles argument: remembering the broad idea correctly while misremembering the timing.
Build Around Shared Jobs
The best pairings divide battlefield jobs rather than simply splitting the table in half. One kill team might bring durable operatives for central objectives, while the other supplies mobility, long-range pressure or mission specialists. The Aid Assistant rule then connects those roles where the mission demands it.
For example, a fast operative can move towards a mid-board objective while a nearby teammate provides the assistance needed to complete the mission action. A heavy gunner may hold a firing lane while a less valuable operative performs the scoring task. A concealed specialist can wait until the board is safe, then receive support from a partner who has already done the dangerous positioning work.
This approach is especially useful for teams with different activation profiles. A model with strong movement but weak durability can reach a location, while a tougher allied operative helps it survive the next sequence. Likewise, a specialist with an important action can avoid wasting its own activation on setup if a teammate can legally provide the required aid.
Do not force the rule into every turn. If assistance costs too much tempo, leaves the supporting operative exposed or delays a better attack, it may be the wrong play. Good doubles teams use the rule to improve an already sensible plan, not to create complicated plans for its own sake.
Position for the Next Activation
Aid Assistant decisions are often made during deployment. Operatives should be positioned so they can support one another without standing in a single vulnerable cluster. Keep likely assistants within the rule’s range, but use terrain to prevent one enemy attack from threatening both players’ important models.
A useful pattern is the “two-step pair”. One operative takes the exposed position needed for an objective or mission action, while its partner occupies a safer angle from which assistance is possible. The second model should still have a meaningful option if aid is unnecessary. It might draw a line of fire, threaten a charge, block a route or contest a nearby objective.
| Battlefield task | Recipient’s job | Assistant’s job | Main danger |
|---|---|---|---|
| Secure a central objective | Reach and perform the required action | Stay close enough to support | Both models become vulnerable to shooting |
| Complete a mission action | Spend the activation on the task | Control an approach lane | The enemy interrupts before the action matters |
| Protect a specialist | Operate in the exposed area | Threaten attackers or screen a route | The assistant is dragged away from its own objective |
| Recover after a failed attack | Reposition or score safely | Cover the retreat and deny pursuit | Spending too many activations on one model |
| Set up a late-turn play | Hold position until the timing is right | Preserve range and line of sight | An enemy activation breaks the connection |
Measure distances before committing. In a crowded ruin, a model can appear adjacent while being blocked by a wall, barricade or elevation change. Australian tournament tables often use dense terrain, especially at club events in Melbourne, Sydney and Brisbane, so physically checking the route is more reliable than estimating from across the table.
Use Aid to Control Tempo
Doubles games are frequently decided by activation order. The Aid Assistant rule can help a team preserve tempo by letting the right operative perform the important task while another model supplies the necessary support. This is valuable when the mission rewards early movement but the enemy is waiting to punish an exposed specialist.
Plan the turn in layers. First identify the action that must happen for the score. Then determine which operative is best placed to perform it. Finally, ask whether the assistant should activate before or after the recipient. Activating too early can expose the support model; activating too late can leave the recipient unable to benefit.
Communication should be precise and short. Phrases such as “I need aid on the second activation” or “hold your assistant until my objective move” are clearer than announcing a general intention to help. Both players should also say when a planned support line has been broken. If an enemy charge, shooting attack or mission effect changes the position, the original sequence may no longer be legal.
Shared command points and team resources make this discipline even more important in formats that combine pools. Do not spend a resource to rescue a plan that has already lost its scoring value. Sometimes the correct decision is to abandon the assisted action, preserve both operatives and prepare a stronger play in the following turning point.
Turn the Rule Into Defensive Pressure
Aid is commonly viewed as an objective tool, but its defensive value can be just as important. A support model can make an enemy hesitate before attacking the operative that appears to be the easiest target. Even when no assistance is ultimately used, the threat of a legal aid interaction can affect where the opponent commits.
Use this pressure to create awkward choices. A fragile specialist may sit near an allied model that can assist, while a second teammate controls the route to the objective. The opponent must then decide whether to attack the specialist, challenge the support model or concede space. If the enemy spends several activations separating the pair, your team may gain time elsewhere on the board.
Avoid placing both operatives so close that a blast, torrent or multi-target effect punishes them together. Support distance is not the same as base-to-base contact. Leave enough room for one model to retreat, rotate or change lanes after the first exchange. A good support formation has an exit route.
This matters at Australian events where tables and player spaces can vary from polished convention layouts to compact club setups. At a busy CanCon weekend or a local games shop in Perth, practical movement around the table can be tight. Agree on measurements, keep tokens visible and avoid allowing physical clutter to obscure whether an aid connection still exists.
Practise the Sequence Before Tournament Day
The easiest way to learn the rule is to rehearse three common situations: an early objective push, a mid-board firefight and a late-turn scoring attempt. Use spare models and terrain, then play the activation order without worrying about attacks. The goal is to make range, visibility and timing feel automatic.
Keep a shared doubles note containing each team’s preferred aid targets, dangerous enemy abilities and fallback positions. Record which operative can support a mission specialist, which model should never be left without cover and which actions are not eligible. This preparation also helps partners with different levels of experience play at the same pace.
Review recorded matches and tournament coverage with the same question: where could an assistant have changed the sequence? Kill Team Stream’s resources on local competitive seasons are useful for understanding how organised play develops across a season, from league nights to larger events. That context helps a doubles pair practise for the scoring and time limits they are likely to face.
Finally, decide who tracks the plan and who checks the rules. Both players should understand the interaction, but a single person calling the immediate activation order reduces confusion. After each round, spend a minute reviewing whether aid created points, preserved an operative or merely consumed actions. Over several games, that record will show which support patterns genuinely improve the team’s results.
The Aid Assistant rule is strongest when it connects a clear purpose with disciplined positioning. Used well, it lets two kill teams share opportunities, cover weaknesses and pressure the opponent’s timing. The result is a doubles partnership that feels coordinated without becoming dependent on one complicated interaction.
Tournament Packets
Packets from previous Kill Team events are kept here alongside new packets for upcoming tournaments, so organizers and players have what they need in one place.
View Event Data