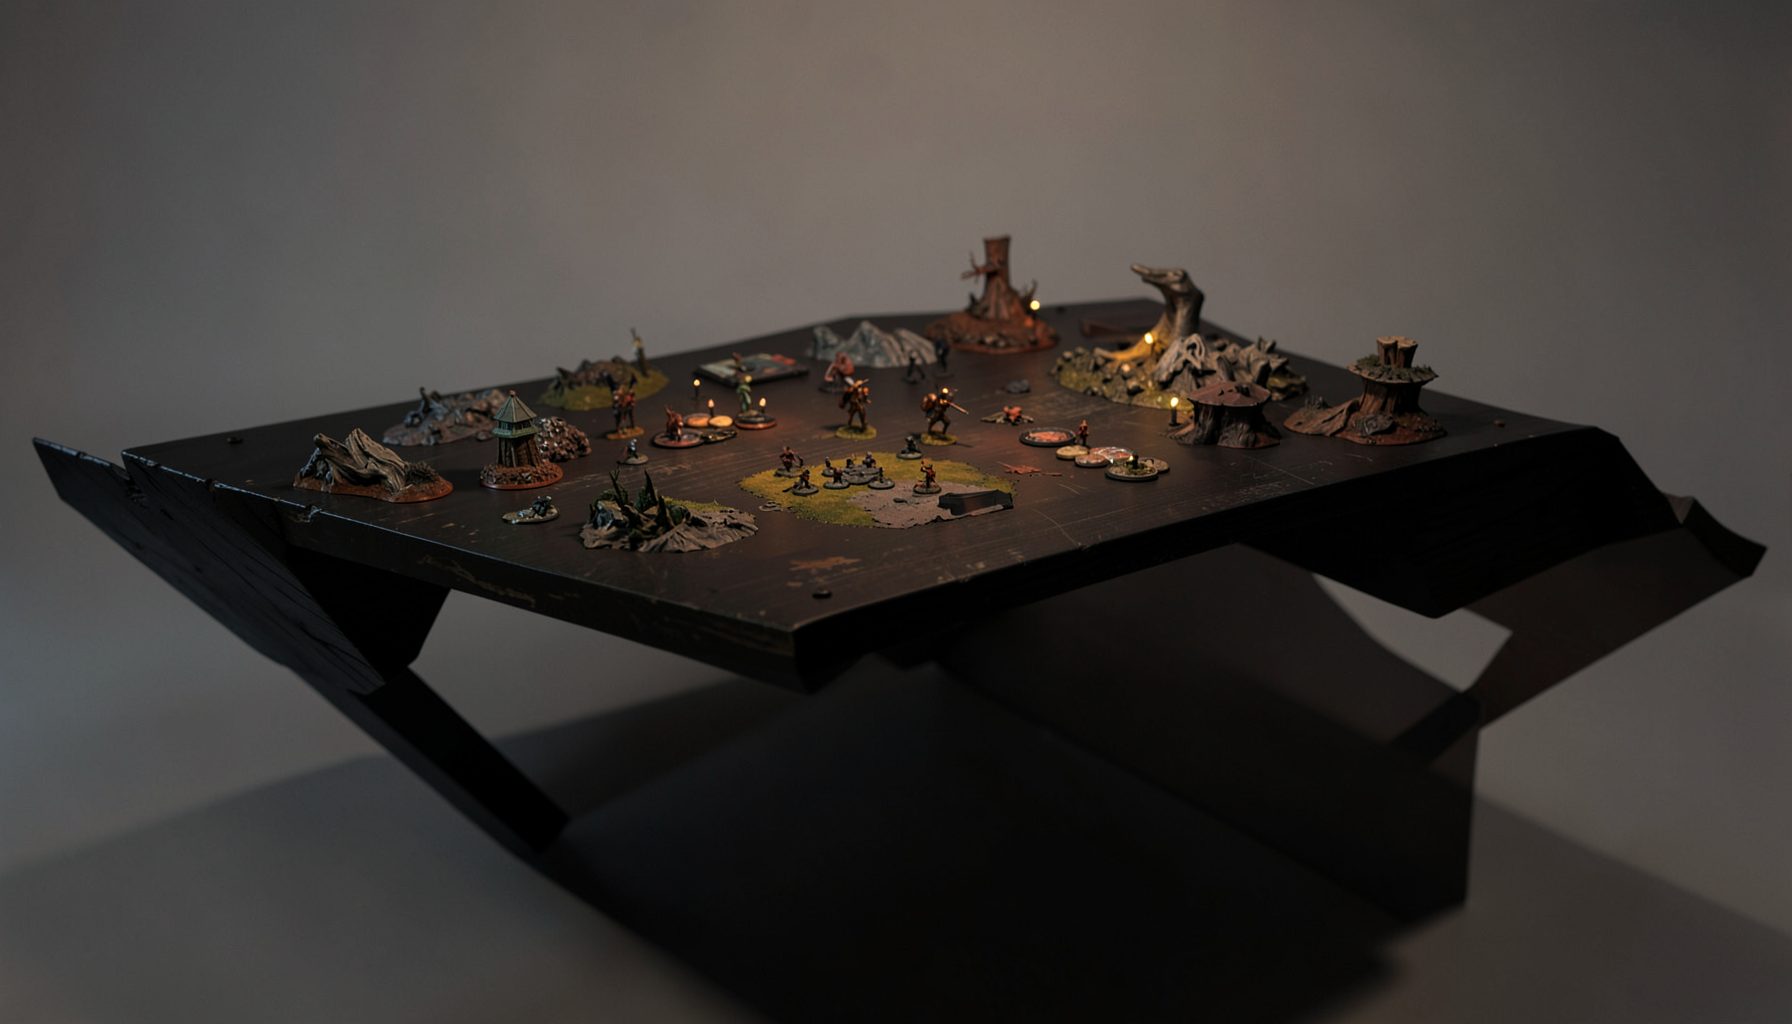
Live-streamed games, recorded matches, and event data gathered in one place.
Kill Team Stream hosts quality live streaming of Kill Team content — tournaments throughout the year on Twitch, regular games streamed to the channel, and tournament data gathered so players can see what's happening in the scene. Powered by WARHAMMER.
Browse tournamentsOfferings
Tournaments
Multiple Kill Team tournaments hosted throughout the year, all live-streamed on our Twitch channel.
Videos
Streams are recorded and uploaded to YouTube alongside original video content we produce.
Event Data
Tournament packets from past events plus resources for upcoming Kill Team tournaments.
Site Directory
Breaking the line: how the charge order reshapes Kill Team fights
The charge phase is the moment every Kill Team player circles on their mental calendar. It is the single action sequence where positioning decisions made two activations ago finally land in blood, and where a sloppy deployment at the start of the round can be punished in a heartbeat. Learning to read the board, choose targets, and commit models in the right order separates the casual dabbler from the player who walks away with their name scribbled at the top of the standings sheet at the Brisbane Roadshow.
If you have ever watched a stream of a top Aussie table and wondered why a single operative suddenly scythes through half the opposing kill team, the answer usually lies in how that player sequenced their charges. It is not always about piling on the most wounds. More often it is about forcing the opponent to spend the next turning point reacting to threats they can no longer ignore. The rest of this piece walks through how to set up, execute, and recover from a charge order that genuinely disrupts an opponent's formation.
Reading the board before the whistle blows
Australian competitive Kill Team has its own flavour, shaped by tight local metas and a handful of venues that dominate the scene. At places like Good Games in Melbourne's Elizabeth Street, Mantic Games events in Sydney, and the rotating tables at Tactics North in Brisbane, players arrive early, set up their terrain, and quietly read each other's army lists before the first dice are rolled. The reading-the-board habit starts well before the game even begins.
Once the first turning point kicks off, a smart player is already cataloguing where each enemy operative sits relative to conceal order, engage order, and the no man's land between zones. Look for models hanging on the edge of an objective, those are usually prime charge targets because their loss will swing the primary scoring. Also keep an eye on operatives positioned to screen a larger character. The screen is often the cheaper model, and removing it opens up a charge on the real threat.
A useful exercise before committing any charges is to ask which two models, if removed, would collapse your opponent's hold on their home objective. If you can answer that on turn one, you have a plan. If you cannot, you are reacting rather than acting, and the Aussie phrase "chucking a wobbly" applies more to your opponent than it does to you.
Setting up your own formation for the perfect charge
You cannot break a formation if your own operatives are strung out like a school of fish caught in a channel near Coffs Harbour. Before you even think about charging, your team needs to be in a posture that offers multiple charging lanes without leaving gaps that can be punished by a counter-charge. This usually means clustering two or three operatives behind a piece of terrain that blocks line of sight, then peeking out the moment the order matters.
The placement of your fireteam support pieces is everything. A support operative with an indirect weapon can sit safely behind a wall, forcing your opponent to choose between ignoring the chip damage or moving to deal with the threat. While they deliberate, your forward models are already in place to take advantage of the distraction. It is the classic two-front problem, the same tactical thinking that makes a ruckman in AFL so hard to defend against because you never know which way he will spin.
Also remember that conceal order does more than just hide you. It changes the math on incoming overwatch. Charging out of conceal gives you a free normal move before the charge roll, which lets you reposition onto a different angle if your opponent has moved since you planned the charge. That little extra movement is often the difference between a clean trade and a charge that ends with your operative stranded out of position.
Executing the charge order to overload defences
This is where the game flips. Once you have committed to a multi-charge sequence, the order in which you declare each charge matters more than the raw number of dice you are throwing. Always lead with the model whose removal your opponent can least afford to accept. If they have a fire team leader or a medic-equivalent, that is your opening target, because forcing them to lose that support role before they even swing back disrupts their entire activation economy.
When you charge with multiple operatives in one activation, think of it as a rugby backline shifting left and right. The first charge pins the defender, the second charge exploits the gap that pin opened, and the third charge mops up whatever is left standing. Coaches in the local scene often refer to this as "rolling the wave," and you will hear it shouted from the back tables at any CanCon-style event held in Adelaide.
Be careful about the difference between a fight activation and a standard charge. Some kill teams have operatives whose datasheet rewards them for fighting after a charge specifically rather than simply being within engagement range of a model that charged. Read those entries carefully and sequence your charges so those specialists hit the most isolated defender. A well-timed fight activation on a screened objective holder can deny an opponent three or four victory points before they even reach their counter-attack phase.
Reading your opponent's panic and exploiting it
Every regular at a Melbourne or Perth local knows the look: the player who suddenly realises their neat little firing line has just been split down the middle. The hands go flat on the table, the dice tower gets shoved aside, and the muttered phrase "fair dinkum, that was quick" floats across the room. That moment of hesitation is itself a tactical resource, and you should milk it.
When an opponent starts playing scared, they tend to over-commit to defensive positioning. They will pull models off objectives to protect them, which gives you free scoring on the points they just abandoned. They will also start prioritising their own charges into your models that were merely pretending to be threats, wasting activations on a bait operative while the real damage comes from a different angle.
Practising this kind of mind-game requires a steady temperament. Take a sip of your cold tinny from the esky, glance at your notes, and ask calmly whether they would like to resolve their counter-charge now or after they have reconsidered their whole game plan. The psychological pressure of a clean multi-model charge is real, and a confident follow-up forces more mistakes than the dice ever will.
Common mistakes and how to recover when things go south
Even the best-laid plans can fall apart when the charge roll comes up a three instead of an eight. The mistake most rookies make in that situation is to commit a second model into the same failed charge, which leaves two operatives stranded in no man's land with no way back into cover. Instead, always have a bail-out plan: an operative in conceal order positioned to dash back into a safe zone if the first charge fizzles.
Another common error is forgetting that fighting order, not just engagement range, dictates who strikes first. If you charge into a model with a higher fight value and you forgot to play a ploy that flips the order, you will take the counterblow before you get to swing. Train the habit of double-checking ploys before declaring the charge. Local organisers running events at tabletop halls around Parramatta or Hobart often hand out quick-reference cards for this reason.
Finally, do not waste a turning point obsessing over a failed alpha strike. Kill Team is a long game of resource attrition, and a single botched charge rarely costs the match. Reset, redeploy, and remember that the table state at the end of turning point three matters more than the highlight reel from turning point one. With that mindset, you can take the lessons from a rough round in your local store, refine your sequencing, and show up to the next regional ready to break a few more formations wide open. Between events, brushing up on weekly tournament insights is a habit plenty of competitive players swear by.
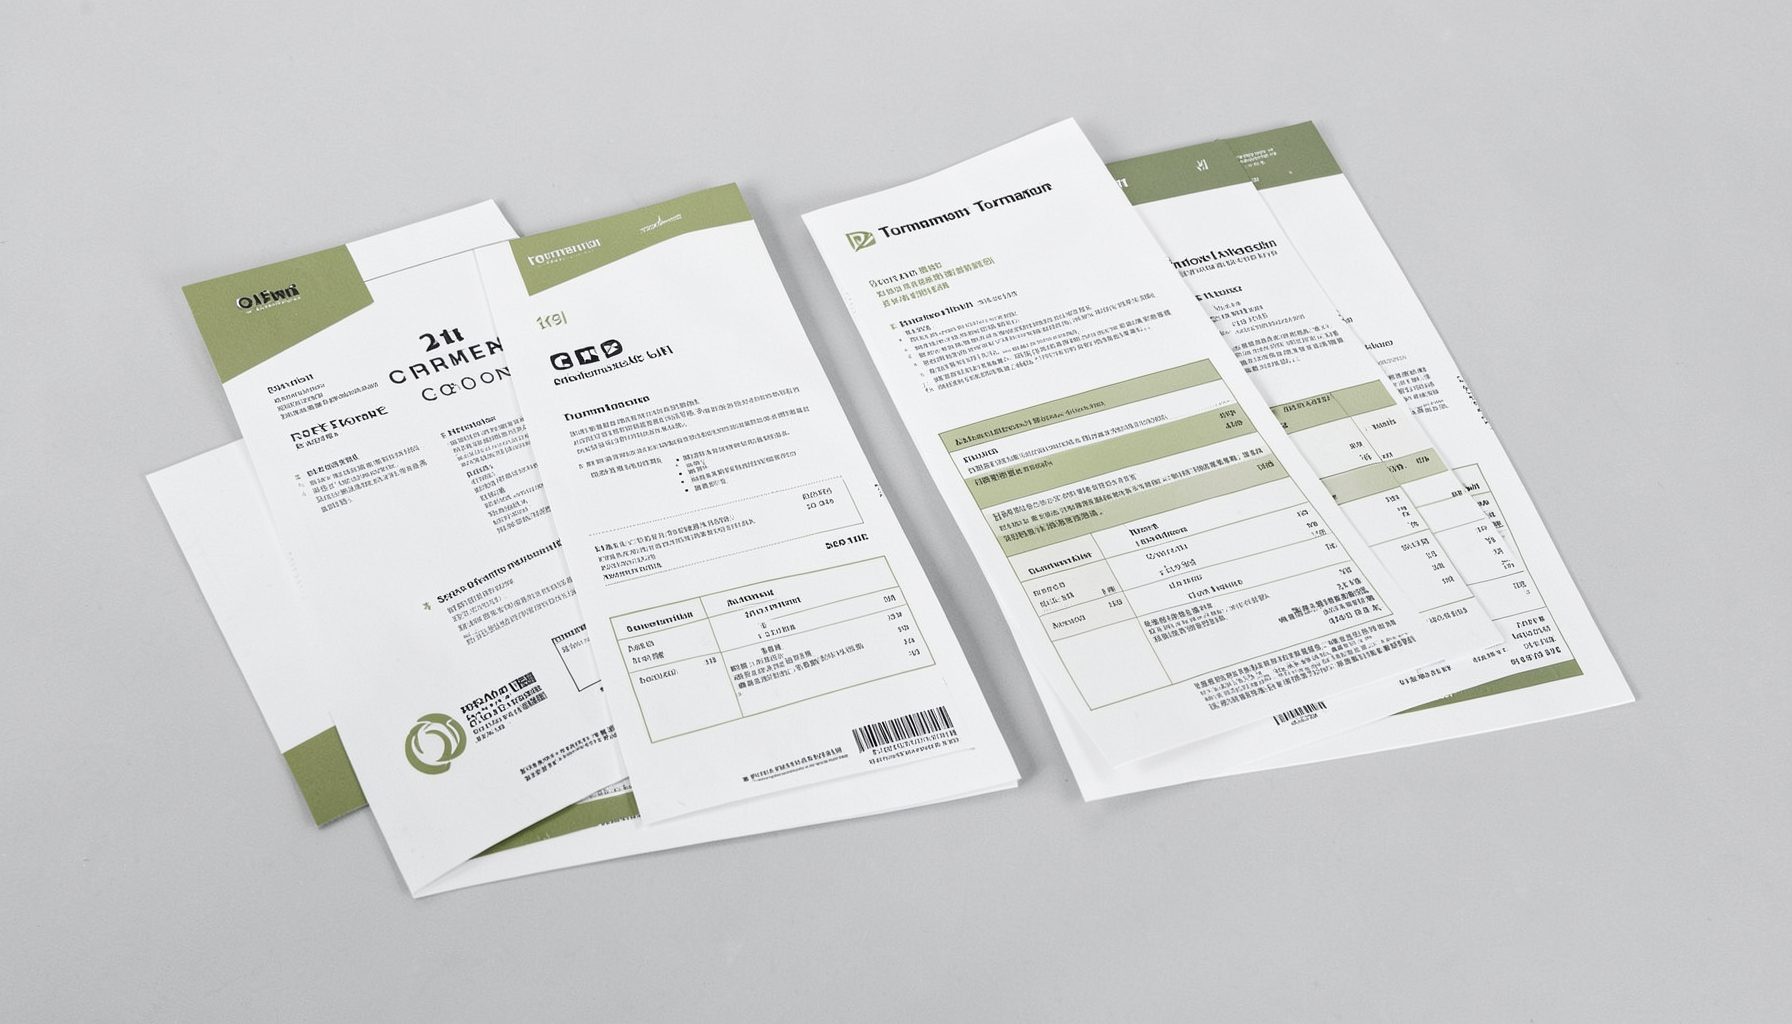
Tournament Packets
Packets from previous Kill Team events are kept here alongside new packets for upcoming tournaments, so organizers and players have what they need in one place.
View Event Data