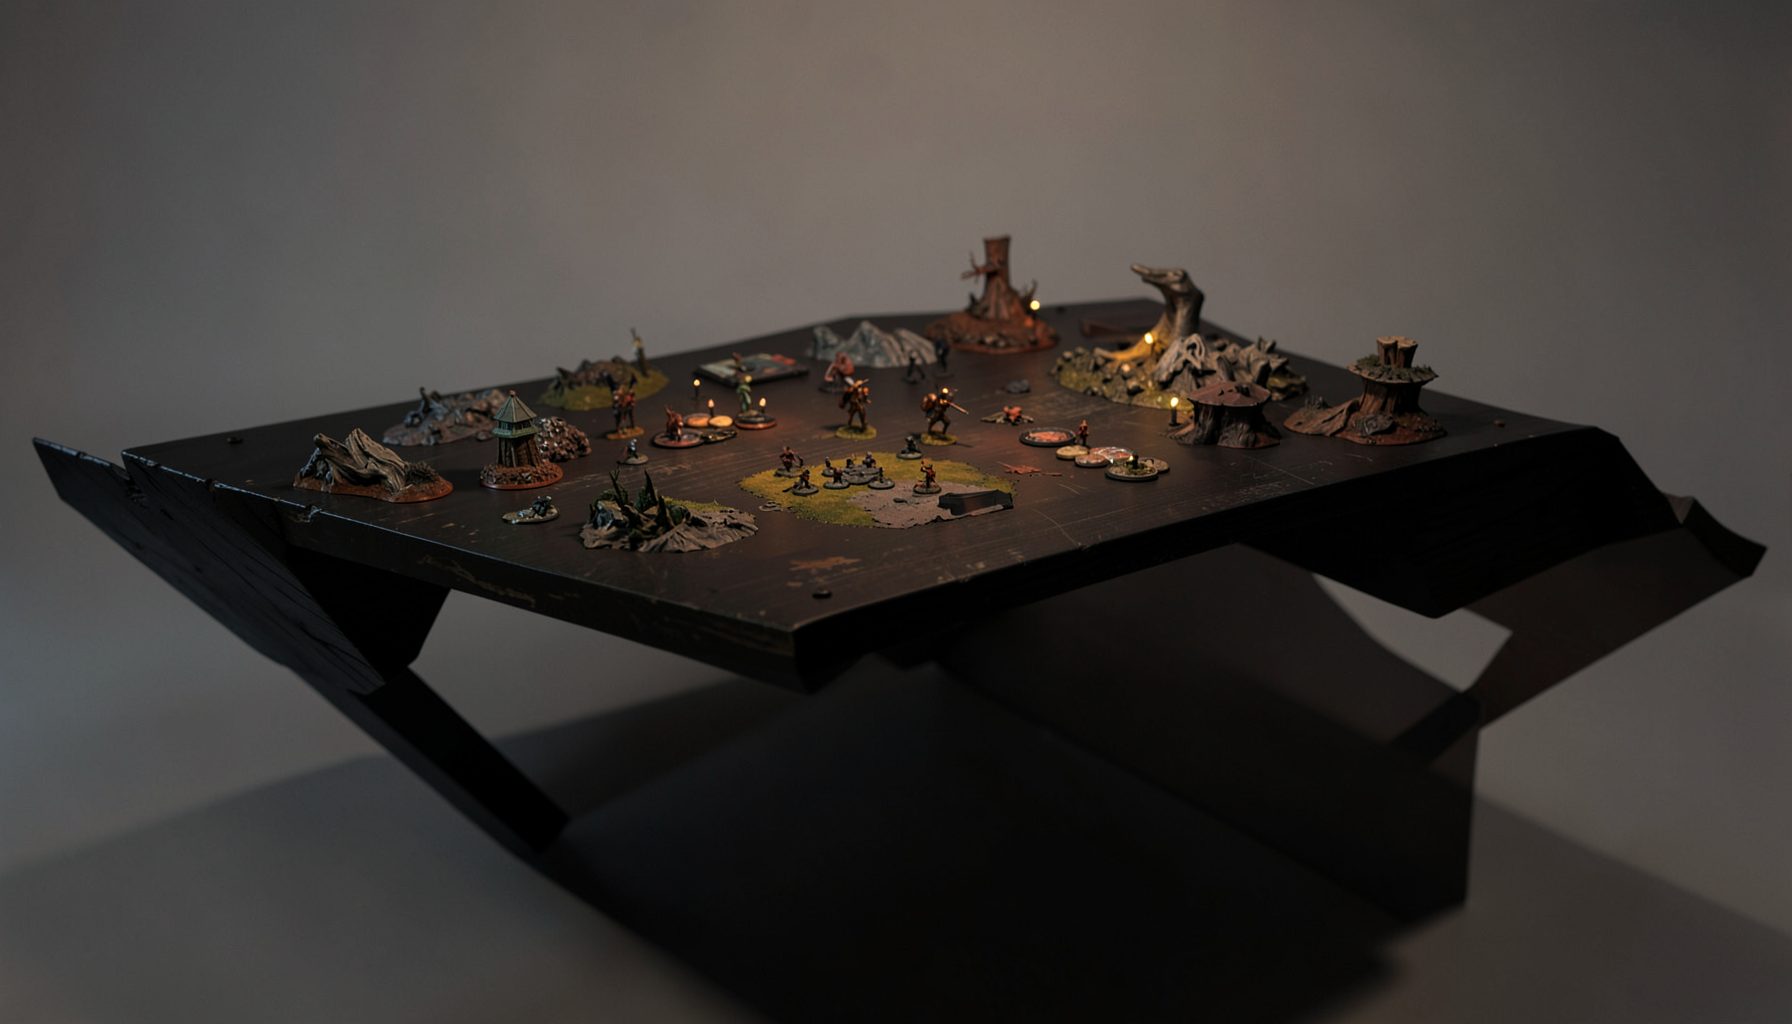
Live-streamed games, recorded matches, and event data gathered in one place.
Kill Team Stream hosts quality live streaming of Kill Team content — tournaments throughout the year on Twitch, regular games streamed to the channel, and tournament data gathered so players can see what's happening in the scene. Powered by WARHAMMER.
Browse tournamentsOfferings
Tournaments
Multiple Kill Team tournaments hosted throughout the year, all live-streamed on our Twitch channel.
Videos
Streams are recorded and uploaded to YouTube alongside original video content we produce.
Event Data
Tournament packets from past events plus resources for upcoming Kill Team tournaments.
Site Directory
Using the dash action to seize the midboard in Kill Team
The midboard is where most Kill Team games are won and lost, yet plenty of players treat it like a no-go zone. They hang back on their deployment edge, poke out a barrel of a gun, and wonder why their opponent keeps scoring Tac Ops uncontested. The fix is rarely about shooting better. It is about movement, and specifically about understanding what the dash action does for your activation economy.
In a game where every inch of movement matters, the dash gives you a free three-inch boost on top of your normal move. That sounds small until you start stacking it with ploys, equipment, and the positioning of your other operatives. Suddenly three inches becomes the difference between a safe vantage point and a lethal overwatch trap.
Australian players have a particular fondness for board control because the local tournament scene tends to reward grindy, tactical play. CanCon in Canberra, the Australian Team Championships down in Melbourne, and the stack of Good Games store events across the country all feature tables where terrain is dense and visibility is tight. You cannot win those events by hiding.
This article walks through how to use the dash action as a midboard control tool rather than a panic button. We will cover activation sequencing, threat placement, terrain reading, and the small habits that separate casual players from those who crack top tables at local RITs.
What the dash action actually does
The dash action is a strategic action that lets an operative move up to three additional inches after performing its normal move, fall back, or charge. It does not require a dice roll, it does not trigger overwatch, and it does not change the facing of the model. That last point matters more than most players realise.
Because dashing happens after the rest of your movement, you can use it to slip past sightlines, duck behind a piece of cover you barely fit behind, or shuffle out of engagement range without giving your opponent a free strike. The action costs your operative its entire activation if you have nothing else queued, but you can chain it with a normal move and still fight if the operative is in range.
A common mistake is treating the dash as an extension of the normal move. It is not. The dash is a separate, deliberate choice, and understanding that difference is the foundation of midboard control.
Why the midboard is the heart of the fight
The midboard is the strip of terrain between your deployment zone and your opponent's. In Kill Team, it is usually cluttered with obscuring terrain, central objectives, and the kind of vantage points that let you see multiple enemy operatives at once. Whoever owns this strip controls the flow of the game.
Objectives placed in the centre of the board, such as those on a symmetrical Nephilim-style layout or the more open boards you see at Australian events, force both sides to commit forces to the same area. If you refuse to enter the midboard, your opponent will simply walk in uncontested and score three victory points a turn without you being able to respond.
Local meta trends in Australia lean towards this kind of pressure. Players coming out of the Victorian, New South Wales, and Queensland circuits are used to fighting over the central ruins, fuel tanks, and barricade clusters that dominate most tournament boards. Standing still on your home objective while your opponent claims the middle is a losing strategy in that environment.
Setting the table before you activate
A successful dash does not happen in isolation. It is the payoff for the activations you spent earlier in the turning point. By the time you activate the operative you want to dash with, your other operatives should already be in positions that pull enemy attention, block line of sight, or hold down your home objectives.
Before you commit the dash, ask yourself three questions. Can my operative survive the next overwatch phase if I land in the open? Have I already cleared the sightlines I need cleared? Is the operative I am dashing with essential to my next turn, or can I afford to lose it?
If the answer to any of those is uncomfortable, you might be dashing into a trap. The best midboard players treat their dashers like chess pieces. They do not throw them forward for glory. They move them when the board state guarantees a return.
Threat saturation and forcing awkward trades
Threat saturation is the art of presenting your opponent with too many problems at once. The dash action is one of the cleanest tools for this because it lets you reposition without spending an entire activation moving across the board.
Picture this. You have three operatives on your home objective, one holding a flank, and one ready to dash forward into the midboard. If your opponent has to choose between shooting the operative on your home objective, holding the flank, or reacting to the dasher, they will often make a mistake. That mistake is what wins you the midboard.
The trick is to dash with operatives that have a clear purpose once they arrive. A dasher with a melta rifle is a threat your opponent must address. A dasher with a knife and no support is just a model you are donating. Pair your dashers with ploys that boost their threat, such as Seek and Destroy, and you turn a free three inches into a genuine board swing.
Reading terrain like an Aussie bush map
Australian tournament terrain tends to favour dense, layered boards. Bushland tables with scattered eucalyptus ruins, sandbag networks, and the occasional corrugated iron shack are common at hometown events. Reading this terrain is half the battle when you are trying to control the midboard.
The key is to identify pieces of terrain that offer two things at once. Cover from the main firing lanes and a route forward that does not require passing through open ground. A ruined tank in the centre of the board is not just a hiding spot. It is a stepping stone. From behind it, you can dash to a fuel drum that blocks sightlines to your home objective, then threaten your opponent's flank on the next turn.
Australian players often talk about reading the board the way you would read a bush track. You look for the line of least resistance, the natural chokepoints, and the spots where you can disappear from view for a single activation. The dash action lets you exploit those spots in ways that a standard move simply cannot.
Common blunders when chasing the centre
Even experienced players make the same handful of mistakes when they try to claim the midboard. Recognising these blunders is half the work of avoiding them.
The first is dashing too early. A dasher that moves into the midboard on turning point one is usually just a model your opponent gets to shoot for free. Wait until your home objective is secure, your ploys are loaded, and your opponent has already committed resources elsewhere.
The second is dashing with the wrong operative. Your faction's most valuable fighters are often not your best dashers. Save the dash for operatives that have a clear job once they arrive. A cheap troop with a decent gun is usually a better midboard controller than your leader or your heavy hitter.
The third is forgetting the cost. The dash is a strategic action. If you spend it on an operative that needs to be holding an objective, fighting, or completing an action, you are robbing your activation of utility. Make sure the dasher has nothing more valuable to do with its turn.
Lessons from the Australian competitive scene
The Australian Kill Team scene has produced a steady stream of players who understand midboard control better than most. Names that regularly feature in the top brackets at CanCon, the Brisbane Open, and the Tasmanian Throwdown are players who treat movement as their primary weapon.
One of the recurring lessons from those events is that the dash action works best when combined with patience. Aussie players are often forced to adapt to long travel times between events, which means they bring lists and tactics that hold up over a full weekend of grind. They do not rely on early aggression. They wait, they screen, and then they dash at the right moment.
Another lesson is that terrain is not optional. The boards at Australian venues, from the big conventions to the local Good Games stores, are usually built to encourage engagement. If you are not using the terrain to break sightlines, funnel charges, and set up your dashes, you are fighting with one hand tied behind your back.
The dash action rewards experimentation. Players who practice it during casual games at their local hobby night often find that the muscle memory carries over into tournament play. The combination of patience, terrain awareness, and well-timed dashes is what separates weekend warriors from the names that regularly feature at the Australian Team Championships and CanCon. The dash remains one of the sharpest tools in the Australian competitive box, and the players who build entire playstyles around it tend to be the ones still standing when the brackets go deep.
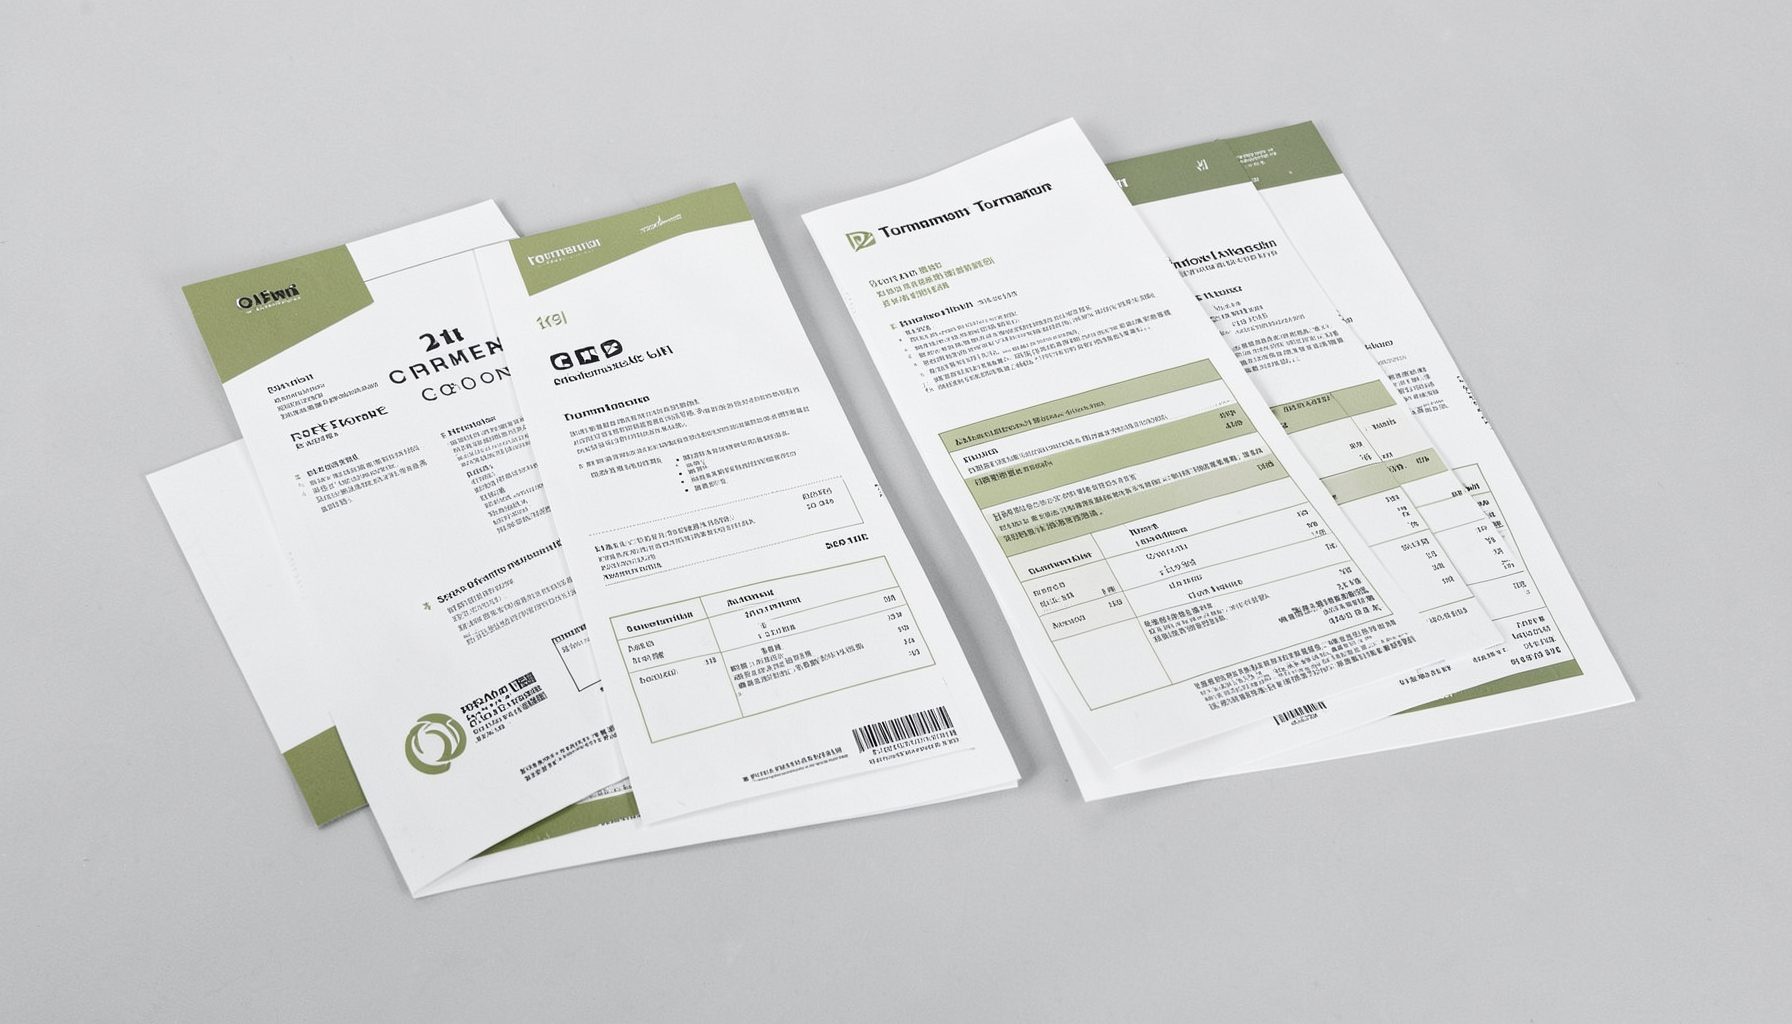
Tournament Packets
Packets from previous Kill Team events are kept here alongside new packets for upcoming tournaments, so organizers and players have what they need in one place.
View Event Data