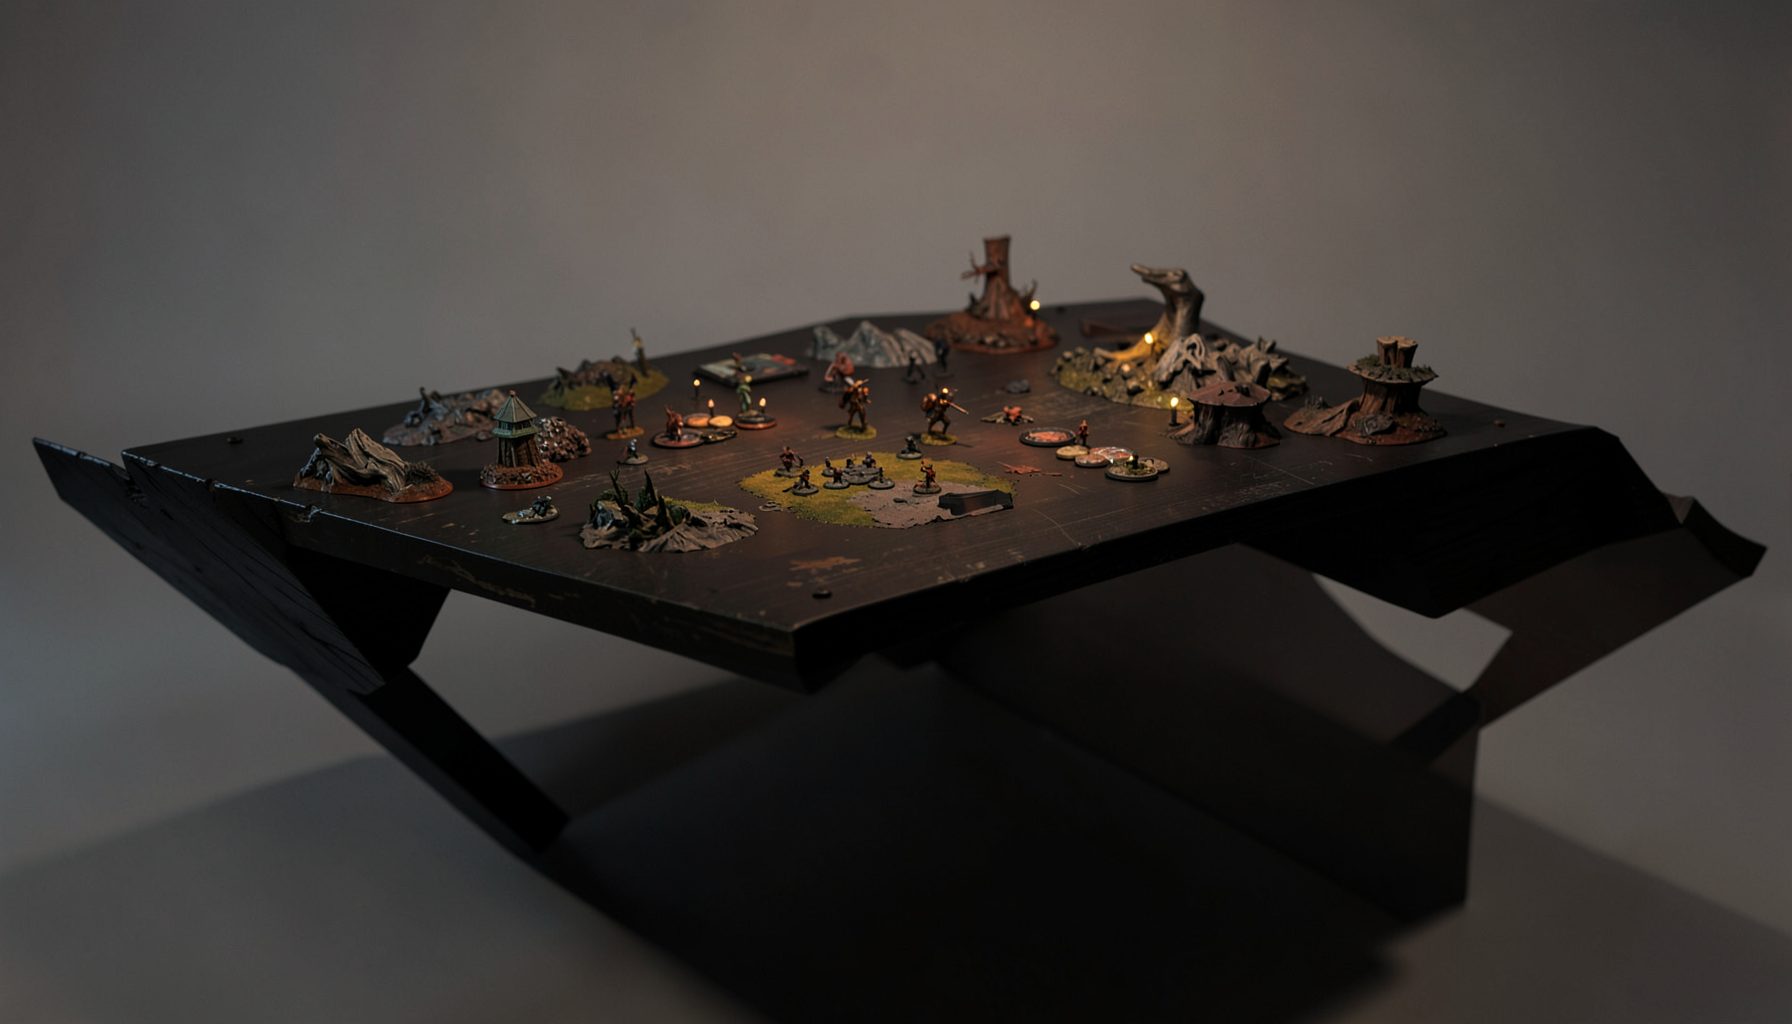
Live-streamed games, recorded matches, and event data gathered in one place.
Kill Team Stream hosts quality live streaming of Kill Team content — tournaments throughout the year on Twitch, regular games streamed to the channel, and tournament data gathered so players can see what's happening in the scene. Powered by WARHAMMER.
Browse tournamentsOfferings
Tournaments
Multiple Kill Team tournaments hosted throughout the year, all live-streamed on our Twitch channel.
Videos
Streams are recorded and uploaded to YouTube alongside original video content we produce.
Event Data
Tournament packets from past events plus resources for upcoming Kill Team tournaments.
Site Directory
How to Use Piercing Weapons to Bypass Heavy Armor
Piercing weapons are among the clearest answers to heavily armoured operatives in Warhammer 40,000: Kill Team. They do not simply add damage or make a critical hit more dramatic. Instead, the Piercing rule interferes with the defender’s ability to roll enough defence dice, making elite targets less reliable when they try to stop an attack.
The key is to treat Piercing as a resource and positioning tool rather than an automatic permission to shoot at any durable model. A Piercing weapon still needs line of sight, a legal target and a strong attack roll. Once those basics are in place, understanding defence characteristics, cover and attack sequencing lets the weapon do its real work.
| Weapon Rule | Main Effect | Best Target | Common Mistake |
|---|---|---|---|
| Piercing 1 | Reduces the defender’s Defence characteristic by 1 for that attack | Operatives with moderate or high Defence | Assuming it lowers the Save characteristic |
| Piercing 2 | Reduces the defender’s Defence characteristic by 2 for that attack | Exceptional elite targets | Spending it on a low-value target |
| High damage | Punishes each failed defence result | Wounded or low-wound operatives | Ignoring the value of a failed save |
| Accurate or Balanced | Improves the chance of retaining attack successes | Targets with strong defensive profiles | Treating the rule as a substitute for Piercing |
| Seek | Helps attack through cover, depending on the weapon rule | Targets hidden in terrain | Assuming Piercing alone cancels cover |
Understand What Piercing Changes
In the current Kill Team rules, Piercing X reduces the target’s Defence characteristic by X for that attack. A weapon with Piercing 1 makes an operative with Defence 3 roll two defence dice. Piercing 2 reduces that same profile to a single defence die. This is why the rule is so effective against operatives that depend on several defensive dice to stay alive.
Piercing does not usually change the target’s Save characteristic. A model with a 2+ save does not suddenly become a 4+ save target. Instead, the model has fewer opportunities to roll the required result. This distinction matters when comparing a Piercing weapon with a high-damage weapon or a weapon that has Seek.
The reduction applies during that attack sequence, so it is most valuable when your attack roll is capable of producing several successes. If your weapon rolls only a few attack dice, removing one defence die may have limited impact. If your attack produces three or four successes, cutting the defender from three defence dice to two can dramatically improve the chance that damage gets through.
Read Armour Before Choosing A Target
Heavy armour is often represented by a combination of a strong Save characteristic, a high Defence characteristic, many wounds and defensive abilities. Piercing primarily attacks the Defence part of that equation. It is strongest against a target that rolls three or more defence dice and relies on those dice to cancel your successes.
Consider a basic comparison. Against a Defence 3 operative, Piercing 1 reduces the pool to two dice. Against Defence 2, the same weapon reduces the pool to one die. That second case is particularly severe: even a very good save cannot compensate for having so few chances to block incoming successes.
The rule is less impressive against a target with Defence 2 if the weapon’s attack profile is weak. A single attack die may still fail to produce a success, and Piercing cannot fix a poor hit roll. Review the weapon’s attack characteristic, Ballistic Skill, damage and critical rules together. A weapon with Piercing 1 and four attack dice may be a better armour answer than a weapon with Piercing 2 and only two attack dice.
Sequence The Attack Carefully
Roll the attack dice first and identify which successes you can retain. Accurate, Balanced and Ceaseless can help turn an average attack into a dangerous one. Do not rush to spend a command re-roll before considering the defender’s reduced pool. Sometimes the existing attack result is already strong enough once Piercing has taken effect.
The defender then rolls the reduced number of defence dice, using the normal Save characteristic. The usual process of comparing normal and critical successes still applies. Piercing has not replaced the attack sequence; it has changed the number of defensive dice available inside it.
This is where critical hits become important. If your weapon has a high critical damage value, Piercing can create a situation where one failed defence roll removes a large portion of the target’s health. Rending, Devastating and similar effects can make the initial attack roll even more valuable. A Piercing weapon should therefore be judged by the complete profile, not by the keyword in isolation.
Players learning through battle reports can benefit from tracking this sequence turn by turn. The same careful habit used in an FFXIV beginner guide applies here: learn what each step changes before trying to optimise the whole encounter.
Use Cover And Line Of Sight Properly
Piercing is not the same as Seek. It reduces the target’s Defence characteristic, while cover and line-of-sight rules determine whether the target can be attacked and how its defence dice are used. A Piercing weapon does not automatically make a concealed operative an exposed operative.
This makes terrain selection essential. If the target is in cover, you still need to understand how the cover save interacts with the attack. In many situations, a defender can retain a cover save without rolling it, so reducing the number of rolled defence dice may not remove every defensive benefit. Piercing remains useful, but it may not be sufficient by itself.
Seek weapons, indirect effects and abilities that ignore or alter cover can pair especially well with Piercing. One effect removes the protection of position while the other cuts down the remaining defensive pool. If your team has no way to bypass cover, use movement and angles to force the armoured operative into a less protected location before committing your best attack.
This is especially relevant on dense boards used by Australian clubs and tournament venues. A cramped Sydney warehouse table or a terrain-heavy event in Melbourne can create many short fire lanes where an armoured operative is technically visible but still protected by cover. Plan the route before the turning point rather than expecting Piercing to solve every terrain problem.
Build A Team Around The Rule
A Piercing weapon works best when the rest of the team creates a favourable target. Fast operatives can pressure objectives and force an elite defender to choose between holding ground and avoiding a dangerous firing lane. Melee specialists can threaten a charge, encouraging the opponent to expose an armoured model before your shooter activates.
Activation order matters as well. Use a lower-value operative to force a reaction, remove an opposing guard or deny an objective. Then activate the Piercing shooter when the target has fewer options. If the enemy can simply move into heavy cover after seeing your gunner act, the weapon’s theoretical power may never become practical damage.
Pairing is also useful. A weapon with Piercing 1 may soften a target for a teammate with high normal damage. Alternatively, a reliable shooter can remove a wounded operative after another model has already caused chip damage. Do not assume the Piercing specialist must secure every kill; reducing an enemy to a vulnerable state can be the correct tactical result.
At Australian events, where travel can mean preparing for a very different local meta from one month to the next, this flexibility has real value. A roster built in Brisbane may face dense terrain and aggressive objective play in Adelaide, while a Perth tournament can reward careful long-range deployment. Treat Piercing as part of a plan for elite targets, not as the entire plan.
Apply Piercing Under Tournament Pressure
Before a match, identify which enemy operatives are most affected by a reduction in Defence. Mark their names or profiles in your notes and estimate how many successes your weapon normally produces. This prevents decision-making from slowing down when the turning point arrives.
During the game, ask three practical questions: can the weapon reach the target, can it generate enough attack successes, and is the target important enough to justify the activation? If the answer to the first two is no, find a better angle or choose another operative. If the target is a key mission piece, Piercing may be worthwhile even when the damage expectation is modest.
Watch for defensive abilities that alter the normal sequence. Some operatives can retain extra dice, ignore modifiers, reduce damage or improve their Save characteristic. These effects can change the value of Piercing, so check the datasheet rather than relying on memory. Tournament packets may also specify the edition, terrain layout or approved rules references, which matters when a familiar weapon interaction has changed.
Live games from Kill Team Stream are useful for seeing these decisions in context. Pay attention to when a player holds a Piercing weapon back, how they create a firing lane and whether they attack the armoured operative before or after an objective action. In Australian time zones, checking recorded matches after a local event can be easier than trying to catch every Twitch broadcast live, particularly for players balancing games with work or weekend travel.
The strongest use of Piercing is deliberate: reduce the enemy’s defensive pool, attack when your own dice are reliable, and make the target’s position part of the calculation. Heavy armour remains dangerous, but it becomes far less dependable when the defender has too few dice to protect it.
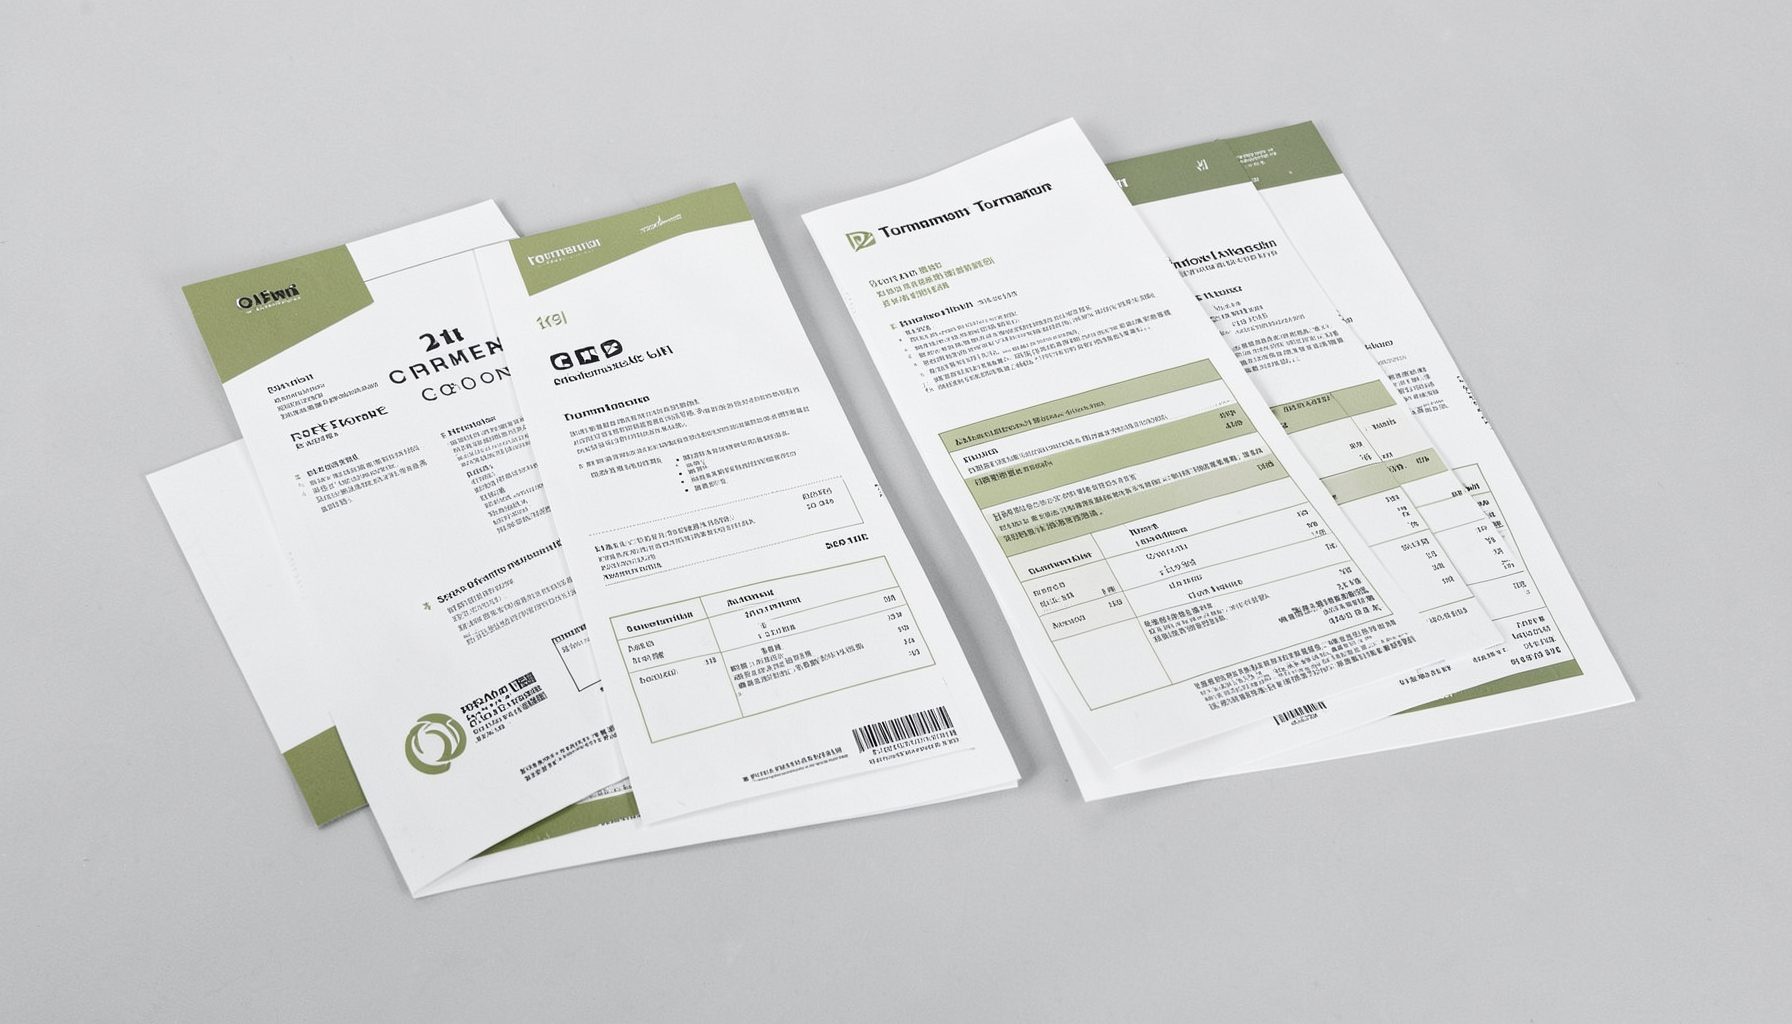
Tournament Packets
Packets from previous Kill Team events are kept here alongside new packets for upcoming tournaments, so organizers and players have what they need in one place.
View Event Data