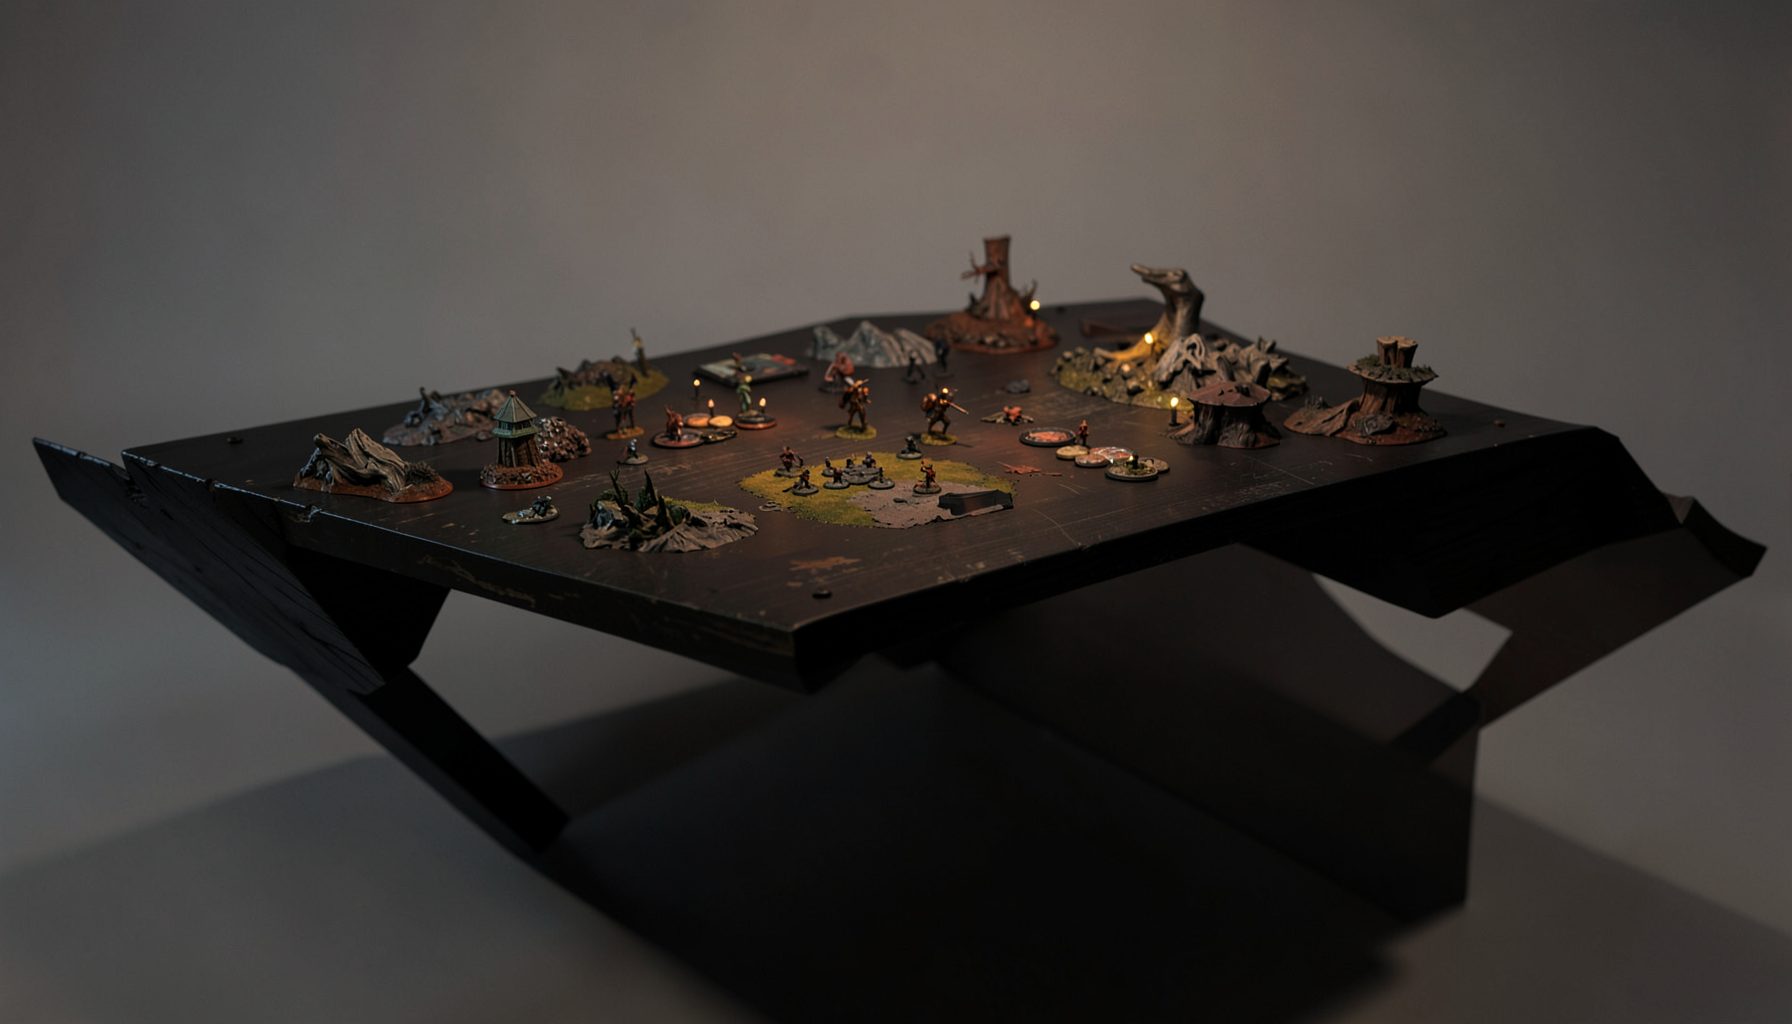
Live-streamed games, recorded matches, and event data gathered in one place.
Kill Team Stream hosts quality live streaming of Kill Team content — tournaments throughout the year on Twitch, regular games streamed to the channel, and tournament data gathered so players can see what's happening in the scene. Powered by WARHAMMER.
Browse tournamentsOfferings
Tournaments
Multiple Kill Team tournaments hosted throughout the year, all live-streamed on our Twitch channel.
Videos
Streams are recorded and uploaded to YouTube alongside original video content we produce.
Event Data
Tournament packets from past events plus resources for upcoming Kill Team tournaments.
Site Directory
How to use Retaliatory Charge effectively in Kill Team
Retaliatory Charge rewards players who can turn a lost operative into a favourable trade. Rather than treating an enemy charge as the end of the exchange, the ploy creates a chance to bring another operative into combat while the attacker is exposed. Used well, it can remove a dangerous enemy, reclaim an objective or force the opponent to spend their next activation defensively.
Its strength comes from timing. The ploy is generally most valuable when the enemy has already committed a key operative and your response changes the shape of the turning point. A rushed use can leave your own fighter isolated, outside support range or unable to reach a worthwhile target.
Kill Team boards are compact, and small differences in distance, cover and activation order can decide whether a charge is decisive. This is especially clear on the dense terrain layouts often used at Australian events, from Melbourne club nights to tournament tables in Sydney and Brisbane. A charge that looks available from the deployment zone may disappear once barricades, vantage points and engagement restrictions are measured carefully.
The best players also treat the stratagem as a threat before using it. If your opponent knows a nearby operative can counter-charge, they may avoid a reckless assault, hold back a valuable fighter or spend an activation clearing the supporting model first. That passive influence can be as useful as the actual combat.
Check the trigger before planning around it
Start by reading the current wording of Retaliatory Charge alongside the matched-play rules and your team’s approved rules pack. Kill Team terminology and timing can change between editions, balance updates and faction releases. Check whether the effect is triggered by a particular combat result, whether the friendly operative must be within a stated distance, and whether it must be ready or otherwise eligible to act.
The timing window matters just as much. Some ploys are used immediately after an enemy action, while others are declared during a specific step of a fight. That distinction determines whether you can wait for the enemy’s full attack sequence, whether the enemy can use a reaction first, and whether the selected operative is still a legal choice.
Before the turning point begins, identify every model that could become a retaliatory charger. Mark their distances to likely enemy attackers, objective markers and terrain edges. Measuring these routes early prevents a common error: assuming that an operative is close enough because its base appears nearby, then discovering that the legal path cannot end in the required position.
Do not spend command points purely because a model has been incapacitated. The ploy should improve the exchange. If the enemy attacker is already badly wounded, trapped on an unsafe objective or likely to be removed by shooting, saving the resource may produce a stronger advantage later.
Build a reliable counter-charge position
A good retaliatory charge usually begins before the enemy activates. Place a potential counter-charger where it can reach several zones rather than a single obvious target. A model behind light cover near the centre of the board may threaten two objectives and multiple approach lanes, while a model hidden on a flank may have only one useful route.
Distance is only part of the calculation. Consider the final position of the friendly operative after charging. Can it reach an objective? Will it be visible to several enemy shooters? Does the target have support from another enemy fighter? Is the charger likely to survive the following activation? A successful charge that leaves a weak operative standing in the open can still be a poor trade.
Screening is particularly important for teams with elite operatives. A durable fighter positioned behind a less valuable model may be unable to counter-charge when the screen is removed. Conversely, a cheap operative can deliberately stand where an enemy assault would expose the attacker to a stronger response. This creates a layered defence rather than relying on a single heroic combatant.
On Australian boards, terrain density can vary substantially between local clubs and events. A layout at a packed Games Workshop store in Melbourne may feel very different from a spacious community-hall table used for a weekend event near Perth. Practise measuring charge lanes on several styles of terrain so the plan does not depend on one familiar arrangement.
Choose the right target and trade
The obvious target is not always the correct one. Retaliatory Charge is strongest when it removes a model whose next activation would have generated significant value. A specialist holding an objective, a leader controlling nearby operatives or a concealed shooter with a powerful weapon may matter more than the enemy fighter that just made the charge.
Look at the whole exchange rather than the emotional sequence. If the enemy has sacrificed a cheap operative to kill one of your key models, counter-charging that cheap operative may be appropriate only when it opens a route to an objective or removes a screen. Otherwise, redirect the response towards a higher-value enemy or use the charge to establish board control.
Combat statistics should influence the decision, but they should not be the only factor. Compare weapon damage, critical effects, armour, wounds and abilities that modify the fight. A fighter with fewer attacks may still be the best choice if it has a lethal special rule or can finish the enemy without relying on a risky dice result.
The table below provides a practical way to compare common counter-charge situations. It is a decision aid rather than a replacement for the exact wording of the ploy or the current datasheets.
| Situation | Value of using the ploy | Main risk | Preferred response |
|---|---|---|---|
| Enemy leader has overextended | Very high | Support fire or a counter-charge | Remove or pin the leader if the route is safe |
| Cheap enemy fighter took an objective | Medium | Spending resources for a low-value target | Charge only if it secures the marker or creates a strong position |
| Enemy attacker is already badly wounded | Low to medium | The target may die to shooting anyway | Save the resource unless the objective is urgent |
| Your strongest fighter is ready nearby | High | Losing that fighter to return attacks | Use only with favourable combat odds or defensive support |
| The charge reaches multiple enemies | High | Ending in a surrounded position | Confirm the follow-up activation and escape options |
| The route crosses open ground | Variable | Immediate enemy shooting | Prefer a charge ending in cover or deny the charge |
Manage activation order and command points
Retaliatory Charge becomes more predictable when you track ready and activated operatives. The best response often comes from a model that has not yet activated, because it can charge and then contribute again to the turning point’s objectives or tactical plan. If every nearby fighter has already acted, the ploy may still help, but its effect is usually narrower.
Activation order also affects baiting. You can activate a disposable operative early to force the opponent to commit, while keeping the real counter-charger ready. Alternatively, pass or use a low-impact action when the opponent expects an attack, preserving the threat of a response. The aim is to make the opponent choose between acting into danger and surrendering space.
Command points should be budgeted before the turning point, not after the enemy has created a dramatic moment. Decide how many points are reserved for Retaliatory Charge and what competing options may matter, including defensive ploys, re-rolls, overwatch or mission actions. Spending everything on the first exchange can leave you unable to protect the counter-charger later.
A useful habit is to assign a value to the response before the dice are rolled. For example, if the enemy charge would remove a low-value operative but allow your fighter to kill a leader and stand on a primary objective, the exchange may justify the cost. If the response merely trades two ordinary fighters in a corner, keep the command point for a more important turning point.
Combine the charge with mission pressure
A counter-charge should serve the mission, not just combat. After checking whether the target can be defeated, ask what the charge does to objective control, action economy and movement lanes. A fighter that ends combat on a central marker may be worth more than one that kills an enemy in an irrelevant corner.
The ploy is especially useful for denying a scoring action. If an enemy operative has moved onto an objective and is preparing to perform a mission action, a retaliatory assault can force it away, incapacitate it or make the position too dangerous. Even when the enemy survives, being engaged at the wrong time can prevent the action that justified its advance.
Use the charge to protect fragile specialists as well. An enemy melee operative that reaches your back line may threaten a medic, sniper or mission carrier next. A counter-charge can block the attacker, buy a turn for the specialist to move or create a combat that is favourable because the enemy has no room to manoeuvre.
Tournament missions in Australia often reward disciplined primary scoring, and travel can make preparation time valuable. At a two-day event in Adelaide or Sydney, players may face unfamiliar terrain and mission combinations across several rounds. A simple habit of checking the counter-charge’s objective impact after every enemy assault helps maintain focus when fatigue makes aggressive plays tempting.
Avoid the traps that waste the effect
The first trap is charging because the rule is available rather than because the position is favourable. A legal charge can still be strategically poor if the target has a powerful melee weapon, defensive ability or nearby support. Confirm the likely damage on both sides and inspect what the opponent can do immediately afterwards.
The second trap is forgetting that engagement range affects movement and follow-up actions. A charger may reach the enemy but end in a position that blocks your own models, prevents a mission action or leaves no legal route for the next activation. Think about the space around the target, not just the distance to its base.
The third trap is exposing a valuable operative to ranged fire. Many counter-charges happen near the centre of the board, where several enemy models can shoot during the next activation. If the combat will not remove the target or provide cover, consider whether the charge has actually improved your position.
Finally, avoid treating a successful retaliation as permission to overextend. Once the enemy assault has been answered, reassess the board. You may have gained an objective, but the counter-charger could now be isolated. Use terrain, concealment, supporting activations and mission actions to turn the immediate victory into lasting control.
Practise the sequence before tournament day
The most effective way to learn Retaliatory Charge is to rehearse its decision points rather than memorise a single trick. Set up a few common positions: an enemy fighter charges a screen, a leader overextends onto an objective, and a melee specialist reaches your back line. For each position, measure the legal response, calculate the combat and identify the safest ending square.
Record the results from practice games and streamed matches. Kill Team Stream’s tournament footage and commentary can be useful for seeing when experienced players preserve a counter-charge threat instead of spending it immediately. Pay attention to what happened before the ploy: the positioning choices several activations earlier often explain why the response was available.
Local games are also ideal for learning the practical details. Ask opponents at a Brisbane club night or a Canberra tournament how they evaluate a charge lane, then test those ideas against your own team’s weapons and abilities. Australian players may need to prepare for long event travel, different venue terrain and varying table layouts, so a flexible process is more valuable than a rehearsed script.
Retaliatory Charge works best as part of a complete plan: preserve a ready operative, tempt the enemy into an inefficient attack, select a target that matters to the mission and finish in a position that survives the next activation. When those elements align, the stratagem transforms an opponent’s initiative into a controlled exchange and can decide the turning point without requiring a spectacular dice roll.
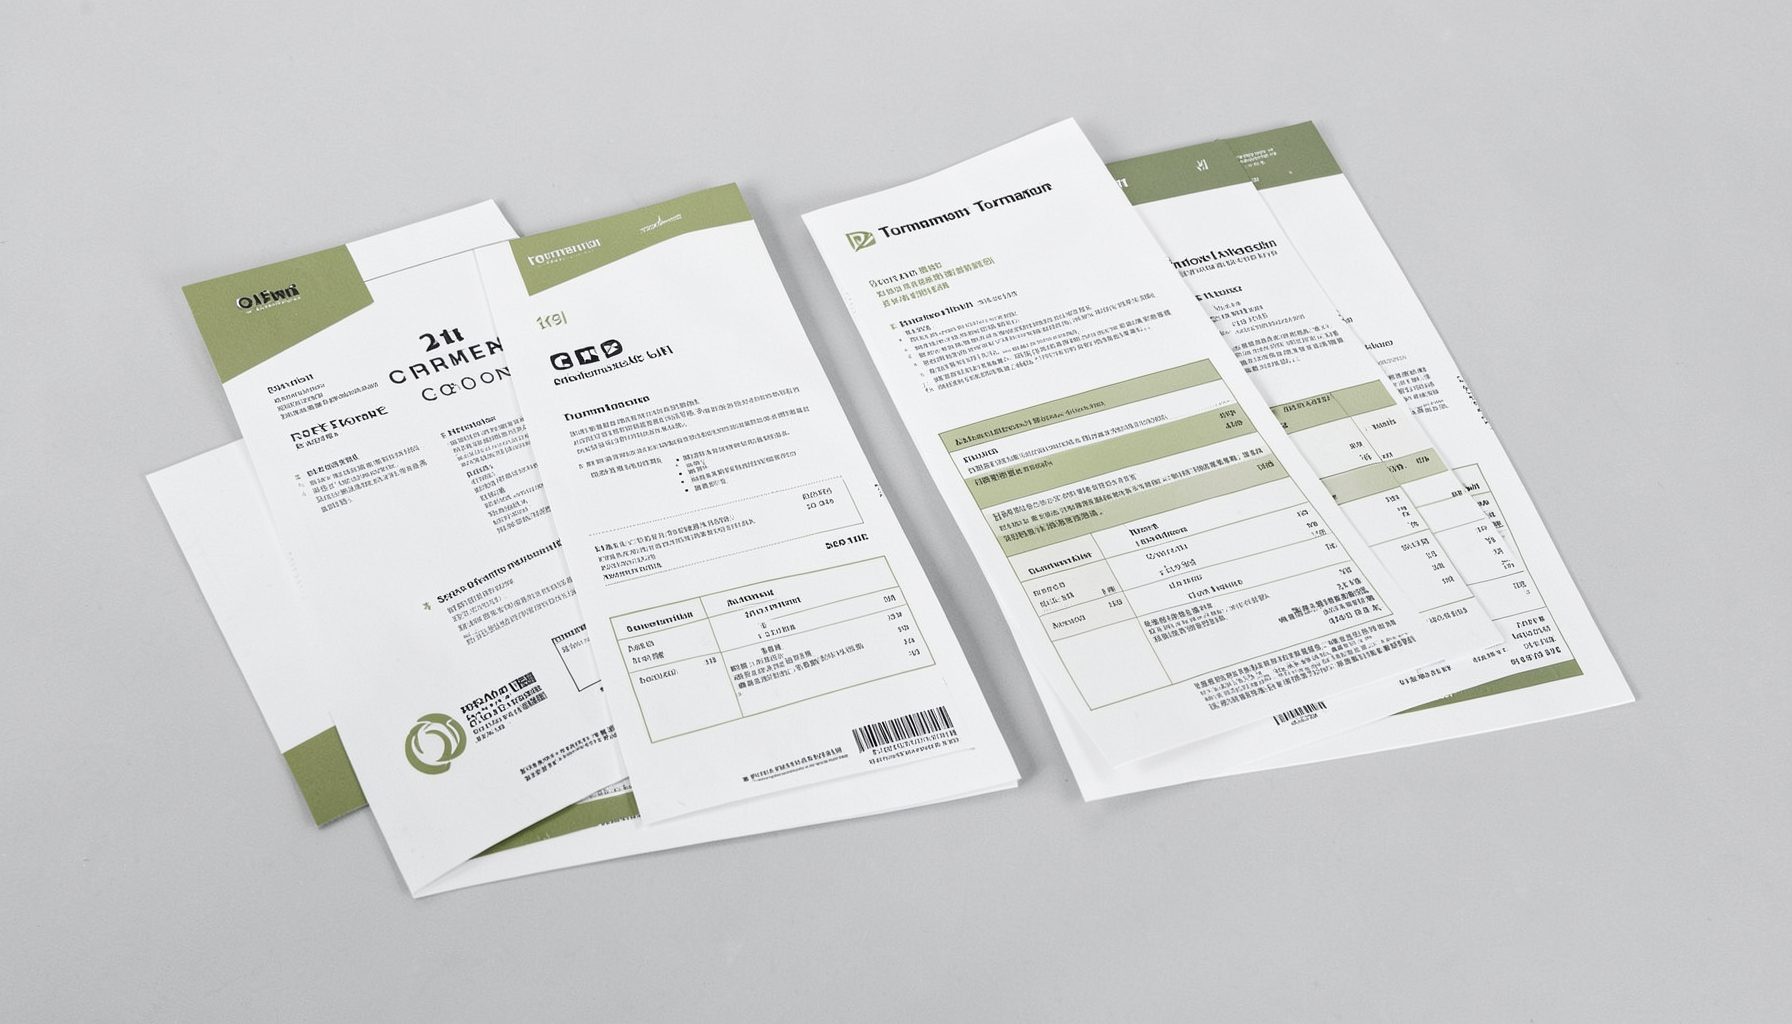
Tournament Packets
Packets from previous Kill Team events are kept here alongside new packets for upcoming tournaments, so organizers and players have what they need in one place.
View Event Data