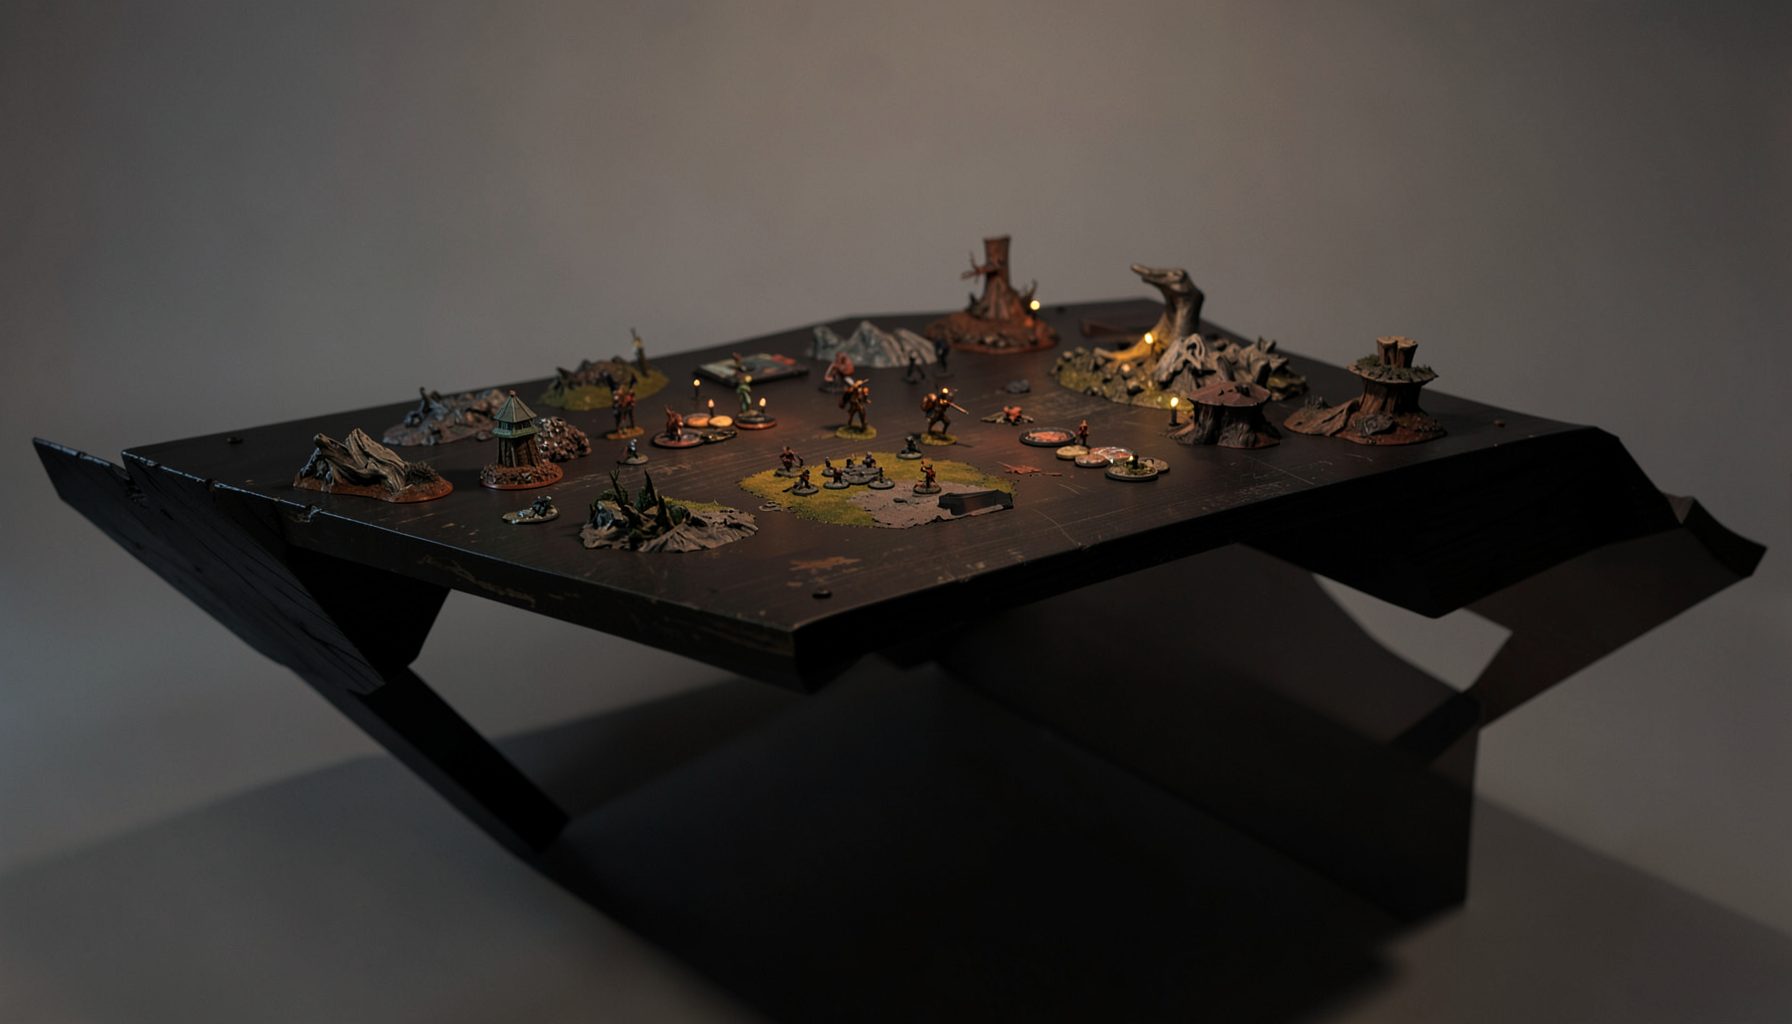
Live-streamed games, recorded matches, and event data gathered in one place.
Kill Team Stream hosts quality live streaming of Kill Team content — tournaments throughout the year on Twitch, regular games streamed to the channel, and tournament data gathered so players can see what's happening in the scene. Powered by WARHAMMER.
Browse tournamentsOfferings
Tournaments
Multiple Kill Team tournaments hosted throughout the year, all live-streamed on our Twitch channel.
Videos
Streams are recorded and uploaded to YouTube alongside original video content we produce.
Event Data
Tournament packets from past events plus resources for upcoming Kill Team tournaments.
Site Directory
Kill Team Painting Guide for a Competitive Team
A tournament-ready Kill Team does not need display-case perfection. It needs clear colors, readable details, strong contrast, and a finish that looks consistent across every operative. Speed painting works especially well for Kill Team because the models are small, the squads are compact, and a focused color scheme can produce a striking result quickly.
The goal is to create miniatures that look good under event lighting, remain easy to identify during a match, and survive regular transport. A practical painting workflow also leaves more time for list testing, terrain practice, and watching competitive games on Kill Team Stream.
A fast team painting project succeeds through preparation rather than shortcuts alone. Choose a manageable palette, organize the stages, and use techniques that provide maximum visual impact for every minute spent at the desk.
Choose a Tournament-Ready Painting Plan
Start by deciding what the team should communicate from across the table. A dark armor scheme with bright lenses, pale markings, or colored weapons is easier to read than a model built from several similar midtones. Use one dominant color, one secondary color, a dark neutral, and one bright accent. This limited palette creates cohesion and reduces decision-making.
Think about how the models will look as a group rather than individually. Repeat the same armor color, leather tone, basing material, and spot color on every operative. Specialists can receive small distinctions, such as a different shoulder pad or glowing device, but they should still belong to the same visual unit.
A competitive force also benefits from intentional color coding. Bright weapon casings, colored visors, or marked base rims can help distinguish a leader, sniper, heavy gunner, or objective specialist during a crowded round. Keep these signals subtle enough to fit the army while making important operatives easy to identify.
Prepare Models for Fast Painting
Clean assembly is the first speed painting technique. Remove mold lines before gluing, fill visible gaps where practical, and leave certain parts separate if they would block access to the torso or face. Weapons, backpacks, and shields often make painting harder when attached too early.
Use a spray primer that supports the chosen scheme. Black primer creates strong shadows and suits grim, industrial teams. Gray gives a balanced starting point for most colors. White or bone primer makes bright schemes faster, though it can make mistakes more visible. A colored primer can also function as the first broad layer, saving a complete painting pass.
After priming, inspect every miniature under a bright lamp. If the primer has pooled in details or created a rough texture, fix it before applying paint. Speed comes from avoiding rework. A few minutes spent correcting preparation problems can save an entire evening later.
Mounting several models on a temporary handle or holder keeps the workflow moving. Paint one stage across the whole squad before changing colors. This assembly-line approach is faster than finishing one miniature at a time and produces a more unified result.
Build Color in Efficient Layers
Begin with broad basecoats and accept that the first pass may look uneven. Thin acrylic paint slightly, apply two controlled coats where necessary, and avoid flooding recessed areas. The aim is a smooth foundation rather than perfect coverage in every hidden corner.
Once the main colors are established, apply a carefully chosen wash or shade. A dark wash over armor, cloth, and mechanical details can create instant depth, but using the same heavy shade everywhere may make bright areas dirty. Targeted washes produce a cleaner competitive finish. Use a brown shade for warm leather and brass, a black shade for machinery, and a colored shade when the armor needs to retain saturation.
Drybrushing is particularly valuable for textured surfaces. It quickly catches chainmail, fur, stone, weathered metal, and rough cloth. Use a lighter version of the base color first, then a smaller amount of an even lighter highlight on the most raised surfaces. Keep the brush almost dry and build the effect gradually.
For smooth armor panels, use edge highlights instead of broad drybrushing. A narrow line along shoulder pads, helmets, knee plates, and weapon edges makes models readable at tournament distance. The highlight does not need to be perfectly consistent; it needs to appear deliberate and bright enough to separate forms.
| Painting Stage | Fast Method | Visual Result | Common Problem |
|---|---|---|---|
| Primer | Spray in a neutral or scheme-friendly color | Unified starting surface | Grainy texture from spraying too far away |
| Basecoats | Apply two thin coats to major areas | Solid, clean color blocks | Thick paint hiding sculpted detail |
| Shading | Use targeted washes in recesses | Depth and separation | Dark stains on broad panels |
| Highlights | Drybrush texture and edge-highlight armor | Strong tabletop readability | Highlights becoming too wide |
| Details | Pick out lenses, straps, badges, and weapons | Character and role recognition | Spending too long on hidden areas |
| Basing | Texture, drybrush, and rim the base | Finished presentation | Inconsistent bases across the squad |
| Protection | Apply a suitable varnish | Greater durability during events | Frosty finish from poor spray conditions |
Spend Time Where It Shows
Faces and helmets deserve attention because they draw the eye. A quick flesh base, shade, and lighter highlight can make an operative feel finished. For helmets, focus on lenses and face plates rather than attempting tiny freehand details. A bright lens with a small contrasting reflection often looks better than a complicated effect.
Weapons are another high-value area. Paint the main casing cleanly, shade the mechanical recesses, and add a bright edge to blades or energy components. Metallic paint benefits from a dark undercoat, a solid metallic layer, and a lighter highlight on exposed edges. A small amount of weathering near grips and muzzles can add realism without slowing the project.
Use spot colors carefully. A single bright color on lenses, power cables, cloth strips, or insignia can guide the eye across the squad. Repeating that accent on every operative creates a visual signature. If everything is bright, nothing stands out, so reserve the strongest highlights for focal points and important specialists.
Details hidden behind bodies, under weapons, or against the terrain can receive less attention. This is a competitive tabletop project, not a commission piece viewed from every angle at close range. Concentrate effort on the front, upper surfaces, faces, weapons, and areas visible during play.
Make Bases Part of the Army
Basing can turn a basic speed-painted force into a coherent Kill Team. Choose a simple theme that supports the miniatures, such as industrial metal, cracked earth, urban rubble, alien vegetation, or dark ash. Texture paste, cork, sand, and spare bits can create convincing surfaces with minimal work.
Paint the base material dark, drybrush it with a lighter tone, and add one or two distinct details. A bright tuft, warning stripe, rusted panel, or pale stone can provide contrast. Avoid filling the base with too many colors, since busy terrain can compete with the operative.
Keep every base consistent in shape and color. Uniform basing makes the team look intentional even when the models use different poses or armor styles. A clean black, brown, or dark neutral rim frames the miniature and hides small imperfections around the edge.
Bases also support gameplay clarity. If operatives have different roles, small markings can help distinguish them without affecting the army’s appearance. Use restrained symbols, colored rims, or repeated base details rather than large labels that distract from the models.
Protect the Finish Before Tournament Day
A completed squad should cure fully before varnishing. Acrylic paint can feel dry while remaining vulnerable to handling. Waiting overnight is a useful precaution, especially if washes or texture products were applied heavily.
A brush-on or spray varnish can protect the paint from gaming wear, foam trays, and repeated movement. Matte varnish removes unwanted shine and gives most schemes a natural finish. Satin varnish works well for armor, leather, and metallics when a slight sheen is desirable. Apply light coats in suitable ventilation and avoid spraying in damp or very cold conditions.
Transport is part of the painting plan. Foam trays, magnetic cases, and storage boxes with dividers each have advantages, but sharp weapons and raised antennas require extra clearance. Before an event, handle every model by its base and inspect likely stress points such as wrists, banners, backpack joints, and thin blades.
A small repair kit can preserve the team through a full weekend. Pack the main paints, a fine brush, super glue, a small file, and a little basing material. Match the original colors as closely as possible and record the paint recipe for future repairs.
Use A Repeatable Painting Schedule
Set a realistic target for each session instead of trying to finish the full squad in one sitting. A first session can cover assembly checks and priming. The next can establish base colors, followed by shading, highlights, details, and basing. Short, focused sessions reduce fatigue and make mistakes less likely.
A practical workflow might paint three or four operatives together, then finish the remaining models using the same sequence. This creates a playable core early while preserving the consistency of the entire team. If an event is approaching, prioritize the operatives most likely to appear in your primary roster.
Use reference material to improve decisions without copying an elaborate showcase scheme. Tournament streams, recorded matches, event photos, and army showcases on Kill Team Stream can reveal how colors read under real lighting and at normal viewing distance. Competitive miniatures often succeed because their silhouettes and color blocks are clear, not because every surface contains advanced techniques.
Before the first event, place the painted team on a game board and view it from standing height. Check whether weapons, specialists, and objective-focused operatives remain identifiable. If a model disappears into the terrain, add a brighter edge, a contrasting base, or a clearer role marker.
Keep This Event-Day Checklist
A final inspection takes only a few minutes and can prevent avoidable problems at the venue. Look for loose parts, unpainted primer, chipped edges, and bases that need another layer of varnish. Confirm that every operative is easy to distinguish from the others and that the squad’s visual theme remains consistent.
Keep the checklist practical and focused on durability, readability, and presentation:
- Inspect wrists, weapons, antennas, backpacks, and banners for loose joins.
- Check that base rims are clean and that texture or tufts are firmly attached.
- Pack a small repair kit with glue, matching paints, and a fine brush.
- Photograph the finished roster and note each operative’s role for quick identification.
- Transport the team in a case that protects raised details and prevents models from rubbing together.
A fast-painted force should feel ready for repeated games rather than fragile after one photo session. If a highlight is slightly uneven or a hidden strap is less detailed than planned, leave it alone once the overall team reads clearly. Time is better spent testing deployment plans, reviewing mission choices, and learning from the competitive scene.
Painting is part of tournament preparation because a finished team builds confidence before the first activation. Bring the squad to the table, record the color recipe for future additions, and share the results with the Kill Team community through match reports, event photos, or streamed games. A clear, durable, battle-ready force can become the visual identity of your roster while you continue refining your play.
Tournament Packets
Packets from previous Kill Team events are kept here alongside new packets for upcoming tournaments, so organizers and players have what they need in one place.
View Event Data