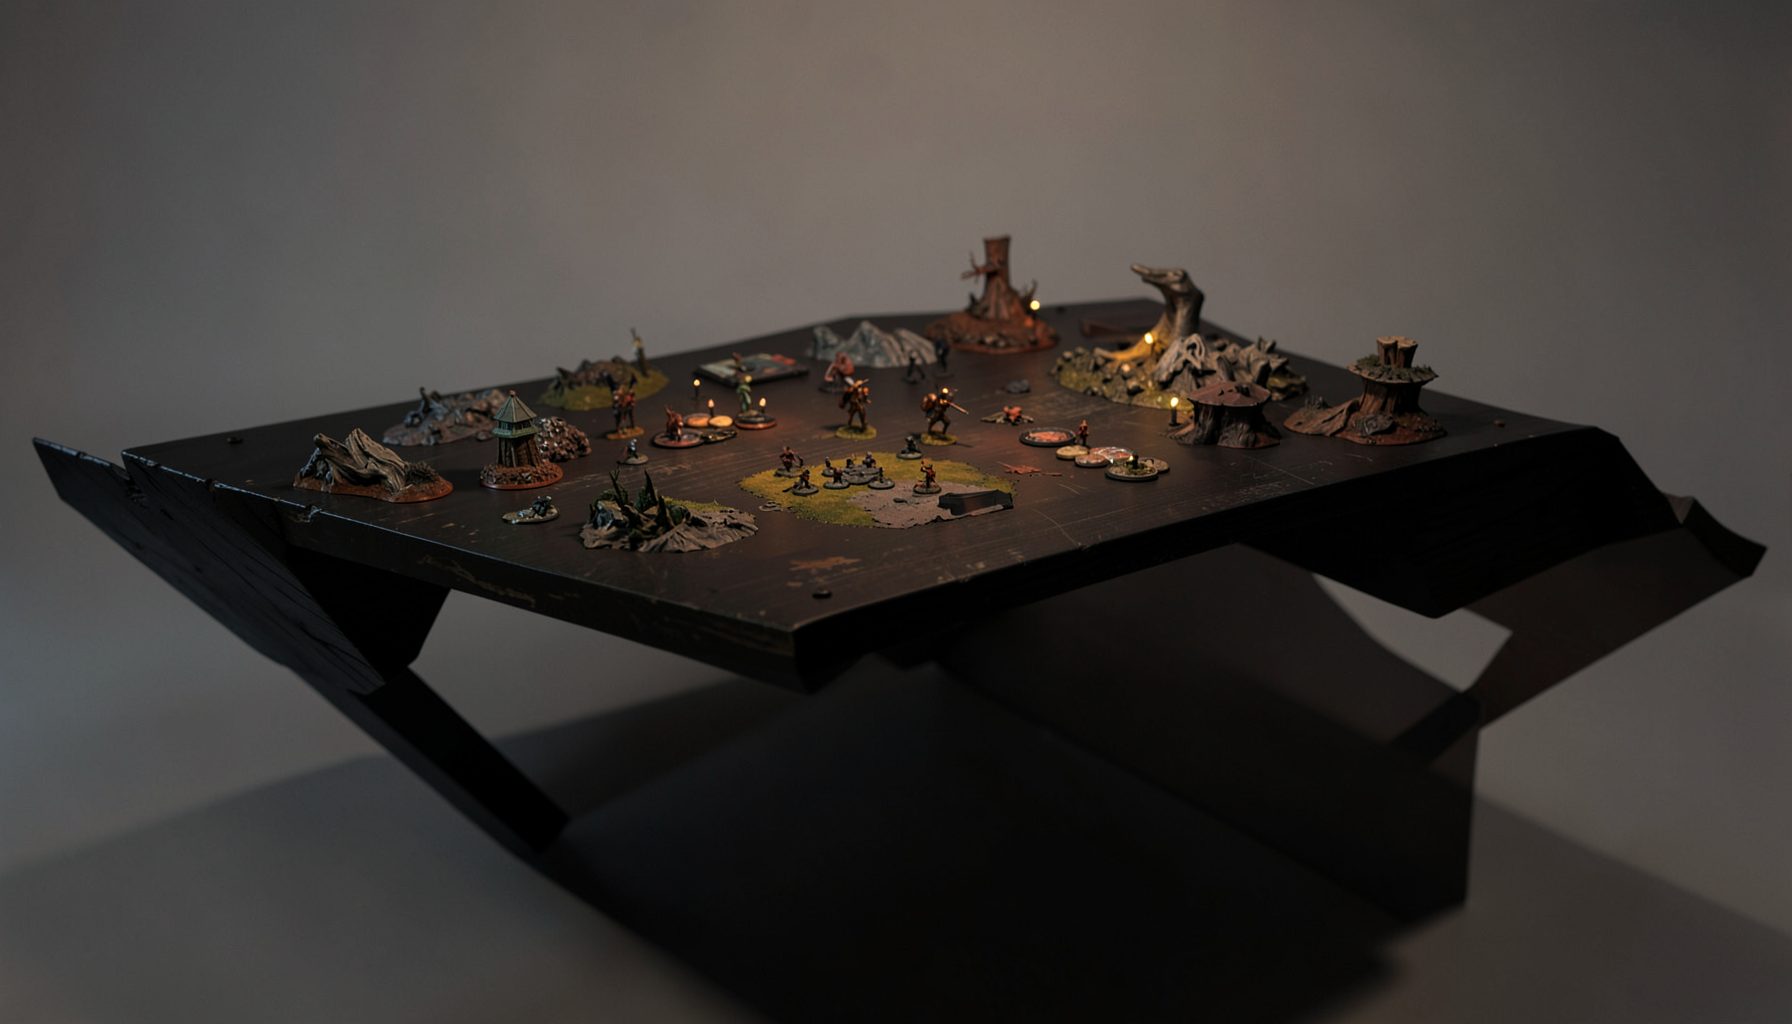
Live-streamed games, recorded matches, and event data gathered in one place.
Kill Team Stream hosts quality live streaming of Kill Team content — tournaments throughout the year on Twitch, regular games streamed to the channel, and tournament data gathered so players can see what's happening in the scene. Powered by WARHAMMER.
Browse tournamentsOfferings
Tournaments
Multiple Kill Team tournaments hosted throughout the year, all live-streamed on our Twitch channel.
Videos
Streams are recorded and uploaded to YouTube alongside original video content we produce.
Event Data
Tournament packets from past events plus resources for upcoming Kill Team tournaments.
Site Directory
Secondary objectives for close-range Kill Team aggression
The best secondary objectives for a close-range aggressive Kill Team reward the thing your operatives already want to do: cross the table, force a fight and turn a small positional advantage into a decisive scoring swing. A strong selection should support your faction’s natural game plan rather than ask a melee-focused squad to spend several turning points behaving like a static gunline.
Aggressive teams usually have excellent damage output at short range, but they can struggle with exposure, limited activations and poor late-game positioning. Secondary objectives, generally represented by Tac Ops or the current matched-play equivalent, help convert those strengths into victory points. The most reliable choices are usually connected to enemy casualties, contested territory and pressure on vulnerable operatives.
Rules packs and Tac Op decks can change between seasons, so check the event pack before locking in a plan. This matters particularly in Australia, where a local tournament may use the latest Games Workshop pack while a club league in Melbourne, Sydney or Brisbane continues with an agreed older format. The principles remain useful even when the names or scoring windows change.
Build around the team’s natural threat range
A close-range team should begin with its threat envelope. Count the distance an operative can move, charge, shoot or perform a mission action in the same turning point. This tells you which objectives are realistic and which ones create a dangerous detour. If your best fighter needs two turning points to reach the opponent’s half, an early objective requiring immediate enemy access may be a trap.
Seek and Destroy-style objectives are usually the natural fit. They reward eliminating enemy operatives, targeting leaders or breaking through a defended area. These choices align with teams such as Blooded, Kommandos, Nemesis Claw, Legionary and other squads that can create a brutal exchange once they reach engagement range.
The key distinction is between an objective that rewards a likely kill and one that demands a specific kill under ideal conditions. A durable close-combat specialist may be able to eliminate an enemy leader, but the opponent can hide that model, screen it with a cheap operative or spend command resources to preserve it. Choose objectives that leave you with several scoring routes.
Eliminate rewards the first decisive exchange
An elimination-based Tac Op is often the safest secondary objective for an aggressive squad. Close-range teams are built to remove an opposing operative, and their strongest plays frequently involve concentrating several attacks into one target. A wounded model, exposed specialist or isolated objective holder can become both a tactical target and a source of secondary points.
The best time to score this type of objective is usually after the opponent has committed. Shooting a target from safety may be attractive, but a charge can produce a better result by removing the model and occupying the space it was guarding. When planning the turn, identify which enemy operative can be reached by multiple friendly models without leaving your own force open to an immediate counterattack.
Avoid treating every kill as equally valuable. Removing a cheap operative that was already irrelevant may score points but fail to improve your position. A high-value specialist, leader or model controlling an objective can create a double benefit: the secondary objective advances while the primary mission becomes easier. This is especially important in compact Australian tournament terrain, where a single body can block a corridor or hold a narrow objective lane.
Headhunter and Executioner need a timing plan
Headhunter-style objectives can be excellent for a team with reliable access to the enemy leader. They become stronger when your roster includes a fast operative, a forward deployer or a weapon that can soften the leader before the assault begins. They are weaker when the opposing leader is tough, concealed and surrounded by models that can counter-charge.
Executioner-style choices demand similar discipline. They reward removing a particular dangerous operative, often one that has already suffered damage or exposed itself while completing a mission action. Do not nominate the most intimidating enemy model automatically. Choose the target you can realistically reach, isolate and finish within the available turning points.
A useful approach is to identify the target during deployment, then preserve at least two ways to attack it. For example, a concealed melee operative might approach through one lane while a gunfighter threatens the escape route. If the first route closes, the second keeps the objective alive. This makes the secondary less dependent on a single spectacular charge.
Rob and Ransack turns pressure into territory
Rob and Ransack is particularly attractive for aggressive teams because it links movement with confrontation. The objective typically rewards reaching or taking something in the enemy’s territory, which is exactly where a close-range squad wants to apply pressure. It can also punish an opponent who deploys too far forward without enough support.
The danger is entering enemy territory too early. A fast operative may satisfy the movement requirement but then die before the score is secured. Use obscuring terrain, heavy cover and engagement rules to make the route safer. A durable model can sometimes score more reliably than a specialist, even if the specialist is faster, because survival matters after the initial breakthrough.
This objective works best when the primary mission also values forward control. If your team must already contest central objectives, the route into enemy territory becomes part of the normal battle plan. It is less attractive when the mission requires a patient hold or when the opponent can easily seal the board with overwatch, counteractions or overlapping fire lanes.
Rout is strongest after the centre breaks open
Rout-style objectives reward pushing the opponent away from a location or clearing a route through resistance. They are a natural choice when your team can win a central combat and then exploit the gap. A successful Rout play may remove an operative, displace another and create a lane for several friendly models to advance.
The timing is crucial. Declaring the objective before the board state is clear can encourage a reckless charge into a supported enemy position. In practice, it is often better to select it when you can see a realistic sequence: weaken the front model, charge with a durable operative, follow with a second model and occupy the newly opened space.
Close-range squads should also consider whether the objective can be scored after a trade. If the first operative dies but forces the enemy away from the required area, a second operative may still complete the action or hold the position. This resilience makes Rout more appealing than a plan that depends on one named fighter surviving every exchange.
Match secondaries to operatives and equipment
A secondary objective is only as good as the operative assigned to complete it. Fast models are natural carriers for territory-based objectives, while durable models are better at holding exposed locations. Leaders and elite fighters can pursue assassination objectives, but using them for a mission action may sacrifice the combat power needed to protect the rest of the team.
Equipment can change the calculation. A climbing rope, grapnel or movement-enhancing option may turn an awkward route into a practical scoring line. Smoke, concealment or defensive equipment can help a carrier survive after reaching the enemy half. Conversely, spending too much equipment on a single secondary can make the main combat plan less effective.
Think in terms of role combinations rather than individual tricks. One operative opens the lane, another removes the guard and a third completes the action. This is particularly valuable for teams with limited specialists, including squads that rely on a small number of premium melee models. The secondary should strengthen the formation, not pull its best pieces apart.
Avoid objectives that fight the mission
Aggressive players sometimes choose a secondary because it sounds dramatic. An objective requiring a difficult action in a remote corner may look manageable during deployment, then become impossible once the opponent contests the centre. Every secondary should be tested against the primary mission, terrain layout and enemy deployment before the first turning point.
Ask whether scoring it requires abandoning an objective, delaying a charge or exposing a model that the team cannot replace. If the answer is yes, the reward needs to be substantial and the route must be clear. A simple elimination objective can be superior to a more ambitious territorial objective when the mission already demands several bodies in the centre.
Australian events often feature varied terrain collections, from dense indoor layouts at a club in Adelaide to more open tables at a convention or store event in Sydney. Travel also affects preparation: players flying to a tournament may practise with a compact terrain set that does not reflect the venue. Build secondary plans that remain functional across different table densities rather than relying on a single perfect layout.
Practise scoring lines before tournament day
The most effective way to evaluate secondary objectives is to practise their scoring lines. Set up a few common deployments and play the first two turning points without worrying about the final result. Record which operative moves, which enemy model must die and how much support is needed. If a plan repeatedly fails because the carrier is exposed, replace it before the event.
Review recorded matches and tournament streams with the same question in mind: when did the aggressive team gain access to the enemy half, and which objective converted that access into points? Kill Team Stream’s gameplay coverage and tournament resources can be useful for spotting patterns in real competitive games, especially when commentators explain why a player delayed a charge or accepted a particular trade.
For a local league, keep a short note after each game. Write down the secondary selected, the turning point when it scored and the reason it failed if it did not. A quick post-game chat over an arvo coffee at the club can reveal that a supposedly strong objective only works on one mission or into one faction. That practical evidence is more valuable than choosing a Tac Op because it appears popular online.
Aggressive Kill Teams win secondary objectives through controlled violence, not blind speed. Choose elimination and pressure-based options that align with your threat range, prepare a second route to each target and preserve enough operatives to score after the first exchange. When the objective, mission and terrain all point in the same direction, a close-range squad can turn every successful engagement into a steady stream of victory points.
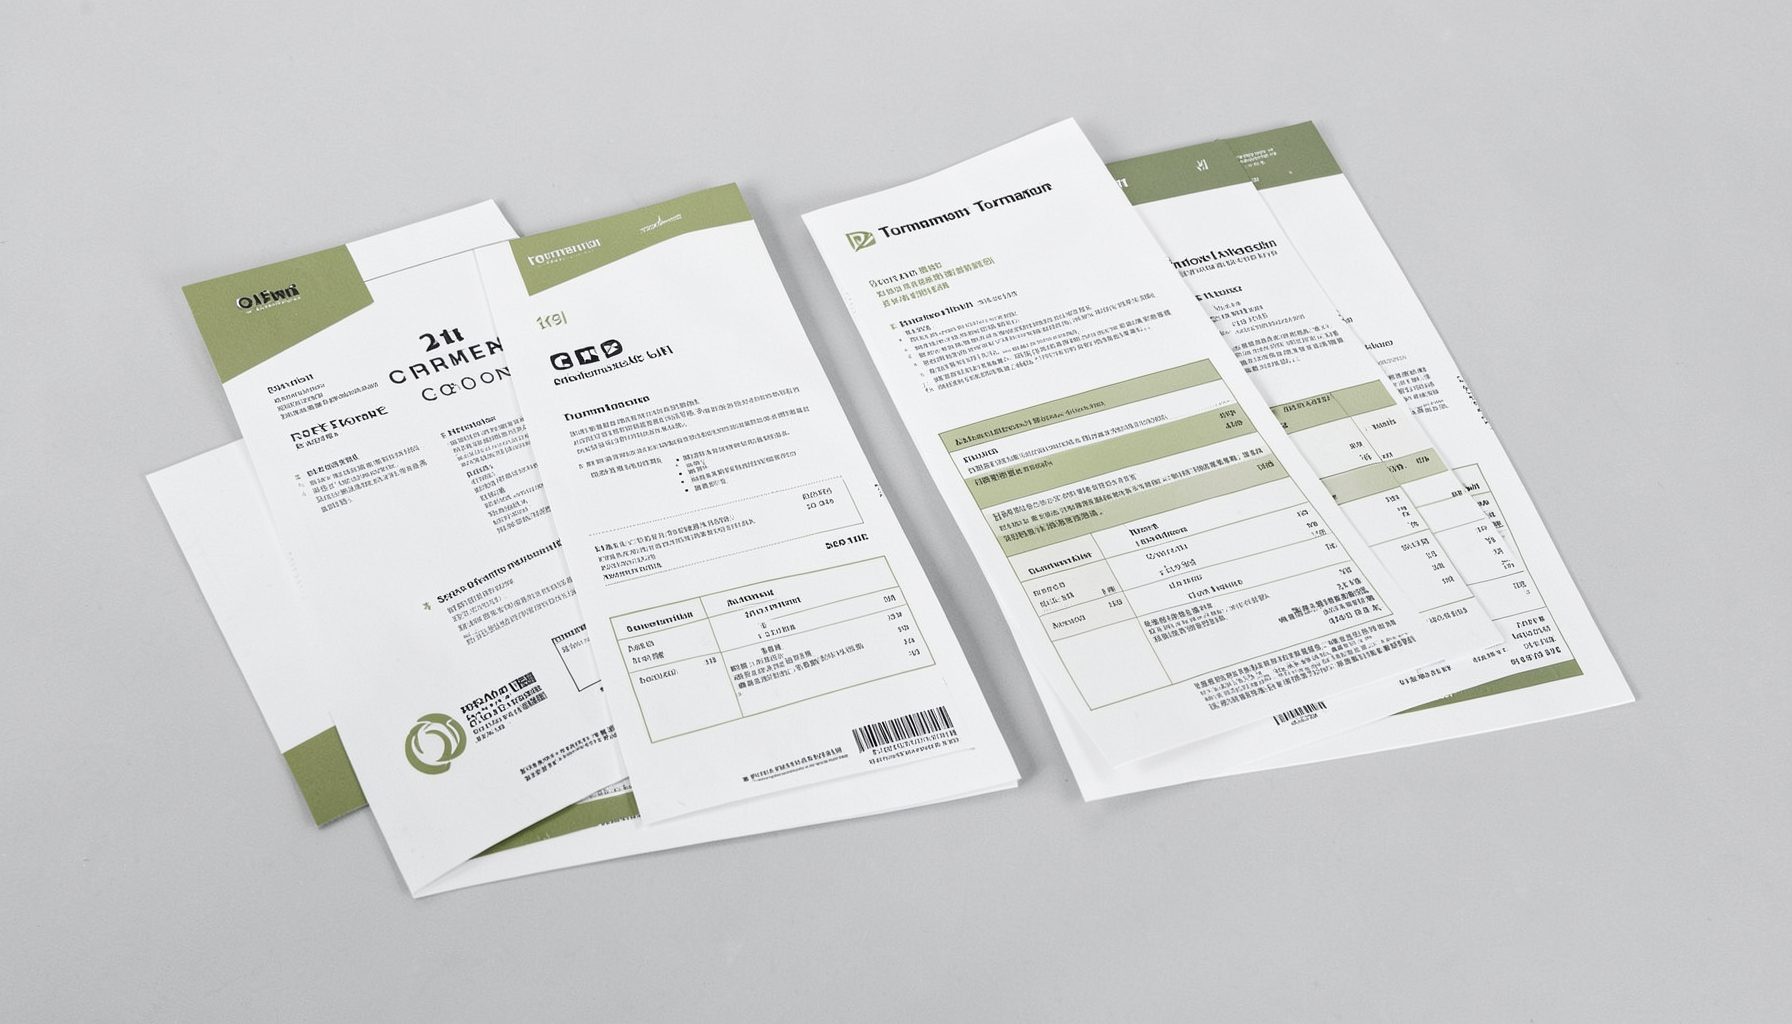
Tournament Packets
Packets from previous Kill Team events are kept here alongside new packets for upcoming tournaments, so organizers and players have what they need in one place.
View Event Data