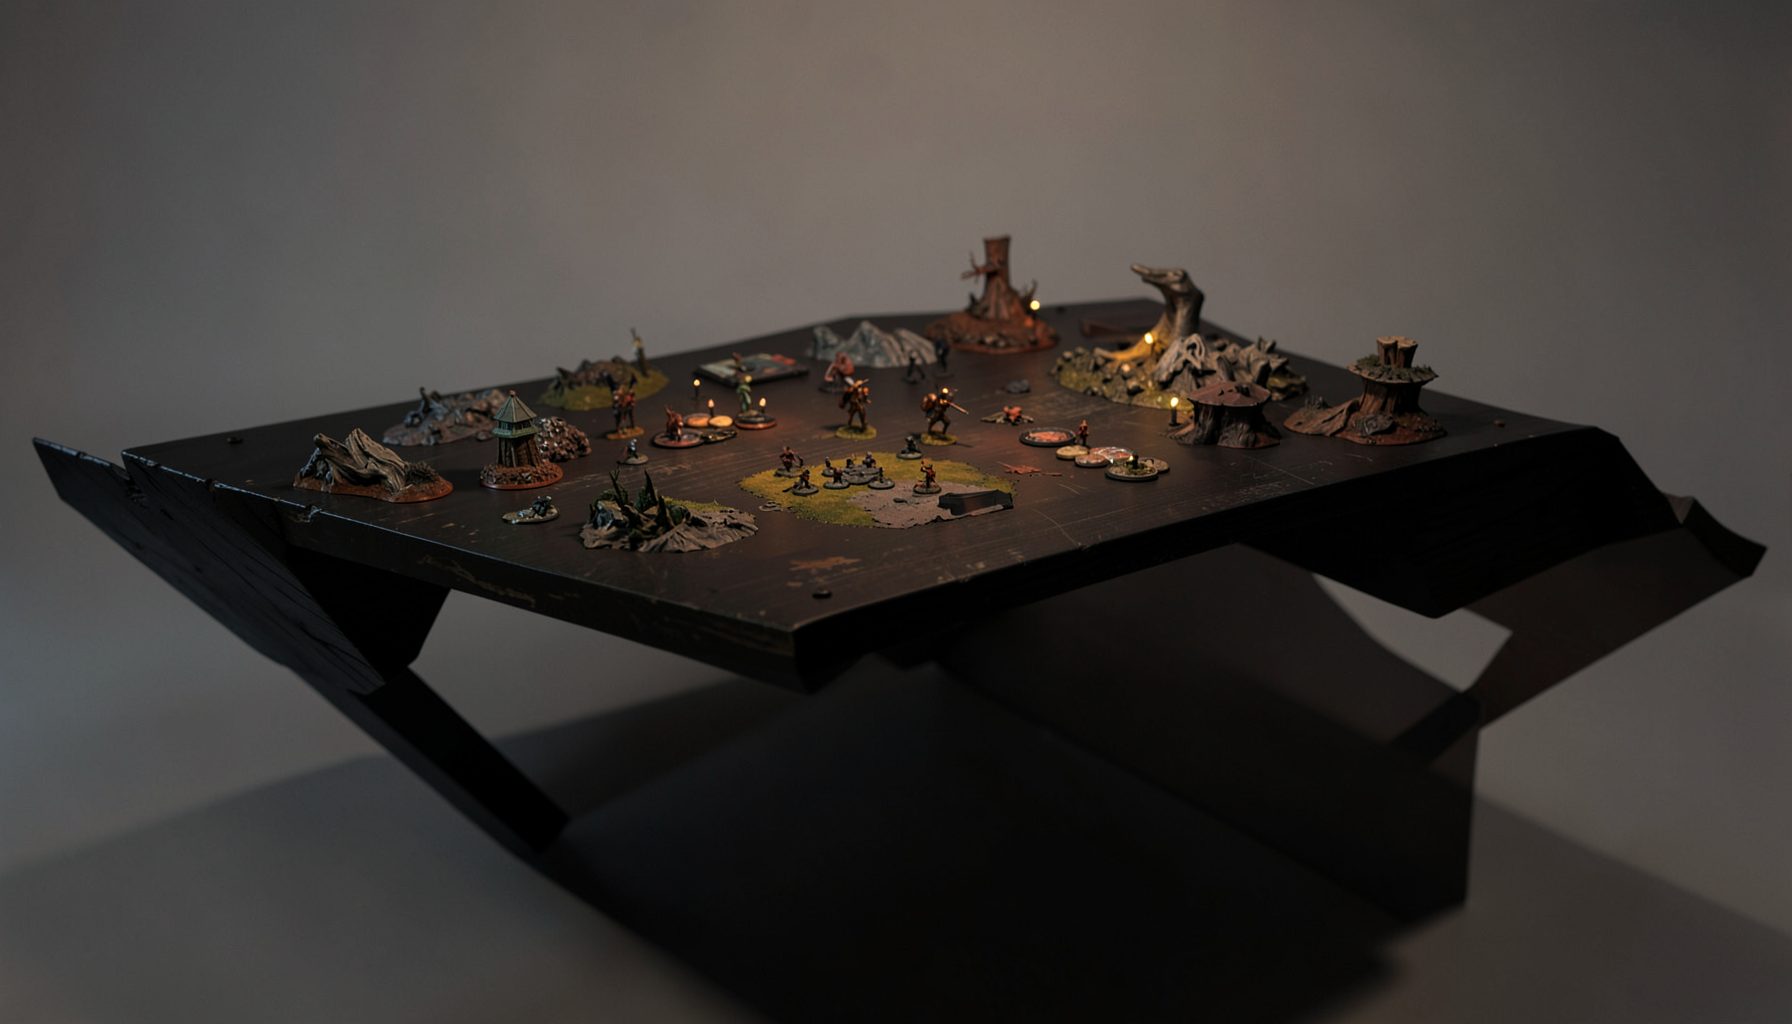
Live-streamed games, recorded matches, and event data gathered in one place.
Kill Team Stream hosts quality live streaming of Kill Team content — tournaments throughout the year on Twitch, regular games streamed to the channel, and tournament data gathered so players can see what's happening in the scene. Powered by WARHAMMER.
Browse tournamentsOfferings
Tournaments
Multiple Kill Team tournaments hosted throughout the year, all live-streamed on our Twitch channel.
Videos
Streams are recorded and uploaded to YouTube alongside original video content we produce.
Event Data
Tournament packets from past events plus resources for upcoming Kill Team tournaments.
Site Directory
Transporting and Displaying Your Kill Team for Event Photos
A Kill Team tournament is full of small visual moments: a carefully weathered operative, a clever conversion, a team posed on a scenic objective, or a painted roster waiting beside the pairing sheet. Good event photos preserve those details and help players remember the day. A reliable transport and display setup also keeps your miniatures safe while making them quick to arrange when a photographer or stream crew comes past.
The best approach balances protection, portability and presentation. Your case needs to survive a trip across town, a flight between Sydney and Melbourne, or a long drive to a regional club without turning every model into a repair project. At the venue, your display should be tidy, recognisably yours and easy to photograph without blocking terrain, score sheets or another player’s workspace.
Build protection around the models
The safest transport method depends on how fragile your Kill Team is. Plastic operatives with sturdy weapons can often travel well in a magnetised case, while resin pieces, thin blades, antennae and elaborate scenic bases need more clearance. A foam tray that works for standard infantry may crush a raised arm or catch a cloak, so inspect every model from the side as well as from above.
Magnetic storage is especially useful for a compact team. Glue a steel sheet into a plastic storage box or use a purpose-built magnetic case, then attach neodymium magnets beneath each base. The magnets should hold the model firmly when the case is turned gently, but they should not be so strong that lifting an operative tears paint from the base. Test the arrangement with the case upright before taking it to an event.
Foam remains a sound choice when models have delicate parts or uneven base heights. Choose trays with enough depth for the tallest miniature and avoid forcing models into narrow slots. Wrap especially vulnerable pieces in soft, lint-free material, but never use loose tissue that can snag on weapons or leave fibres on textured paint. A small repair kit with super glue, accelerator, spare magnets, tweezers and a fine brush is worth carrying separately.
Make the case practical for Australian travel
Local travel can involve more than a short drive to the club. Players may head to CanCon in Canberra, travel from Brisbane to a major event in Sydney, or take a regional coach or flight with limited luggage space. A compact case with a solid handle and secure latches is easier to manage through a busy convention centre than a large cardboard box full of loosely packed foam.
Heat deserves attention in Australia. Never leave painted miniatures in a closed car during a hot afternoon, particularly in western Sydney, suburban Perth or inland towns where the interior temperature rises quickly. Softened paint, warped plastic and loosened basing materials can follow. Keep the case inside the venue or carry it in an insulated bag during the trip from the servo or car park. An ice brick is unnecessary and can create condensation, but shade and ventilation matter.
Humidity creates a different problem in coastal Queensland and parts of New South Wales. Allow a sealed case to reach room temperature before opening it if it has moved between strong air conditioning and humid outdoor air. Silica gel packets can help inside a larger storage container, provided they are kept away from loose models and replaced when saturated. A hard-sided case is also useful when the forecast includes a wet arvo and the walk from the station to the hall is longer than expected.
Label the case with your name, mobile number and team faction, but avoid attaching details that make it look expensive. A bright luggage strap or a distinctive piece of tape makes it easier to identify among bags at a convention. For flights, keep the miniatures and essential repair supplies in carry-on luggage where possible, and check the airline’s rules for tools, liquids and batteries before travelling.
Prepare a display that reads clearly in photos
A strong Kill Team display does not need to be elaborate. It needs a clear focal point, enough contrast and a stable surface. A thin magnetic movement tray, a small scenic plinth or a textured board can group the operatives without making them look like they are standing in a random line. Keep the footprint close to the size of a Kill Team roster sheet so it fits on a tournament table or a designated photo area.
Use height selectively. A leader can stand on a slightly raised position while specialists remain at ground level, creating a natural composition. Avoid stacking models on unstable scenery or posing them so one operative hides another. If the team includes drones, familiars or tokens, place them where they support the story rather than filling every gap. Event photographers usually need a quick, readable arrangement rather than a display that takes several minutes to assemble.
Background colour has a major effect on the image. Dark miniatures disappear against black cloth, while pale teams can lose definition against a white folding table. A mid-tone grey, muted industrial board or neutral blue usually separates most colour schemes. For a grimdark team, weathered metal and concrete textures can add atmosphere, but keep the background quieter than the models so the eye still goes to faces, weapons and painted details.
Secure the display pieces before leaving home. A thin rubber mat beneath the board can stop sliding on polished convention tables, and small magnets can hold removable scenery in place. Do a quick shake test over a bed or carpet. If a scenic element falls apart there, it will almost certainly fail when carried through a crowded venue.
Photograph details before the tournament starts
Event photography works best when the models are clean and ready before the first round. Use a soft makeup brush or bulb blower to remove dust, then check for stray tufts, loose transfers and shiny patches from accidental handling. Avoid wet wipes and household cleaners near painted surfaces. A tiny amount of dust is easy to remove; a smear across a varnished cloak may require a full repair.
Take your own reference photos in good light before arriving. Photograph the whole team, then capture close-ups of the leader, unusual conversions, freehand work and scenic bases. These images are useful if a model is damaged during the day, and they give the stream or event photographer a guide to the details you would most like shown. A phone camera with the lens cleaned can produce excellent records near a window or under a bright desk lamp.
At the venue, ask before moving models onto a display table or into a staged photo area. Some tournaments use a dedicated media table, while others photograph teams beside the gaming tables between rounds. Keep the roster, dice and drinks out of the frame, and check that no opponent’s private notes or score information are visible in the background. If a team is being filmed for a Kill Team Stream segment, wait for the crew to finish adjusting lights or microphones before repositioning anything.
Lighting should reveal depth rather than flatten it. A small LED panel or rechargeable lamp can help where venue lighting is dim, but avoid pointing a harsh beam directly at glossy varnish. A neutral white light usually represents colours more faithfully than a strong warm household bulb. If the venue allows only ambient light, turn the display toward the brightest open area and use the phone’s exposure control instead of relying on flash.
Keep presentation connected to the game
The most appealing photos show a team as a playable force, not just a collection of miniatures. Arrange operatives in a way that suggests their roles: a sniper watching a lane, a heavy specialist braced near cover, or a leader positioned where the eye naturally lands. The scene can be dramatic while remaining truthful to the roster. If an operative has multiple legal weapon options, display the configuration being used at the event or make the difference clear.
Consistent basing helps a team look unified. It does not mean every model needs the same pose or identical weathering, but shared colours, textures or tufts create a visual link. A small amount of repeated colour can connect a Kill Team across very different sculpts. This matters in group shots, where cohesion is easier to see than tiny painting techniques.
Include a simple identification card when appropriate. It might show the player’s name, faction and event, with a small logo or handle for the tournament gallery. Keep it outside the main group unless the photographer wants it in frame. Large signs, faction flags and printed backdrops can obscure models and make an otherwise polished photo resemble a merchandise display.
Think about accessibility and shared venue space too. A display that spreads across half a table can interfere with pairings, terrain placement or another player’s belongings. At busy Australian events, including large convention halls in Melbourne or Sydney, floor space disappears quickly. Pack the display so it can be assembled in under a minute, photographed, and returned to its case without holding up the next round.
Create a repeatable event-day routine
A simple routine prevents most transport and photo problems. Before leaving home, check the roster, magnets, case latches, repair kit, phone battery and any required event paperwork. Photograph the packed case so you know where each operative belongs. At the venue, set the case under the table or in a secure bag rather than leaving it in a public walkway.
After each game, inspect the models before packing them away. Look for bent weapons, chipped corners, loose tufts and grit caught around the bases. A quick repair at the venue is easier than discovering damage after a long drive home. Keep a small zip pouch for broken parts so nothing disappears among dice, tokens and objective markers.
When the photo opportunity arrives, present the team in the same order used in your reference image. This saves time and makes it easier for a photographer to capture both a full group shot and individual details. Stand nearby to answer questions about conversions or paintwork, but let the crew control the angle and timing. If the event is running behind schedule, a clean group image is better than delaying a round for a complicated setup.
Once the tournament is over, store the team somewhere stable rather than leaving the case in a hot boot overnight. Review the images while the event is still fresh and note which angles show the models best. Clear photographs, accurate faction names and permission to share them help tournament organisers, community pages and video channels present the day properly. A careful case protects the miniatures, while a considered display gives the event a visual record worthy of the work that went into the team.
Tournament Packets
Packets from previous Kill Team events are kept here alongside new packets for upcoming tournaments, so organizers and players have what they need in one place.
View Event Data