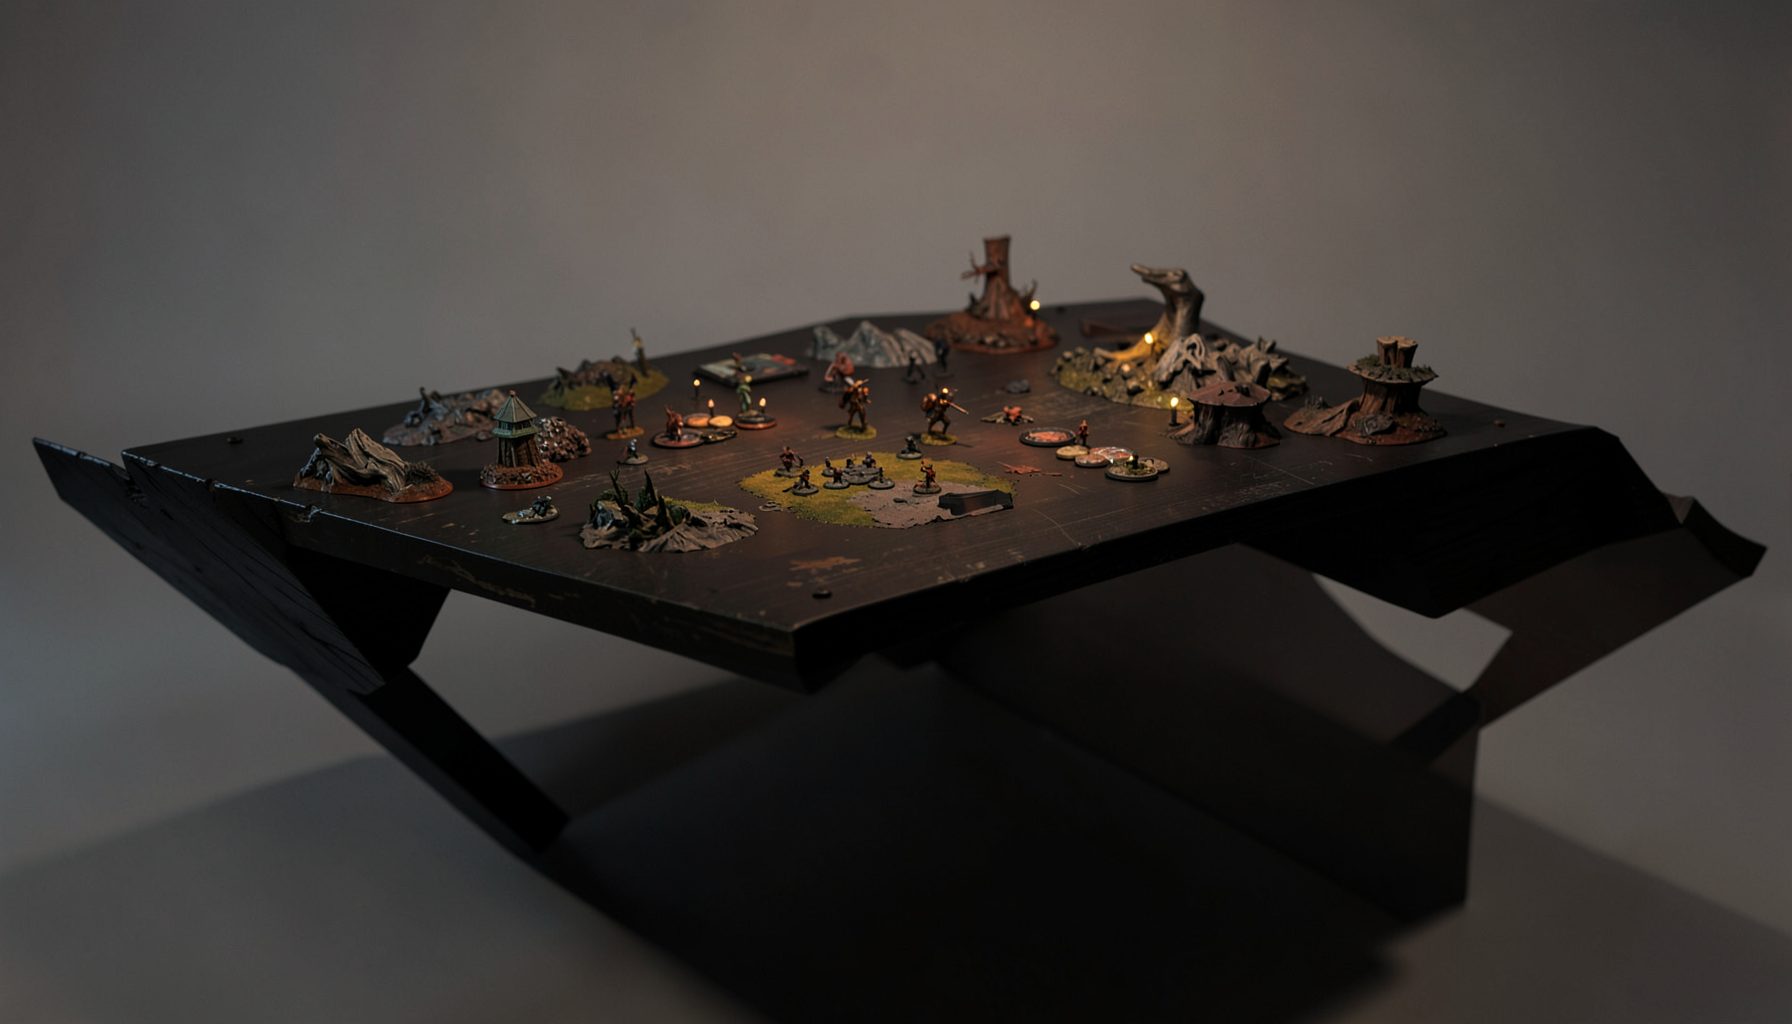
Live-streamed games, recorded matches, and event data gathered in one place.
Kill Team Stream hosts quality live streaming of Kill Team content — tournaments throughout the year on Twitch, regular games streamed to the channel, and tournament data gathered so players can see what's happening in the scene. Powered by WARHAMMER.
Browse tournamentsOfferings
Tournaments
Multiple Kill Team tournaments hosted throughout the year, all live-streamed on our Twitch channel.
Videos
Streams are recorded and uploaded to YouTube alongside original video content we produce.
Event Data
Tournament packets from past events plus resources for upcoming Kill Team tournaments.
Site Directory
Why deployment placement shapes every Kill Team battle
A Kill Team game can be decided before the first operative moves. Deployment placement determines which fighters can reach an objective, which lanes are safe to cross, and how much information an opponent gains from the opening setup. A strong roster still needs a coherent starting position if it is going to function under pressure.
Competitive players often focus on weapon profiles, faction rules and turning-point tactics, yet the first placement decisions connect all of those elements. A gunner needs a firing lane, a specialist needs access to a useful route, and a fragile operative needs protection from an early counterattack. Deployment is where the plan becomes visible on the table.
For players following streamed events through Kill Team Stream, deployment is one of the most useful parts of a match to study. Watching where experienced competitors place models, terrain and objectives can reveal strategic habits that are easy to miss when concentrating on dice rolls. The same lessons apply in a local club in Melbourne, a tournament in Brisbane or a casual game in a Sydney apartment.
Deployment is the first tactical commitment
Starting positions communicate priorities. A model placed close to a central objective may be ready to score early, but it may also become an obvious target. A specialist held farther back could survive longer, although the distance may prevent it from contributing during the first turning point. Every placement trades immediate access for safety, pressure or flexibility.
Before placing an operative, identify its job for the opening round. A combat specialist may need a route into a charge, while a sniper may only require a protected angle. A mission-focused operative could begin near a scoring point, but it should not be stranded there without support. Thinking in roles helps prevent the common mistake of spreading the team evenly simply because the deployment zone allows it.
This opening decision also establishes tempo. An aggressive setup suggests that the team wants to contest space immediately. A compact formation may indicate a counterattack plan, where the opponent is encouraged to advance into a dangerous range. Neither approach is automatically superior; the correct choice depends on the mission, terrain, faction abilities and the opponent’s threats.
Read the terrain before placing models
Terrain should be assessed as a network of routes rather than as a collection of individual pieces. Look for long fire lanes, short movement corridors, elevated positions, heavy cover and areas where an operative can move without being exposed to several enemy models. The strongest deployment position is often one that gives access to two routes instead of one perfect-looking lane.
Line of sight matters, yet exposure matters just as much. A model may see an enemy from its starting position while remaining vulnerable to multiple return attacks. A concealed operative behind heavy terrain may appear inactive, but it can preserve an activation for a later turning point. In many missions, denying the opponent an easy target is worth more than creating a marginal shooting opportunity.
Dense boards reward precise placement. A model positioned just behind a wall can have more options than one placed directly beside it, because the first model may be able to move around either side while staying protected. On open boards, spacing becomes essential. Avoid clustering valuable operatives where one blast, charge lane or area effect can punish several of them at once.
Match each operative to a useful lane
Deployment works best when every operative has a route that matches its abilities. A melee fighter wants a path that reduces the number of enemy models able to shoot before contact. A heavy gunner needs a stable position with visibility and protection, while a fast objective runner benefits from a lane that remains open after the first exchange.
Specialists should rarely be deployed according to rank alone. The most important model is not always the best model to place first. A leader may need to stay central so command abilities reach the team, while an operative with a narrow but powerful function may need a specific corner. Placing the wrong model early can reveal the intended plan and allow the opponent to answer before the rest of the team is committed.
Think about the second move as well as the first. Ask where the operative can go after its initial activation, whether it can still contribute if the nearest objective becomes unsafe, and what happens if the opposing player refuses to enter its lane. This creates resilient deployment rather than a setup that depends on one ideal sequence.
Concealment creates information advantage
A concealed starting position denies the opponent reliable information. They may know an operative is present, but they cannot always tell when it will emerge, which route it will use or whether it is protecting an objective. That uncertainty has strategic value, especially when the opponent has limited activations and must decide which threat to address first.
The key is to use concealment with purpose. Hiding every model can surrender board control, while exposing every model can give the opponent a simple target priority list. A balanced setup often combines protected operatives with one or two models positioned to contest space. The visible models should be difficult to punish or valuable enough to justify the risk.
Information also flows through deployment order. Placing a low-impact operative can force the opponent to reveal a preferred lane or defensive response before you commit a key specialist. Conversely, deploying a critical model too early may let the opponent create a direct counter. Players who want a deeper explanation of match procedures and common rules can use the Kill Team FAQ alongside tournament footage when checking how a situation should be interpreted.
Build around objectives and turning points
The mission should shape deployment before faction preferences do. Objectives are not merely locations to visit; they create zones of influence that determine where fighters must stand and which routes become dangerous. Place operatives so they can contest, score or threaten those zones without making the entire team dependent on one central push.
Early scoring can be attractive, but an operative that reaches an objective and dies immediately may exchange a short-term gain for long-term control. Consider whether the model can survive an enemy activation, whether another operative can support it, and whether the opponent can score elsewhere while responding. A durable presence near an objective may be more valuable than a fast but isolated grab.
Turning points also change the value of distance. A model that is one movement action away from a key area may be strategically close, even if it cannot score immediately. A model that has line of sight but no safe follow-up may be functionally far away. Good deployment accounts for activation economy, allowing the team to threaten several objectives without spending every action simply repositioning.
Adapt placement to faction and opponent
Factions have different deployment priorities. Elite teams can often afford to begin with fewer models exposed, since each operative has greater individual influence. Horde-style teams may need wider coverage, screening bodies and multiple routes toward objectives. A team with strong shooting wants protected sightlines, while a melee-oriented force usually values staging positions more than early visibility.
The opponent’s roster should alter the plan. Against powerful ranged weapons, cover and obscuring routes become essential. Against a fast melee team, avoid placing fragile specialists where they can be reached by a single movement-and-charge sequence. Against a slow defensive force, wider deployment can create multiple threats and force difficult choices about where to spend resources.
Australian events often make this practical issue especially noticeable. Players travelling between Sydney, Melbourne, Perth and Adelaide may encounter different tables, terrain collections and local tournament conventions, even when using the same mission pack. A deployment plan that works on a cramped club board may fail on a more open event layout, so players should practise on varied terrain rather than memorising one arrangement.
Learn from streamed games and review habits
Deployment is easier to improve when it is reviewed separately from the rest of the game. After a match, record where each operative began, what that placement enabled, and whether the model achieved its intended role during the first two turning points. This process identifies whether a poor result came from dice, tactical execution or a flawed opening position.
Recorded matches are particularly useful because they allow repeated viewing of the setup. Pause before the first activation and predict which models are likely to move, shoot or contest objectives. Then compare that prediction with the player’s actual plan. Tournament commentary can add context, but the board itself often reveals important details: a hidden route, a blocked sightline or a model placed just far enough from danger.
Streaming has also helped Australian players connect across a large local scene. A competitor in Canberra can study a tournament held on the Gold Coast, while a club in Hobart can compare its terrain layouts with events in Melbourne. The local retail market, travel distances and limited weekly gaming time make efficient practice valuable; reviewing deployment can produce improvement without requiring dozens of full games.
Refine a repeatable pre-game process
A reliable checklist prevents rushed placement. First, identify the mission’s scoring priorities and the most dangerous enemy operatives. Next, examine terrain for protected routes, firing lanes and likely engagement points. Then assign each operative a first-round purpose, while preserving at least one alternative route if the opponent refuses the expected engagement.
The final step is to check distances and interactions. Confirm which models can support each other, which objectives can be reached safely, and where an enemy charge or shooting activation could come from. Leave enough spacing to avoid unnecessary multi-model exposure, but keep important abilities within range. Deployment should create a team that functions together rather than seven separate models waiting for instructions.
Local event logistics can influence this routine. Australian tournaments may involve early starts, long drives and compact venue tables, so players often have limited time to inspect the board before a round begins. Keeping the process short and consistent is more useful than relying on perfect analysis. It also supports fair, efficient play under tournament rules and the broader requirements that apply to organised events in Australia.
The strongest deployment is rarely dramatic. It quietly protects key operatives, preserves several options and makes the opponent spend actions solving problems. When placement supports the mission, terrain and faction plan at the same time, the first activation becomes an execution of strategy rather than a desperate attempt to repair the setup.
Tournament Packets
Packets from previous Kill Team events are kept here alongside new packets for upcoming tournaments, so organizers and players have what they need in one place.
View Event Data