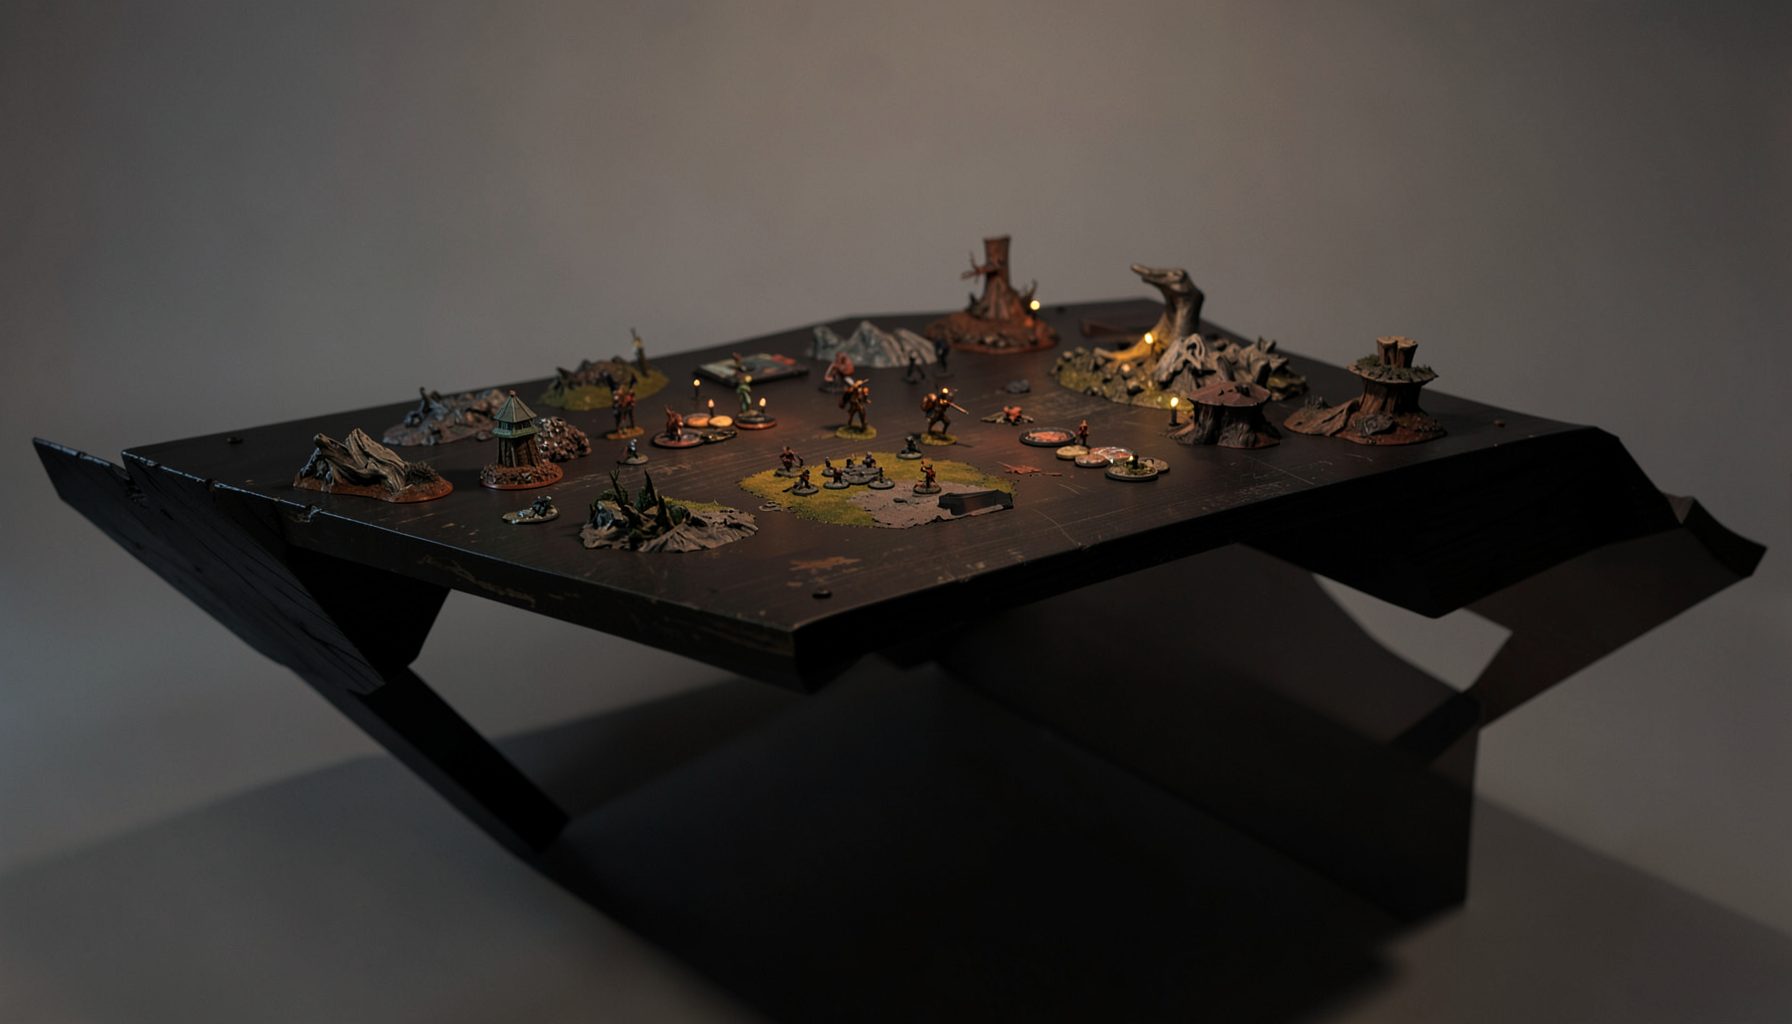
Live-streamed games, recorded matches, and event data gathered in one place.
Kill Team Stream hosts quality live streaming of Kill Team content — tournaments throughout the year on Twitch, regular games streamed to the channel, and tournament data gathered so players can see what's happening in the scene. Powered by WARHAMMER.
Browse tournamentsOfferings
Tournaments
Multiple Kill Team tournaments hosted throughout the year, all live-streamed on our Twitch channel.
Videos
Streams are recorded and uploaded to YouTube alongside original video content we produce.
Event Data
Tournament packets from past events plus resources for upcoming Kill Team tournaments.
Site Directory
The mechanics of falling back and escaping deadly combats
Falling back in Kill Team is often treated as a last-second retreat, yet its strongest uses are calm and calculated: denying an opponent a target while preserving a route to the next scoring play. A model dragged into open ground because every approach looks threatening can cost more than the enemy it was trying to escape. Retreat decisions therefore combine the rules for Engagement with geometry, cover, action economy and an honest look at the objective.
That matters at every level of the hobby, from a first game in a Sydney store to a tournament final streamed by Kill Team Stream. The same principle holds in both: a dramatic damage total is not automatically a good trade if the surviving model can no longer contest a marker. The following comparisons focus on practical choices, from recognising when to use the action to managing pressure created by charges, overwatch and several guns.
| Battlefield situation | Better choice | Why it works | Common trap |
|---|---|---|---|
| Enemy has a firing angle but is outside Engagement | Move into cover or break line of sight | There is no close-range lock to resolve | Backing into the same firing lane |
| Enemy has closed into Engagement | Use the Falling Back action | It provides the legal route out of the close threat | Ending beside another enemy |
| Two enemies cover the retreat | Remove one threat or find a combined legal route | It reduces the danger of crossing fields of fire | Treating both opponents as one target |
| Opponent is on Overwatch | Bait the reaction or force them to reposition | Their reaction and ammunition are spent | Assuming Overwatch is not active |
Falling back is a rules action, not a panic button
In the current Kill Team rules, Falling Back is a Free Action for a model that is in Engagement, and it can be used once per turn. Engagement is normally proximity within three inches, while an attack still requires the relevant weapon range and line of sight. The model must move directly away from the relevant enemy model or models and cannot end the move in Engagement with another enemy. Ordinary movement cannot simply replace the action when that restriction applies.
Free does not mean consequence-free. The move can expose the model to overwatch, a watching shooter or a newly available charge, and the direct-away requirement can rule out a convenient diagonal around a wall. Use Falling Back to create a safer legal position, not to remove the model from the board’s geometry. If the available route remains under the same firing arc, the retreat has bought little.
Timing can alter the exchange. A model may be able to remove the immediate threat with a shot before using the Free Action, while another may need to disengage before it can act safely. The action itself grants no free shot. Compare the value of the target with the value of the ground it occupies: if the enemy cannot contest anything next turn, preserving your operative may produce the better score.
Read the threat before choosing a route
Start by sorting threats rather than drawing one arrow for the retreat. A charging model, melee specialist, rifleman on Overwatch and shooter holding a lane create different problems. Ask which threat is already committed, which still needs an action and which depends on your model staying where it is. This prevents the common error of moving away from a melee threat directly into a prepared shot.
Next, map the endpoint, not just the path. Draw the opponent’s firing line to the intended destination and check adjacent angles, especially where two models can create crossfire. Cover is directional: a wall or dense terrain can block one arc while leaving a second shooter with a clean view. The best retreat often changes the angle by several degrees rather than adding every possible inch of distance.
Legal movement and useful movement are related but not identical. The directly-away rule and the bar on entering a new Engagement must be satisfied before tactics are considered. Once a legal route is found, favour cover that protects against the relevant weapon and a destination your other models can support. If no legal endpoint improves the situation, attacking the threat or accepting the contact may be stronger than a ceremonial pull-out.
Change the firing angle instead of running in a straight line
Light cover and dense cover serve different purposes in Kill Team. Light cover improves protection but does not make a model invisible, while dense terrain can block line of sight when the rules and marker position allow it. This distinction matters when a sniper holds a lane: moving into light cover may reduce the hit chance without removing the threat, whereas breaking the sightline can force the enemy to reposition or spend another action.
Move around the edge of cover, not merely backwards behind it. An opponent looking along one wall may gain a clean angle as your model slides past its corner. Peeking from a different edge changes the geometry without abandoning protection. Keep the model’s base and marker position legal, and remember that the view is calculated from the shooter’s position; an angle that looks safe from your side of the table may be exposed from theirs.
Overwatch rewards patience. If an opponent has declared it, a blind retreat may hand over a free shot, whereas holding position can force that opponent to reveal the reaction. Sometimes the best play is to spend an action, bait the Overwatch and then reposition. An astronomy parallel makes the same point: distance and visibility can matter more than raw separation when deciding where to move.
Escape pressure from several directions
Concentrated fire changes the decision from a single escape route into a sequence of threat removal. With two opponents, one can threaten a lane while the other advances. A retreat that defeats the first gun may cross the second gun’s field of fire. Mark each enemy’s range and facing before moving, and identify the point where their fields overlap. Crossing that overlap is often more dangerous than the charge you were trying to avoid.
A model caught between opponents has several possible priorities. It can shoot the unit that will score most, use cover to reach a safer flank, or use Falling Back if that is the only legal way out of Engagement. Killing one attacker can open space, but only if the shot is reliable enough and the action does not leave the operative exposed to the survivor. A low-percentage trade on a wounded model can still be poor value.
Do not forget the objective while solving the duel. A model tied up in combat may be irrelevant, while one holding a marker can force the enemy to approach on your terms. Allied models also matter: moving into a lane occupied by a teammate can expose both units and complicate charges. A sound escape keeps the squad’s scoring options intact, whether that means placing a dangerous model on Overwatch or clearing space for a marker holder.
Make retreating routine at Australian tournaments
Treat retreat as a tournament skill that deserves practice. Before an event, review the mission packet, walk the scoring options and identify which operatives are likely to be contested. The event packets, standings and photos collected by Kill Team Stream can provide useful context, while recorded matches and regular gameplay show how other players handle the same corner, Overwatch placement or objective. After each game, note whether the retreat was forced, whether a shot was available and whether the destination improved the team’s next activation.
Local language makes those reviews quicker. Australian players often call a retreat a pull-out or a bail, while a stubborn close-range exchange is a grinder. When an activation goes awry, chucking a brick is familiar tournament slang, but preserving the next scoring opportunity still beats chasing a satisfying damage total. These terms provide useful shorthand when discussing plans with a team or explaining a decision on a stream.
The Australian tournament market is spread across strong local hobby networks in Melbourne and Sydney, the convention scene around Canberra’s AusCon and major gaming events such as Supanova in Brisbane. Stores and distributors sell terrain, tools and miniatures in Australian dollars, with consumer prices generally including GST, while scarce models and direct imports can disappear quickly. Teams often combine local events with online play because travel between capitals is substantial, making recorded and streamed play especially valuable.
Published stream times should also be clear about AEST and AEDT, especially for players watching from other states or from overseas. A well-run channel can show the full sequence of a dangerous contact rather than skipping directly to the damage, giving viewers a chance to learn why a pull-out worked. At the table and on screen, the strongest retreat is the one that preserves the operative, protects the objective and leaves the opponent with no profitable answer.
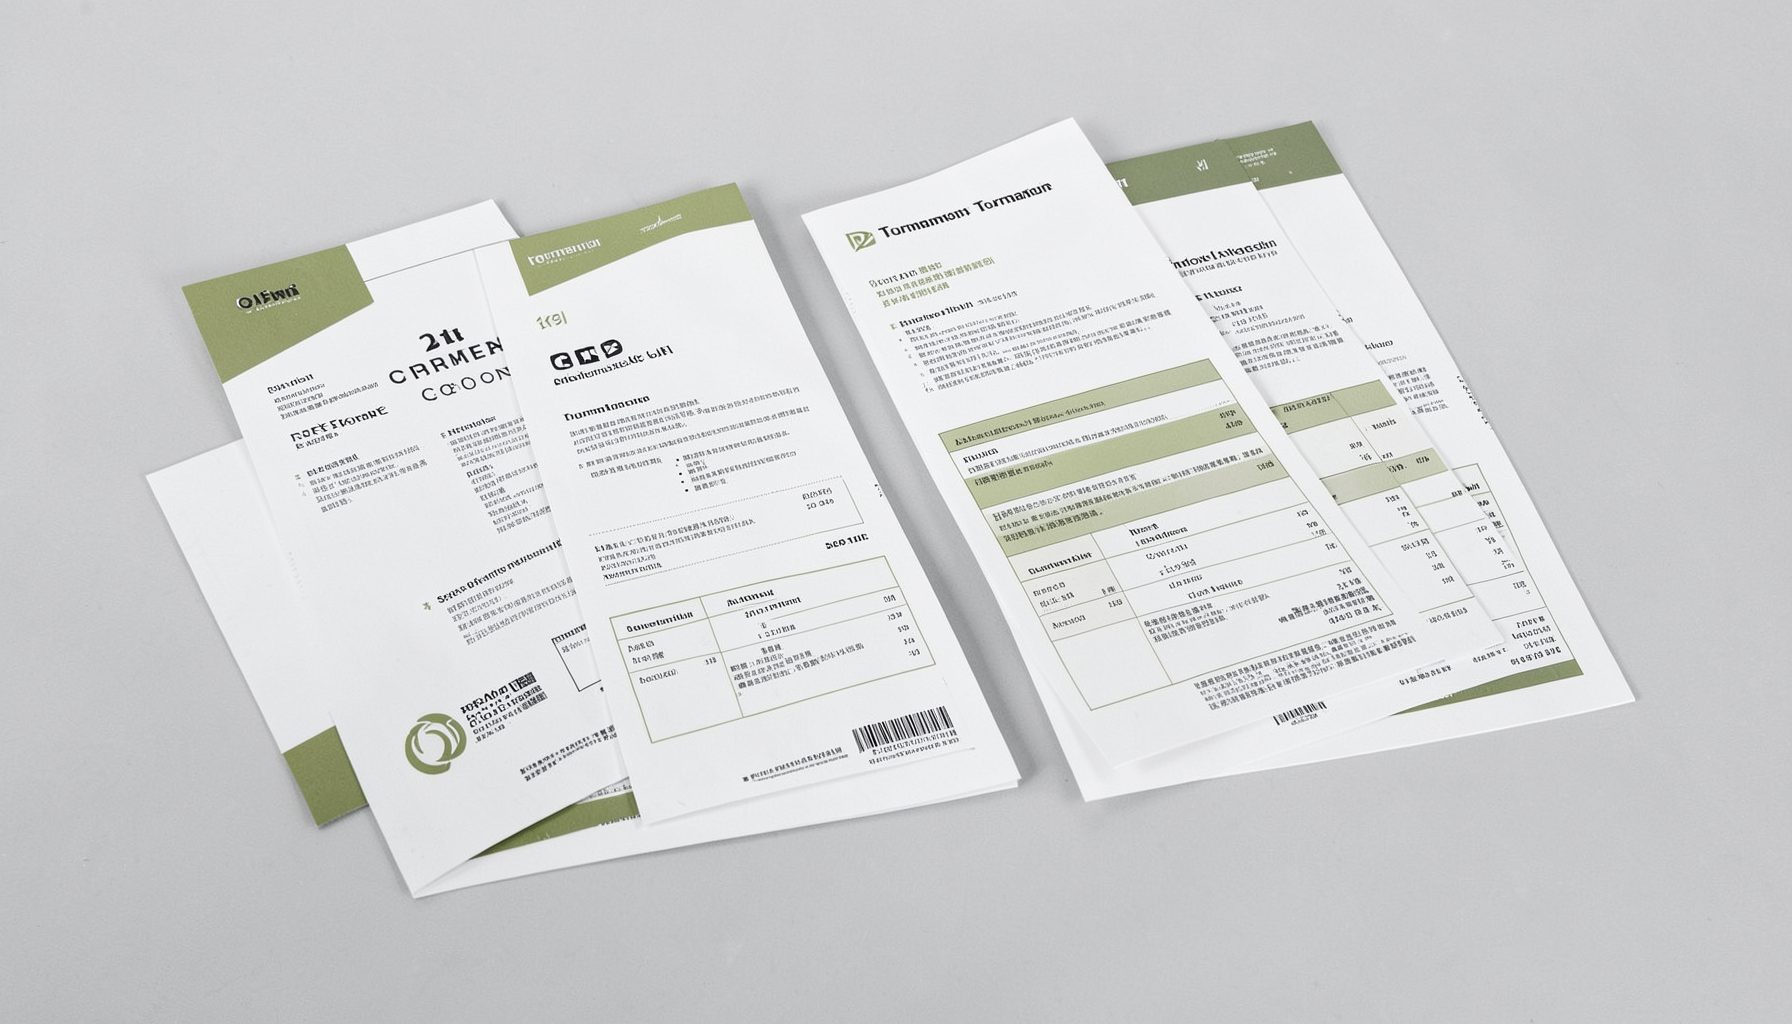
Tournament Packets
Packets from previous Kill Team events are kept here alongside new packets for upcoming tournaments, so organizers and players have what they need in one place.
View Event Data