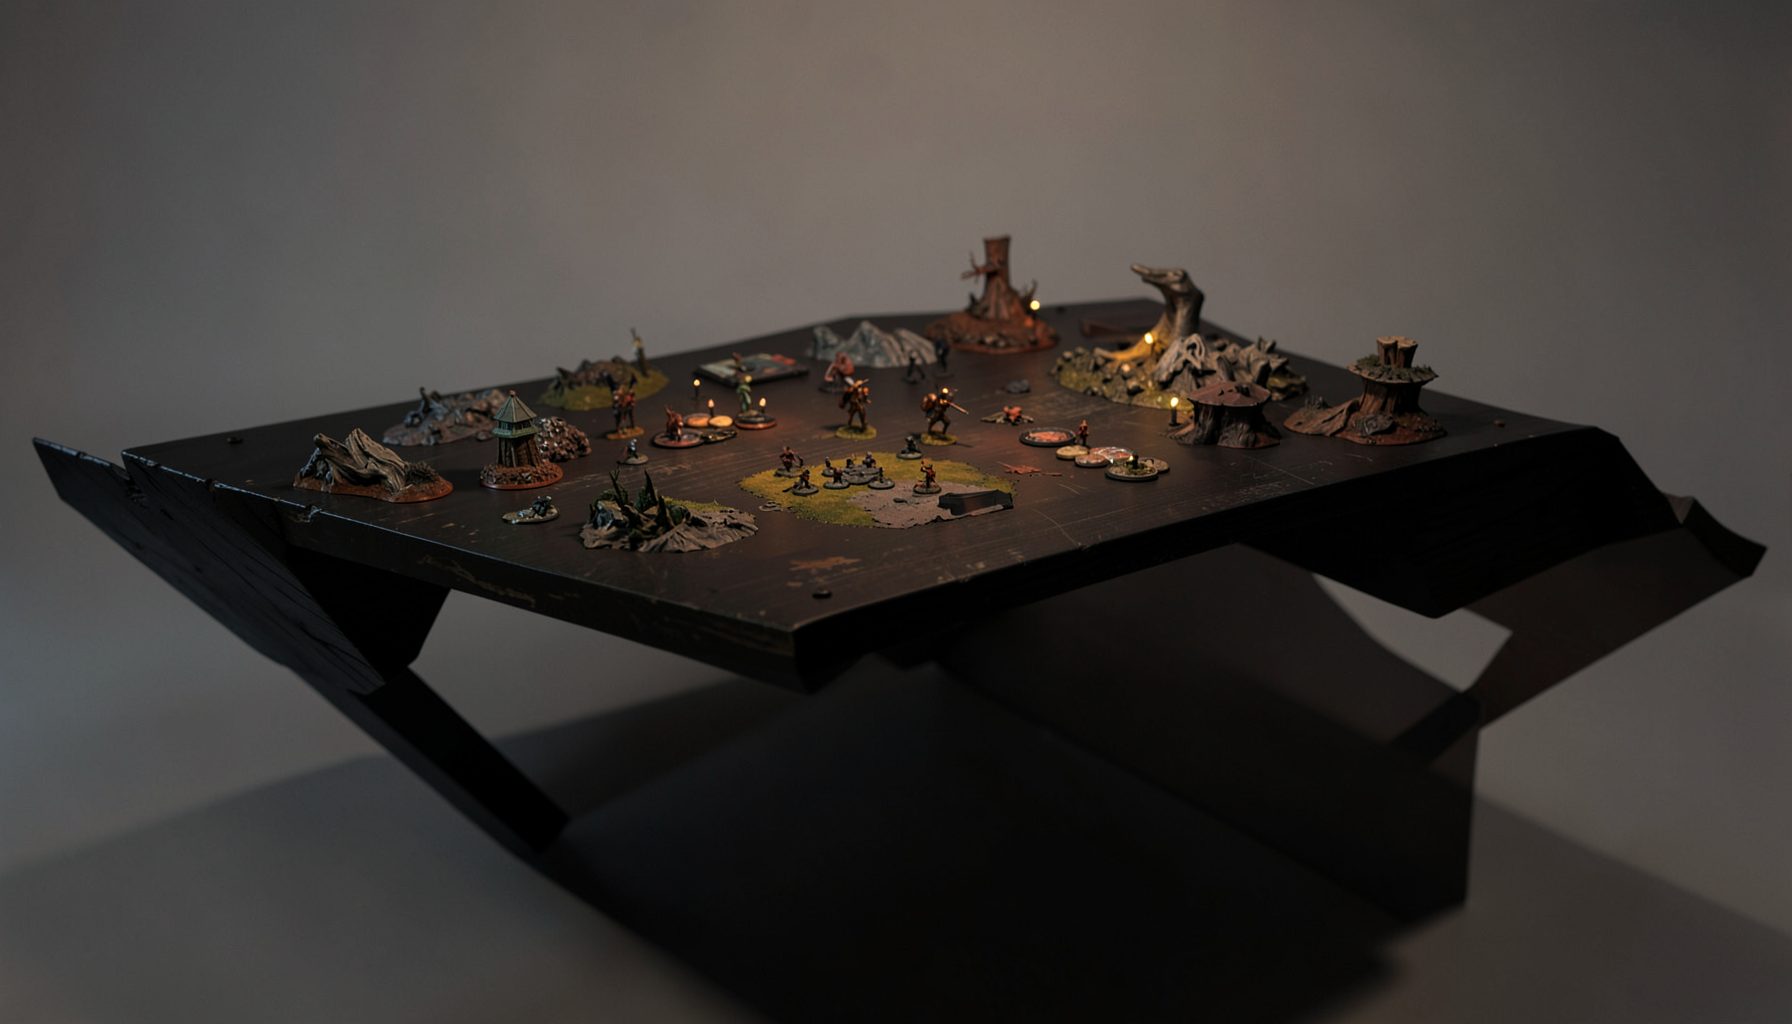
Live-streamed games, recorded matches, and event data gathered in one place.
Kill Team Stream hosts quality live streaming of Kill Team content — tournaments throughout the year on Twitch, regular games streamed to the channel, and tournament data gathered so players can see what's happening in the scene. Powered by WARHAMMER.
Browse tournamentsOfferings
Tournaments
Multiple Kill Team tournaments hosted throughout the year, all live-streamed on our Twitch channel.
Videos
Streams are recorded and uploaded to YouTube alongside original video content we produce.
Event Data
Tournament packets from past events plus resources for upcoming Kill Team tournaments.
Site Directory
New Player Deployment Mistakes in Warhammer Kill Team
Warhammer Kill Team rewards careful planning, but the deployment phase is where many new players stumble and hand their opponents an early advantage. Understanding common pitfalls during setup and initial placement can transform a struggling newcomer into a competitive player within just a few games.
Across Australian game stores from Brisbane to Perth, the same patterns repeat. Players who have just learned the core rules often focus intensely on shooting and melee, yet they treat deployment as an afterthought. The truth is that where you place your operatives in the first turn shapes everything that follows, and the mistakes made in those opening moments echo through the rest of the match.
Misreading the Mission and Ignoring Deployment Zone Rules
One of the most frequent errors beginners make is rushing through the mission briefing without truly understanding victory conditions, asset placement, and deployment zone restrictions. A new player might deploy aggressively forward, only to realise halfway through turn one that they have left a key objective completely uncontested. The mission card is the single most important document on the table, and treating it casually is a sure way to lose.
Australian tournament organisers, particularly those running events at venues like Melbourne's Good Games stores or Sydney's Mantic Games, have noticed that rookies frequently overlook deployment zone shapes. Some missions use corner deployments, others use centre line splits, and a few even feature scattered zones that demand flexible army construction. Reading the exact wording matters because Games Workshop is known for precise language with no room for interpretation. A single missed phrase can mean the difference between a legal and illegal operative placement.
New players should make a habit of placing tokens, checking ranges to objectives, and confirming line of sight before committing a single model to the table. This habit is reinforced by veteran players at clubs in Brisbane, where mentors walk newcomers through the mission packet line by line. Slow play during setup is not weakness. It is the foundation of disciplined play.
Overcommitting Operatives Too Far Forward
Eagerness often beats strategy during deployment. A common sight at local games nights in Adelaide or Hobart is a wave of operatives pushed right to the centre of the board, hoping to seize objectives early. The problem with this approach is that it leaves no fallback, no screening, and no room to respond to an opponent's careful advance.
Kill Team is a game of positioning, not just aggression. When every operative is committed to a forward line, the opponent can simply take cover, trade efficiently, and then pick off the overextended models one by one. Worse, concealed operatives are no longer concealed when they are out in the open, and the order benefit they provide is wasted.
A more measured deployment places key fighters near cover, with chaff operatives screening advance routes and specialists positioned to hold objectives from a safe distance. The Australian competitive scene has produced players who win games without ever pushing past the midfield line, simply by denying the opponent access to vital sectors. Watching these veterans on streams hosted locally is one of the fastest ways to learn the value of measured setup.
Ignoring Line of Sight and Cover Mechanics
Line of sight is one of the trickiest elements of the game, and many newcomers deploy without considering which angles their operatives can see and be seen from. A model placed behind what looks like solid cover can actually be visible to an enemy operative standing on a crate or behind a window. The reverse is also true. A figure placed in a doorway might appear exposed, but the doorframe itself provides protection against many attack vectors.
Players in competitive Australian leagues, such as those in Perth, have built entire playstyles around clever use of line of sight blocking. They understand that a well-placed operative can lock down an entire firing lane simply by existing in the right spot. This kind of strategic depth only becomes obvious after dozens of games, but beginners can shortcut the learning curve by memorising which terrain features provide true line of sight blocking and which merely look like they do.
Cover saves are another frequent point of confusion. New players often forget that partial cover applies only when the operative is at least fifty percent obscured, and they forget that obscured operatives gain additional bonuses when shot at from a distance. Deploying with these bonuses in mind, rather than discovering them after the dice are rolled, is a hallmark of experienced players.
Poor Positioning of Heavy and Specialist Operatives
Every Kill Team roster contains specialists, and placing them poorly during deployment is a classic mistake. Heavy gunners, demo experts, and leaders often have powerful weapons or abilities, but they tend to be slow or fragile. Beginners frequently park these models at the back of the deployment zone, thinking they are protecting them, only to find that the specialist never gets into the fight before the match ends.
The opposite mistake is also common: pushing the leader or heavy gunner into the front line to make use of their weapons, only to watch them fall to focused fire in turn one. The art of setup lies in placing these operatives where they can influence the board without becoming the first casualty.
Australian players who compete at events like the CanCon warm-up tournaments in Canberra have developed a keen sense of when to commit specialists and when to hold them back. They often deploy heavies within charge range of important objectives but behind obscuring terrain, ready to pivot when the situation develops. A specialist who never fires a shot because they are deployed too cautiously is a wasted asset, but one who falls before contributing is even worse.
Forgetting About Operative Order and Activation Planning
Kill Team's alternating activation system rewards players who think ahead about order and engagement. New players often deploy without considering which operatives will activate first, which orders they will use, and how the opponent might respond. This oversight turns deployment into a static exercise rather than the strategic setup it should be.
A concealed operative deployed in a forward position is a valuable asset, but only if the player remembers to use that concealment strategically. Beginners often place models in conceal, then move them aggressively on the first activation, wasting the order benefit entirely. Experienced players hold concealed models back, activating them only when they can secure an objective or block a key charge.
The Australian tournament scene has produced several coaches who specialise in teaching activation discipline. Their advice boils down to this: deployment is not just about where your models stand, but about which moves you intend to make and in which order. Plotting out a turn one plan before the game starts, including expected opponent responses, is the difference between confident play and reactive scrambling. The Kill Team Stream platform offers resources for players wanting to study these patterns further, and the casino-prize-drop-bonus-notes page provides a related look at how random elements can interact with player strategy.
Losing Focus and Letting Distractions Sabotage Your Setup
Deployment is the most mentally demanding part of the game, and concentration is critical. New players often arrive at a table already tired from travel, late-night miniature painting sessions, or simply the social buzz of a busy game day. The result is a deployment phase carried out on autopilot, with operatives placed wherever feels comfortable rather than wherever the mission demands.
Australian events often run from morning until evening, and players who fly in from regional centres to compete in Sydney or Melbourne tournaments know that fatigue is a real factor. Staying hydrated, taking proper meal breaks, and arriving with a clear head are simple steps that newcomers frequently skip. A focused deployment takes twenty minutes. A distracted one might take ten but cost you the entire game.
Players who want to maintain peak concentration should remove unnecessary distractions from their immediate area. Some competitors sidestep low-stakes phone distractions during these critical minutes, recognising that even a brief lapse can undo careful planning. Others use simple breathing exercises between operative placements. Whatever the method, the goal is the same: treat deployment as the strategic heart of the match, not a chore to be hurried through before the real game begins.
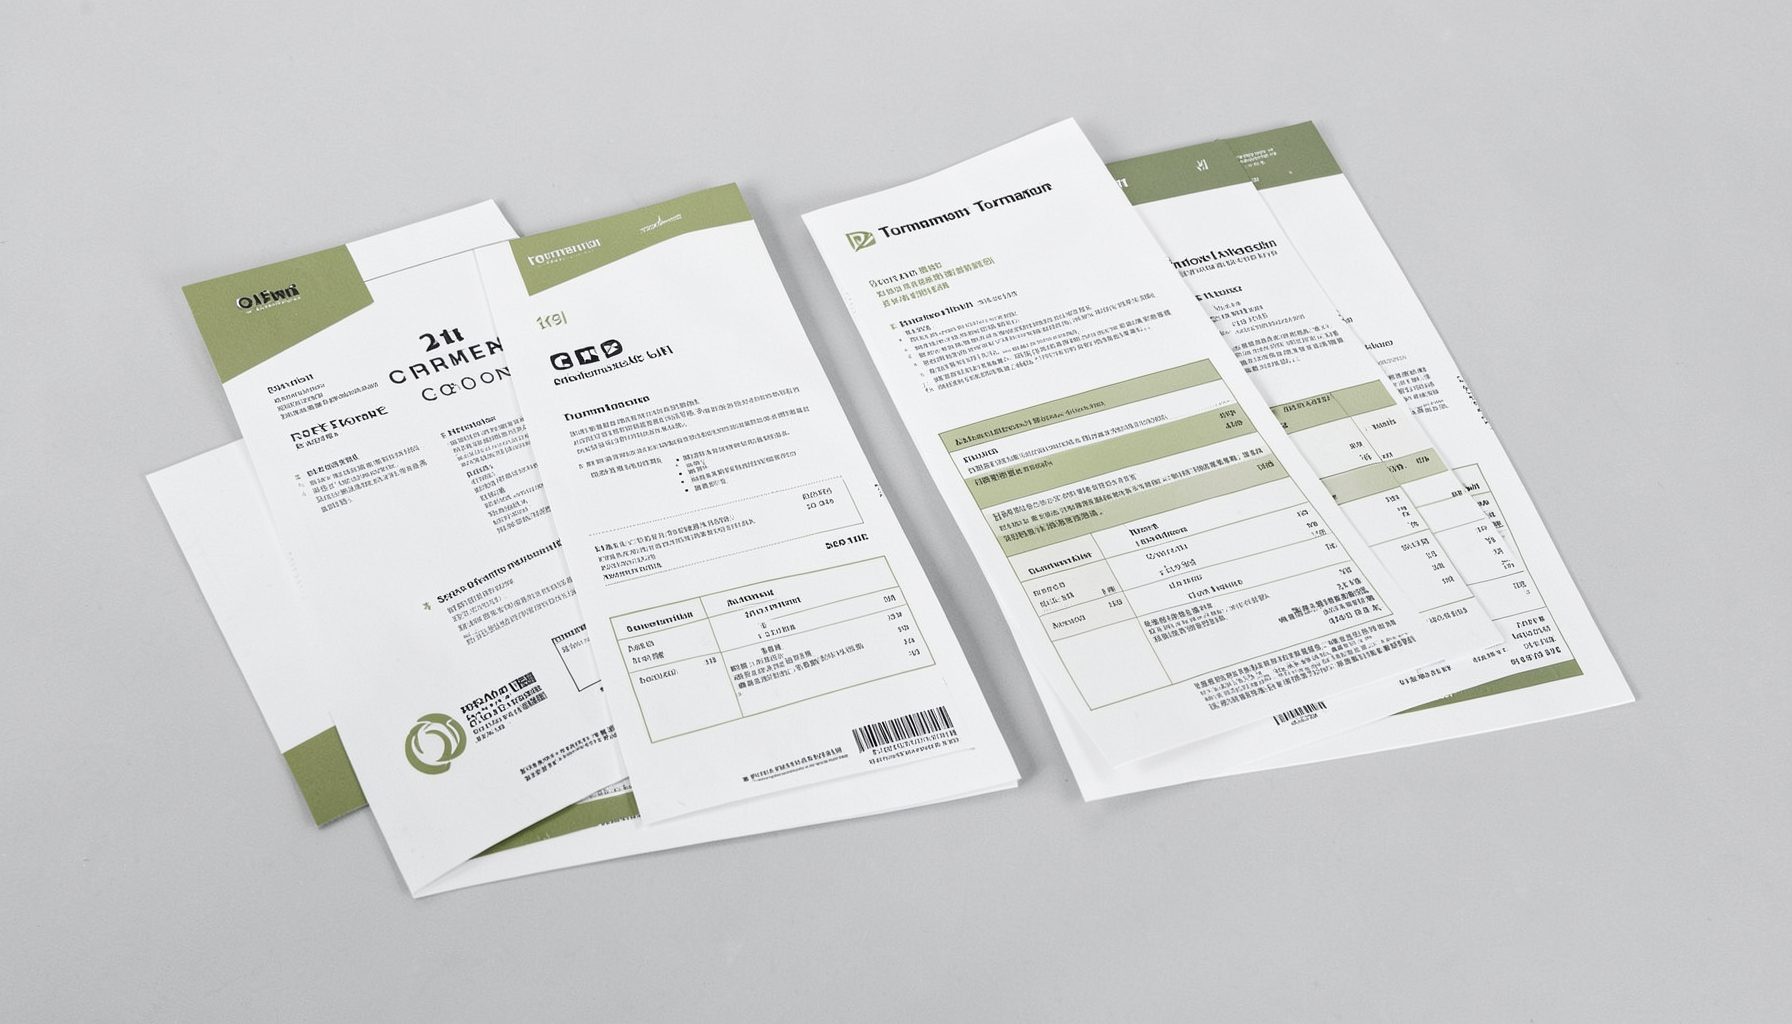
Tournament Packets
Packets from previous Kill Team events are kept here alongside new packets for upcoming tournaments, so organizers and players have what they need in one place.
View Event Data