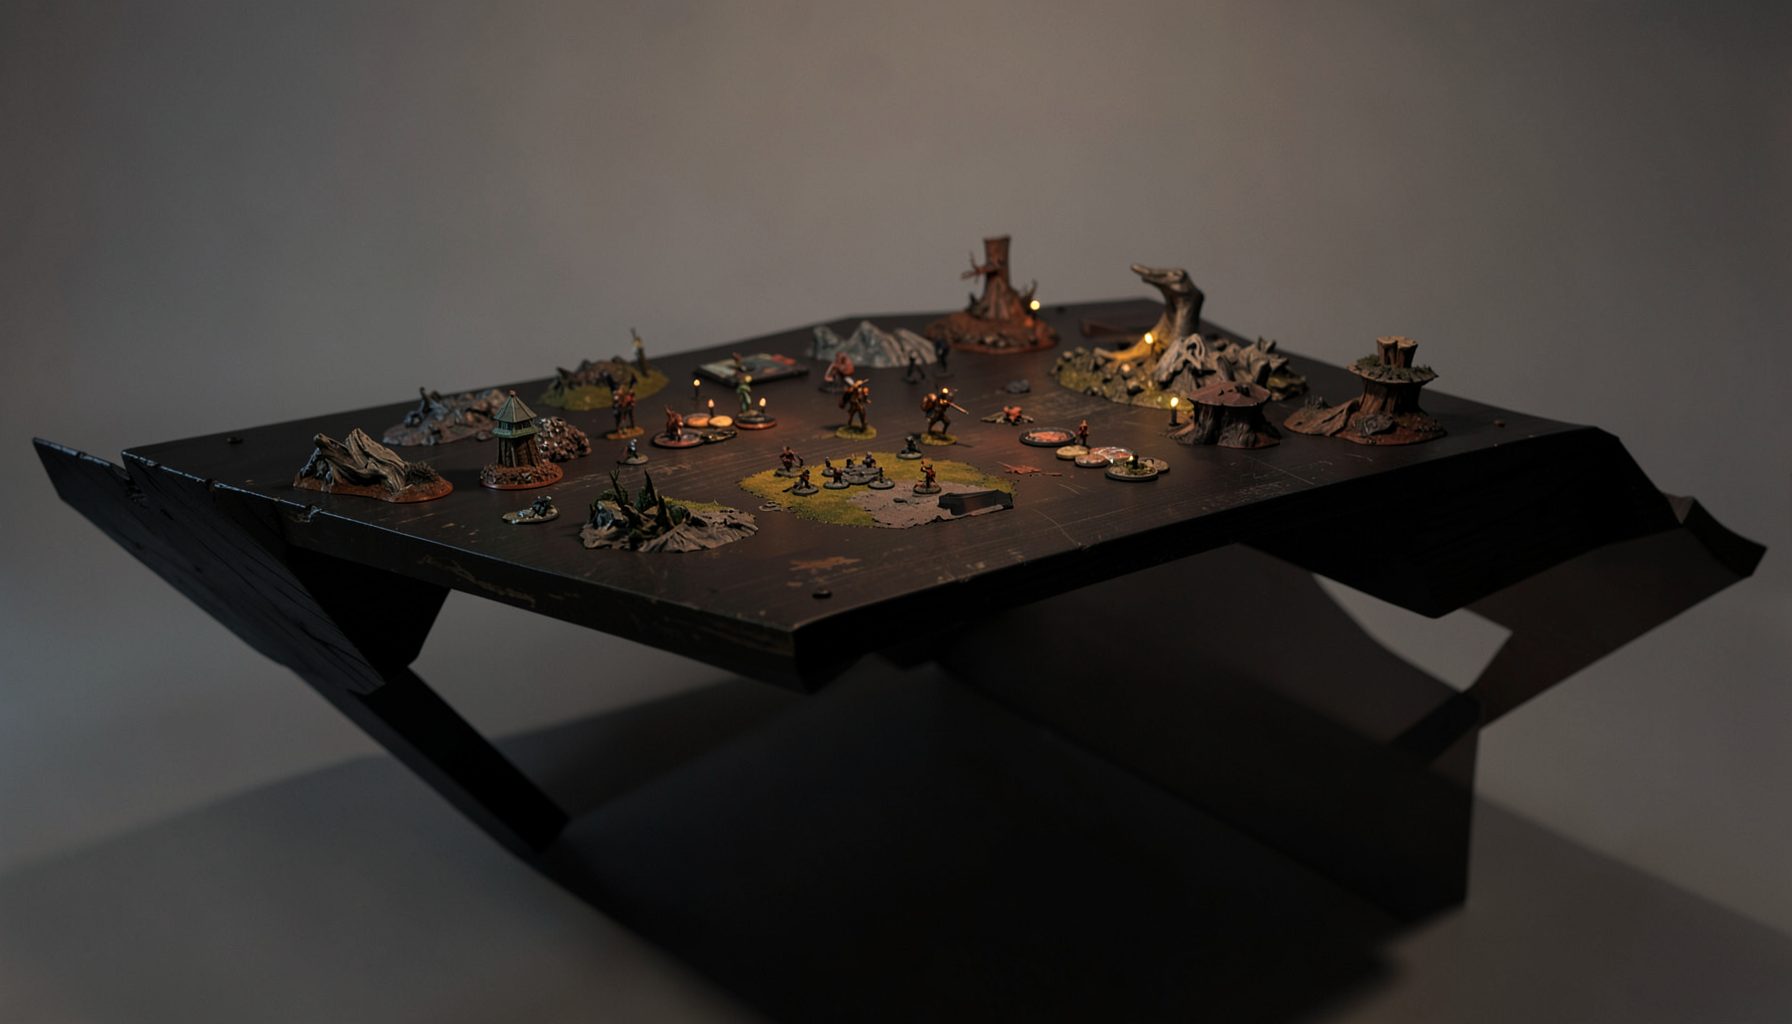
Live-streamed games, recorded matches, and event data gathered in one place.
Kill Team Stream hosts quality live streaming of Kill Team content — tournaments throughout the year on Twitch, regular games streamed to the channel, and tournament data gathered so players can see what's happening in the scene. Powered by WARHAMMER.
Browse tournamentsOfferings
Tournaments
Multiple Kill Team tournaments hosted throughout the year, all live-streamed on our Twitch channel.
Videos
Streams are recorded and uploaded to YouTube alongside original video content we produce.
Event Data
Tournament packets from past events plus resources for upcoming Kill Team tournaments.
Site Directory
Vantage points and the art of contest
Vantage points sit at the centre of many Kill Team decisions, yet height alone rarely decides a round. A raised position can reveal an objective, open a long firing lane and make a direct advance costly. It can also leave an operative stranded, visible from several directions and unable to influence the rest of the mission. The useful question is not simply who occupies the high ground, but which player can make the rest of their force function around it.
That distinction matters most in tournaments, where deployment, initiative and the location of victory markers create a much larger game than a casual practice session. A commanding perch may be irrelevant if it overlooks empty ground, while a modest ledge can be decisive when it covers the scoring area. Smart players treat elevation as one layer in a web of sightlines, cover, threat range and the likely path their opponent must take.
Kill Team Stream makes that wider picture easy to study through live matches, recordings and commentary from players with different tactical habits. Seeing how competitors move from deployment to contact is often more valuable than copying one famous position. The practical focus is how to contest vantage points effectively without turning every exchange into a race for the tallest piece of terrain.
Why elevation changes the game
Elevation changes information first. A model with a clear line over intervening terrain can spot an operative before that opponent has a useful return shot. In many Kill Team rules, shooting from a designated vantage point also grants a major crew advantage, although the exact packet and edition should always be checked. The tactical point is larger than the bonus: the elevated player chooses when and where the engagement begins.
Height also improves reach without guaranteeing safety. A vantage point overlooking an objective often forces attackers into a narrow approach, but it may be exposed to a second firing lane, a loophole or a model able to take a shortcut below it. Before calling a position dominant, mark who can see the holder, who can reach it and what happens if the holder is removed. A perch that cannot be supported can become an expensive invitation.
Competitive teams also think about activation economy. A player who spends two activations moving onto elevation may gain excellent shooting but weaken their scoring elsewhere. A single operative in the right place can pull the opponent's attention, create space for a teammate and make the next move safer. Elevation is strongest when it produces several useful choices rather than one spectacular shot.
Reading sightlines before deployment
Read the board before deployment. Stand at the deployment boundary, then trace every likely route toward the objective with both armies removed. Note where models can see one another, where a body will break the line of sight and where elevation offers a bonus. Do this from more than one eye level, because low blocks, raised platforms and objective markers can create deceptive gaps. A quick sketch of the opponent’s shortest and longest approaches is often more useful than memorizing the terrain alone.
Next, identify the cost of holding each high point. Is it close enough to the objective to matter, or so distant that holders merely watch? Can the opposing player shoot into it, assault it or ignore it? Look for dead ground around the base, entrances from the flanks and the spaces where cover ends. The best contest plan often uses this surrounding space, not the summit itself.
Faction identity affects which contest is easiest. Some lists can anchor a lane, survive repeated fire and dictate where the enemy deploys; others rely on fast repositioning, short burst attacks and converting temporary gaps into scoring. This overview of defensive and control tactics offers a useful starting point, but deployment should decide which advantages you can actually use. If the model that captures high ground cannot contribute to the objective, there is little value in winning that exchange.
Contesting high ground without overextending
Approach under information cover. Rather than walking a model directly up the most obvious lane, use architecture to hide the first part of the move and let the rest happen outside the enemy’s best firing arc. When the rules permit, repositioning with an operative who can see the approach can be valuable even if that model does not shoot. The aim is to make the elevated holder choose: keep watching the approach and ignore the objective, or turn and expose themselves.
Create a two-part threat. One operative can hold or threaten the high ground while another advances toward the objective, but the supporting role must have a clear payoff. Suppressive fire, carefully aimed shots and the promise of a later charge can make the opponent spend actions on safety. Remember that overwatch rewards delayed attacks, so a patient player can build a threat the attacker must account for. Do not force the trade simply because the opponent has the better angle.
Know when to bypass. If the high point overlooks little, the objective sits under heavy fire and your models can score elsewhere, attacking that position may sacrifice the round’s real goal. Killing the holder can be useful, yet removing them may also open a lane for the remaining enemy. Sometimes the effective contest is a scoring race in which the elevated player must descend to participate. Tournament points should outweigh the satisfaction of claiming the scenery.
Tournament execution in Australia
Australian tournaments add practical wrinkles. Major hobby stores and convention halls around Melbourne, Sydney, Brisbane, Adelaide, Perth and Canberra often use compact boards with terrain supplied locally, so sightlines may differ sharply from a home setup. Players should measure deployment space, board edges and the distance between objective areas during setup. A venue with a lower ceiling or a different lighting angle can make a familiar ridge less secure. Where allowed, pack the same terrain in the same order to keep the layout consistent.
Many events are run through local stores and volunteer crews, with brackets, entry fees and prize support organised around regional crowds rather than one national circuit. Distance is another factor. Perth and Darwin players can face long journeys, while hobby stores from Hobart to Townsville connect a broad national scene through regional events and online play. Freight delays and mismatched terrain are part of tournament preparation, not excuses: teams that label pieces and keep spare objective markers have fewer problems when a layout changes at short notice. Kill Team Stream’s Twitch and YouTube recordings also let competitors study opponents without chasing every interstate event.
The community’s relaxed manner can hide a sharp competitive edge. Australian players often say someone should have a crack at a bold flank, call a stale idea fair enough, and then return with a carefully revised plan. No worries belongs in the social chat, while disciplined target priority belongs in the deployment. At venues where air-conditioning struggles during a summer convention, players also need time to cool down, rehydrate and reset their focus before the next round.
Turning map control into repeatable wins
Turn the concept into a repeatable routine. Before deployment, mark every vantage point, every approach and every objective. During the first activation, identify which elevated position creates the best trade rather than automatically taking it. After a round, review the turning point: was the high ground taken too early, was its holder isolated, or did the opponent force a costly route? Separate useful positioning from a fortunate kill. Those notes produce better decisions than a generic rule about always taking the hill.
Adaptability matters because mission objectives and opposing deployments can change the value of elevation. The same ledge may be excellent for holding a flank and useless for a central marker. Build a plan with a preferred position, an alternative and a clear condition for abandoning the fight. Teams that can switch between these options create uncertainty, and opponents who must respect several threats often lose tempo.
| Position | Main advantage | Main risk | Effective contest |
|---|---|---|---|
| Open vantage point | Long sightlines and often a shooting bonus | Holder may be isolated or overwatched | Approach from an unexpected angle while a second model threatens the objective |
| Elevated objective | Controls scoring and forces exposed routes | Neglecting nearby ground can surrender scoring elsewhere | Deny the direct approach, then use mobile models to contest the marker |
| Low cover | Concealment, easier movement and flexible use of overwatch | May not see or influence key lanes | Stage a two-part threat and reposition before the final push |
| Distant high ground | Early information and firing reach | Little influence on where the enemy must move | Ignore it if the real objective lies elsewhere, unless its fire changes the approach |
Winning the high-ground contest is therefore an exercise in timing, support and objective discipline. Take elevation when it expands your team’s options, conceal the approach, preserve models that can score and be willing to bypass a battle that does not advance the mission. A tournament win rarely comes from one commanding position alone; it comes from making every exchange reinforce the next.
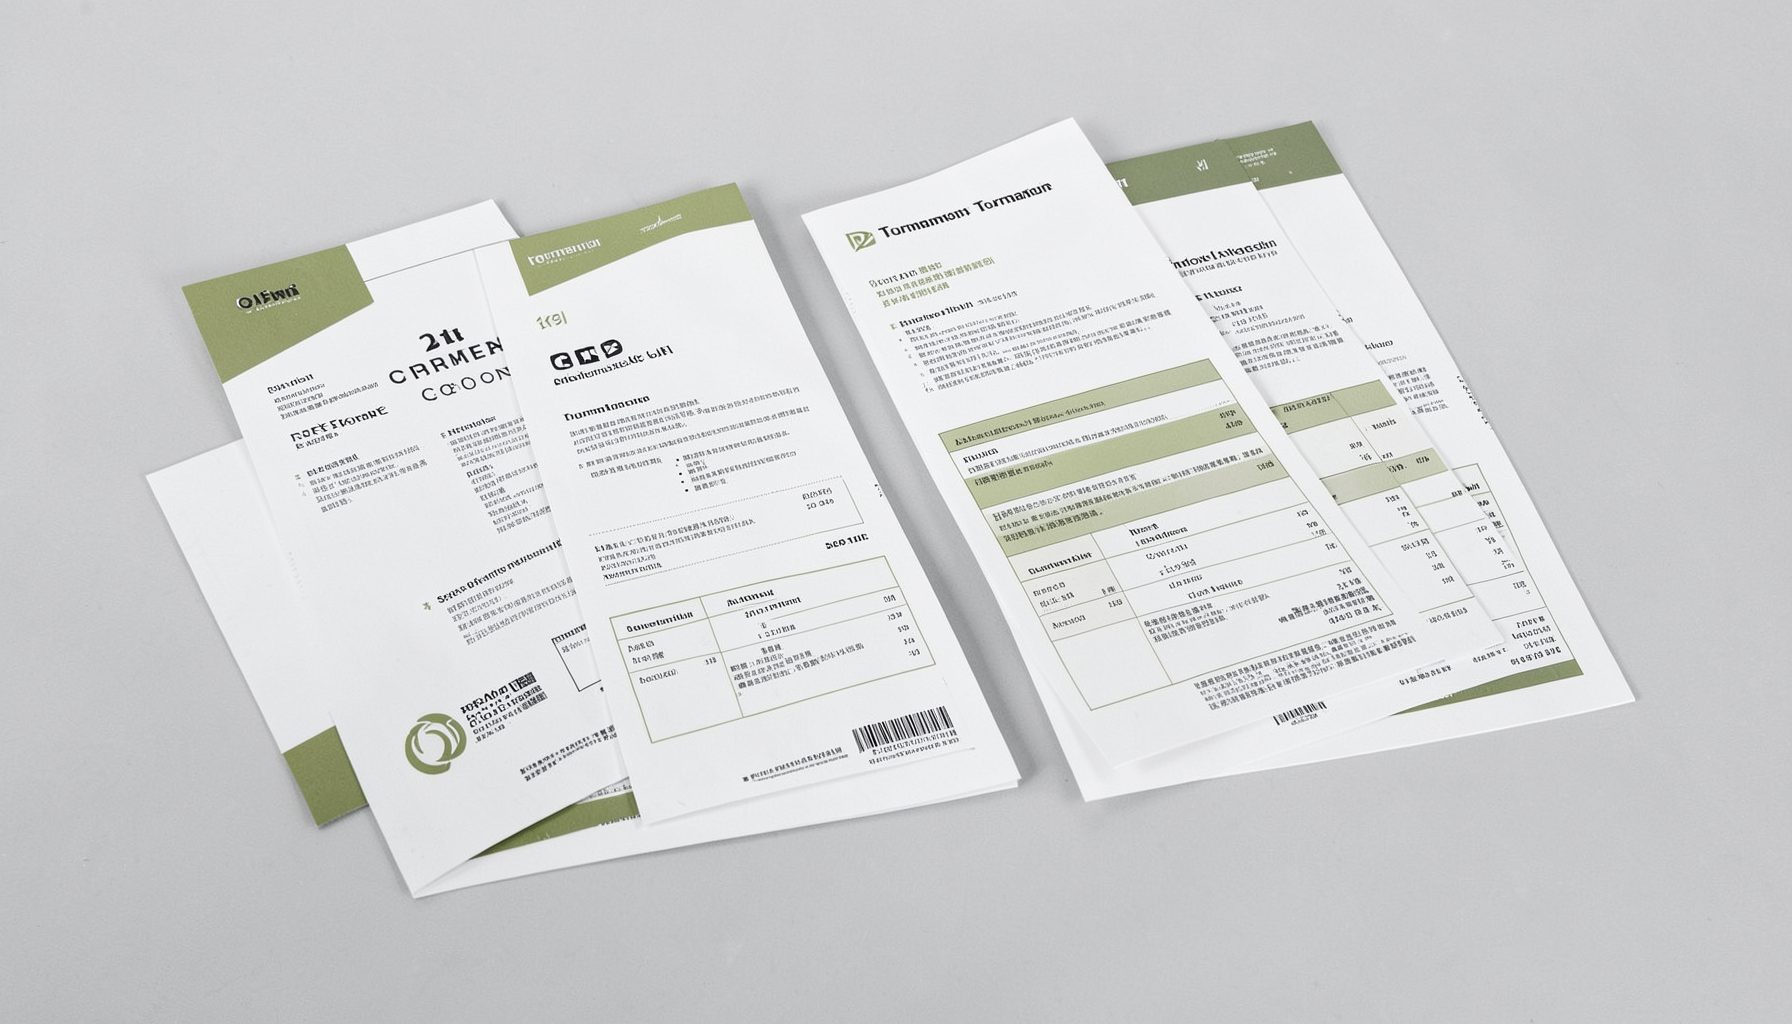
Tournament Packets
Packets from previous Kill Team events are kept here alongside new packets for upcoming tournaments, so organizers and players have what they need in one place.
View Event Data