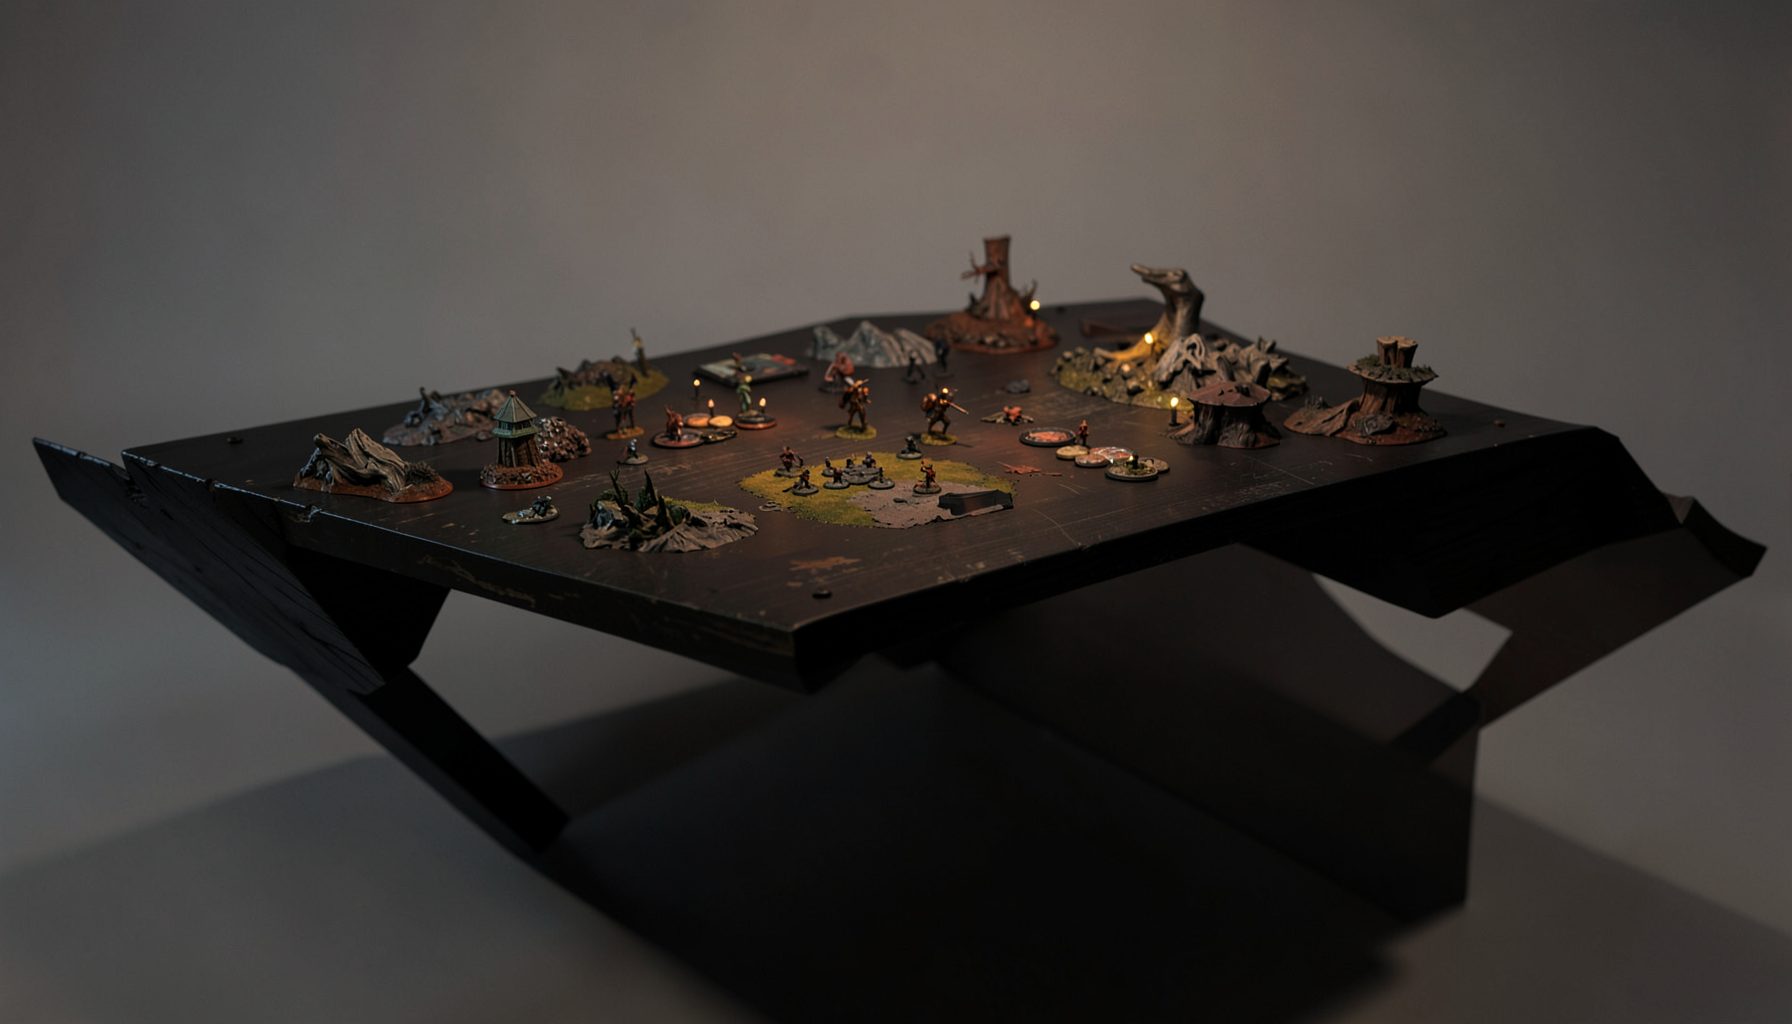
Live-streamed games, recorded matches, and event data gathered in one place.
Kill Team Stream hosts quality live streaming of Kill Team content — tournaments throughout the year on Twitch, regular games streamed to the channel, and tournament data gathered so players can see what's happening in the scene. Powered by WARHAMMER.
Browse tournamentsOfferings
Tournaments
Multiple Kill Team tournaments hosted throughout the year, all live-streamed on our Twitch channel.
Videos
Streams are recorded and uploaded to YouTube alongside original video content we produce.
Event Data
Tournament packets from past events plus resources for upcoming Kill Team tournaments.
Site Directory
Breacha drone play in Pathfinder Kill Team tactics
Pathfinder Kill Teams from the T'au Empire revolve around clever positioning, markerlight chains and a flexible suite of drones that quietly decide the tempo of every firefight. Among those drones, the Breacha fills a niche that often goes underappreciated by newer players who default to the more obvious gun and shield profiles. When handled carefully, this small hover unit reshapes how Pathfinders engage entrenched foes, push objective control and trade actions during the mission phase. The Breacha also rewards commanders who understand how to chain markerlight hits, because its pulse blaster delivers punishing damage once it has stripped a defender of their save.
Australian players have warmed to the Breacha over the past two competitive seasons, with lists sporting the drone reaching the top tables at Melbourne events and smaller Brisbane store championships. The drone's appeal is not flashy; it is a subtle, stack-the-odds choice that seasoned T'au players in Sydney and Perth have started to weave into their core rosters. This article looks at how the Breacha fits into a Pathfinder squad, where it shines, where it struggles and what experienced competitors across the country are doing with it now.
Role of the Breacha drone among Pathfinder operatives
The Breacha drone operates as a close-range fire support piece, hovering behind Pathfinders or darting past them to deliver a pulse blaster shot at point-blank range. Unlike the gun drone, which trades volume of fire at mid-board range, the Breacha thrives on closing to six inches and capitalising on its special ammunition. It is also the only Pathfinder drone that interacts meaningfully with breachable terrain, since its blaster cracks the cover and light fortifications common on matched play boards at Melbourne and Brisbane clubs.
| Drone profile | Combat role | Effective range | Tactical value |
|---|---|---|---|
| Breacha drone | Breach cover, burst down elite infantry | 6 inches | Highest single-target damage in the drone roster |
| Gun drone | Mobile harassment, action runner | 12 inches | Reliable chip damage and board control |
| Marker drone | Spotting and observation support | 8 inches | Feeds markerlight economy for the team |
| Shield drone | Defensive aegis for key operatives | 8 inches | Save re-rolls and protection during objectives |
Because Pathfinders can field multiple drones, the Breacha's role depends on what else is selected. A list built around a rail rifle and three gun drones treats the Breacha as a finisher, while a list featuring multiple marker drones uses it to cash in token stacks accumulated earlier in the turning point. Players in Sydney's western suburbs have popularised a hybrid build with two gun drones, a marker drone and a single Breacha, banking on the drone to deliver the kill once a markerlight turn exposes a target.
Markerlight economy and the pulse blaster payoff
Markerlights are the lifeblood of any Pathfinder Kill Team, and the Breacha drone's effectiveness scales directly with how well the team generates token stacks. Each hit reduces the target's save, and once stripped the pulse blaster cuts through power-armoured rivals with unsettling ease. New commanders often miss that the drone can contribute to the markerlight chain if it sits near a fire team leader, spreading the spotting pressure.
The smartest approach at recent Games Expo Australia side events in Melbourne has been to delay the Breacha's commitment. Players hold the drone in conceal during turning point one, let pathfinders and marker drones walk up the board, then swing the Breacha into engage on turning point two, when targets are already softened. This sequencing keeps the drone alive long enough to convert markerlight investment into board-changing damage.
A subtle point worth noting: the Breacha fires with a profile that ignores some light cover entirely, making it punishing against factions built on conceal orders and barricades. Australian players used to dense killzone layouts at Brisbane and Perth store championships treat that cover-ignoring quality as a tactical wrecking ball, forcing opponents to keep operatives out of its six-inch threat.
Positioning, deployment and the drone's footprint
Pathfinder teams rarely win by trading shots at range; they win by sliding into positions that force opponents into uncomfortable choices. The Breacha drone's small footprint, hover movement and lack of obscuring penalties let it pivot around cover in ways that heavier battlesuits cannot. At Australian tournaments such as the Auld Mug series in Sydney, players have used the drone as a sacrificial blade, parking it on a mid-board objective to draw fire while pathfinder gunners pivot toward a more rewarding flank.
Deployment also matters. Many players in Brisbane's growing competitive community now push the Breacha forward from reserve rather than placing it on the line. This forces opponents to commit to one side of the board early, since the drone could appear behind their cover on either flank once the turning point begins. The unpredictability of the reserve mechanic creates a layered threat that savvy opponents must respect.
Experienced T'au players at Melbourne's Good Games advise keeping the drone near a shield drone during mid-board pushes. The shield drone's save re-rolls give the Breacha just enough resilience to survive counter-fire. Without that buffer, the drone tends to evaporate after one or two activations, especially against factions fielding plasma or heavy bolter equivalents.
Ploys, equipment and faction interactions
The Pathfinder team enjoys a strong set of faction ploys, and several amplify the Breacha's value. Ploys that grant extra movement or re-rolls to hit directly benefit a unit closing to six inches. Equipment such as photon grenades carried by nearby pathfinder operatives can create ambush windows where the drone closes, scatters an opponent and strikes during the next activation.
One underrated interaction is how the Breacha benefits from Kauyon and Mont'ka army-wide rules. Under Kauyon, the drone becomes a patient finisher that stays concealed until a markerlight chain strips the target's save. Under Mont'ka, it becomes an aggressive tempo piece that dives into the enemy kill team during turning point one, trading survival for an early board swing. Recent Milspec events in Sydney and Melbourne have produced data favouring Kauyon for Breacha-centric rosters.
It is also worth considering how the Breacha interacts with the broader meta. Elite infantry factions such as the Death Guard and Thousand Sons cluster around central objectives, making the drone's burst damage valuable. Against faster teams like Harlequins or scouts, the Breacha's short range can leave it stranded unless the pathfinder leader has staged a forward screen. Recognising this distinction is what separates a serious threat from filler.
Matchup notes against common kill teams
Against elite infantry kill teams, the Breacha earns its slot through sheer damage output. A pulse blaster shot at point-blank range against a stripped target will routinely down even wound-heavy elites in one round of shooting. Phobos teams, veteran guardsmen and Legionaries are common pairings at Australian events, and the Breacha is often the deciding factor when slower factions are forced to hold an objective against a Tau push.
Against fast, action-focused kill teams, the Breacha becomes more of a deterrent than a killing tool. Harlequins, Corsairs and other mobile teams avoid the drone's six-inch bubble, letting the pathfinder player use the Breacha's presence to dictate where the enemy must commit. Brisbane club players have used this zoning effect to lock down central objectives, forcing faster opponents to commit to flanks where gun drones and marker drones have an easier time.
Mixed-arms factions such as Orks or Genestealer Cults present a trickier challenge. They generate enough bodies to swamp the Breacha's positioning and bring chaff operatives that can charge the drone to deny its shooting activation. Tau players at the recent Sydney Open adapted by keeping the drone behind a shield drone screen, forcing chaff to chew through two save layers before tying the Breacha up. Proper screening keeps the drone effective, though it demands more planning than against slower factions.
Lessons from the Australian competitive scene
Australian competitive play has shaped how Breacha drone lists have evolved. Local organisers run ITC-style events, and the kill team scene at stores across Melbourne and Brisbane has grown fast enough that a clear meta has emerged. Players who attend the events covered by Kill Team Stream, with standings archived in the tournaments archive, share that the Breacha is most effective when paired with a fire team leader wielding a carbine and a marker drone to keep the spotting chain alive.
Recent Sydney events have highlighted how Australian time zones affect practice rhythms. Many local players run late-night weekday games because of staggered work schedules, and that grind produces sharper Breacha sequencing than players who only practise on weekends. The collective pool of list-building advice, shared freely at local stores and streamed on major Aussie channels, has helped push Breacha rosters toward a polished form.
Pricing is a smaller but real consideration. The Breacha drone is one of the more affordable kits in the T'au range, popular with younger players entering the scene in Perth and Adelaide. With Games Workshop products in Australia retailing through local distributors at a margin above the British or American base prices, the drone's lower price point keeps it accessible, feeding the experimentation that has made the Breacha a regular sight on Australian tables.
Common mistakes when fielding the drone
The most frequent error is treating the Breacha like a gun drone and parking it at the back of the deployment zone. The drone's short range means it has to advance, and a stationary Breacha wastes its only real selling point. Pathfinders are already fragile, so adding an inert drone gives the opponent free board control in the mid-table areas where mission actions are decided.
Another mistake is over-investing markerlights into a single target without considering what the Breacha will do with the save strip. A fully stripped enemy is worthless if the drone is still in conceal or outside six inches. Sequencing matters: the markerlight chain should be ready the same turning point the Breacha commits. Several Melbourne players have lost games because they stripped a target in turning point two and committed the drone in turning point three.
Finally, players often forget that the drone is a great action runner. Pathfinders are action-heavy by design, and the Breacha can take a perform action or pick up an objective marker during turns when it has no clear shot. Using the drone as a static gun and ignoring its action utility leaves points on the table. The strongest Breacha players in Australia treat the drone as a hybrid piece, switching between fire support and action runner as the board demands.
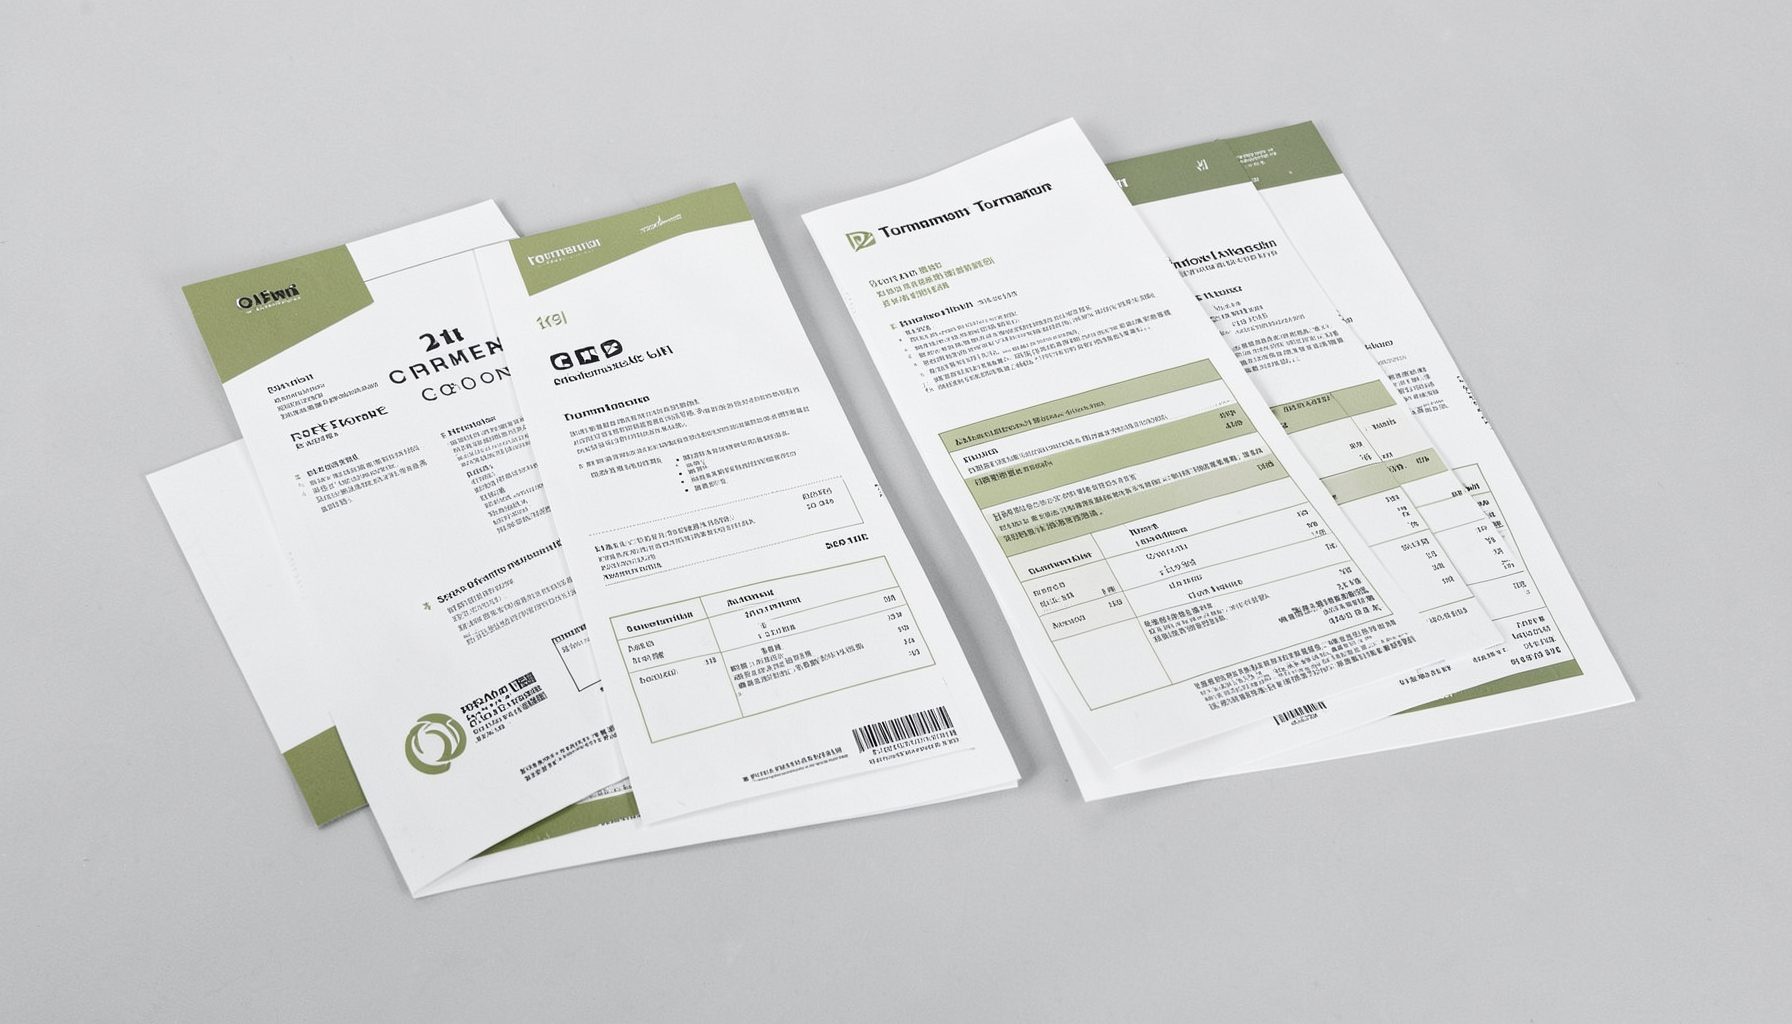
Tournament Packets
Packets from previous Kill Team events are kept here alongside new packets for upcoming tournaments, so organizers and players have what they need in one place.
View Event Data