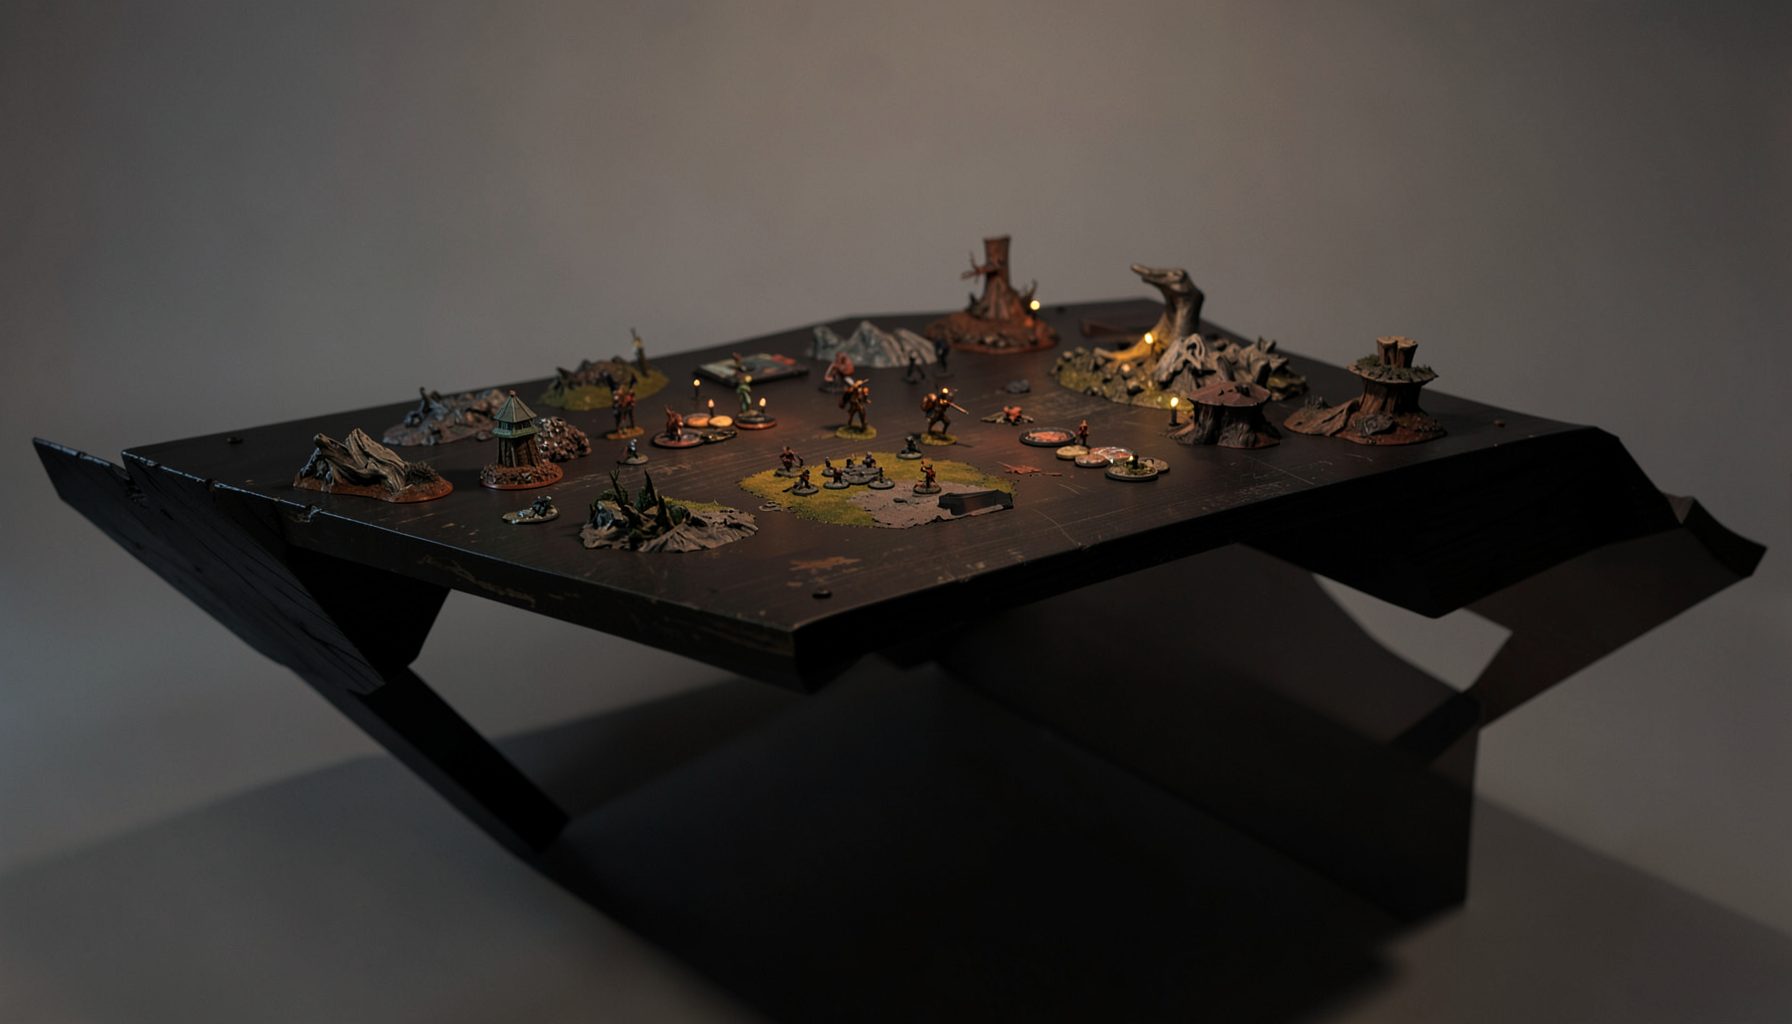
Live-streamed games, recorded matches, and event data gathered in one place.
Kill Team Stream hosts quality live streaming of Kill Team content — tournaments throughout the year on Twitch, regular games streamed to the channel, and tournament data gathered so players can see what's happening in the scene. Powered by WARHAMMER.
Browse tournamentsOfferings
Tournaments
Multiple Kill Team tournaments hosted throughout the year, all live-streamed on our Twitch channel.
Videos
Streams are recorded and uploaded to YouTube alongside original video content we produce.
Event Data
Tournament packets from past events plus resources for upcoming Kill Team tournaments.
Site Directory
The three best terrain profiles for testing your roster
Competitive Kill Team tests more than a list of operatives. It tests whether your roster can win a fight it did not choose, keep a model relevant when it cannot shoot, and hold ground under pressure. The best terrain profiles for roster testing are not simply the prettiest maps or the ones that suit your strongest guns. They expose dependencies: how quickly you score Victory Points, whether a melee operative can reach a useful position, and what happens when the enemy never enters your preferred engagement range.
Australian events add practical conditions worth treating as part of the test. Players may travel long distances between capital cities, set up in crowded convention halls, and play during a warm arvo when the air-conditioning struggles. Rather than chasing one perfect board, a regular testing circuit gives you comparable evidence across different tactical problems.
Why these three profiles make the strongest test set
Wooded Terrain, Ruins and Industrial Terrain form a useful trio because each asks a different question of a roster. The first rewards positioning and patience; the second compresses engagements and magnifies gaps in melee support; the third turns space, elevation and access into the main currency. Familiar layouts still differ enough to stop one home map from dictating your choices.
Compare them by what they stress, not by which produces the most dramatic firefights. The comparison below is a practical guide for sessions, not a ranking for every mission.
| Terrain profile | Primary pressure | What it tests | Most useful evidence |
|---|---|---|---|
| Wooded Terrain | Restricted sightlines and flanking routes | Positioning, focus fire and weapon control | Whether the roster can control lanes without overextending |
| Ruins | Short sightlines, close quarters and scattered cover | Melee support, objective play and deployment | Whether damaging units remain useful when shooting lanes close |
| Industrial Terrain | Elevation, congestion and competing approach routes | Mobility, command timing and spatial control | Whether the roster can secure space instead of merely surviving |
Use the same opponent list, mission and scoring method across all three maps whenever possible. Change terrain and deployment first, then assess what changed. Altering several things at once can make a strong result say little about terrain itself.
Wooded terrain and the discipline of controlled angles
Wooded Terrain creates an excellent test of whether your roster can fight without a permanent firing lane. It encourages players to approach around cover, change angles through movement and choose when a shot is worth taking. A roster built around static marksmanship can look effective initially, yet lose control once objectives pull models into awkward gaps.
Watch the first two turns closely. Is one operative holding a useful angle while the others advance safely, or are your key shooters bunched together waiting for targets? Can a combat operative cross open ground without abandoning its only protection? Can a suppressed model still contribute by contesting an objective or acting as a screen? The answers reveal whether your list has distinct jobs rather than several copies of the same damage dealer.
Record performance by turn rather than final score alone. Note who controlled the approach, how many shots your priority targets received and whether you won the exchange when someone closed to short range. A victory built around one successful charge can hide weaknesses that will appear against a different opponent.
Ruins and the pressure of close quarters
Ruins are the sharpest test for a roster whose melee damage and objective presence are uneven. Broken walls and small pockets of cover can bring opponents together quickly, interrupt long-range shooting and make positioning less predictable. A unit that excels at range may still score poorly if it cannot threaten useful terrain or support a fighter at the point of contact.
Start by asking what your deployment actually enables. A forward objective is useful only if a model can reach it without being isolated. If your only credible melee threat must cross several exposed approaches, a compact opponent can turn that plan into an easy trade. Compare alternative deployment zones instead of treating the first as the correct answer. This is where many lists reveal that their real strength depends on a large board.
Terrain measurements and rules still matter, so check the current mission guidance and terrain documentation on official Atomic Bands resources before committing to a setup. Distances in the game use inches, even if your tape measure is marked in centimetres. Resolve those units before play, and use line of sight and cover as intended rather than allowing an accidental gap to create a free firing lane.
Industrial terrain and the value of space
Industrial Terrain tests whether your list can control a battlefield instead of reacting to it. Platforms, machinery and block-like structures can provide useful cover, but they also divide movement into narrow routes and place valuable positions within reach of several approaches. The profile rewards players who know when to take ground, secure an elevated objective and identify the contested area that matters most.
Elevation should not become an automatic choice. A commanding position can be excellent for shooting and poor for support if it leaves a fighter unsupported. Watch whether your roster can occupy ground for a purpose, then leave before it becomes trapped. Stronger lists follow a sequence: establish a safe firing position, support the advance, contest the objective and optimise the shot. Weaker lists often reverse that order and chase damage first.
Record movement decisions and failed advances as carefully as hits. Count how often a model was forced across exposed ground, how often objective control depended on one dice roll and whether deployment gave you an opportunity to contest at all. These details separate a roster that won a fight from one that understood the board it was fighting on.
Running a controlled roster test
Begin with a clear hypothesis about the roster. You might be checking whether it can score consistently without relying on one specialist, or whether replacing a low-impact operative improves access to objectives. Write it down before play because final scores create persuasive stories. A disciplined test begins with a question the result can genuinely challenge.
Keep the variables visible in your notes: player, opponent list, mission, deployment, initiative order, map orientation and the roster change under examination. Record wounds, models removed, Victory Points scored, objectives held and the turn on which each major event occurred. A simple spreadsheet is enough; consistency matters more than elaborate software.
Run each profile more than once before making a large roster change. Alternate deployments and, where the mission permits, change the initiative order. This does not turn a local game into a formal statistical study, but it separates useful evidence from ordinary luck. A result that repeats across several conditions becomes a strong reason to reconsider a unit or slot.
Turning local events into useful evidence
Tournament games provide a wider sample than a single practice match, but the results only become useful when you can compare the conditions. The Kill Team event data on Kill Team Stream can help you follow standings, results and event information while building a picture of what successful players are doing. Look for recurring deployments, operative choices and terrain patterns, then test one idea at home rather than copying an entire list without context.
A streamed match or recording can show the decision that an event sheet cannot: why a player abandoned cover, which unit they wanted to protect and whether the board was already lost before the final attack. Treat commentary as interpretation rather than fact, especially when a model is partly hidden. Checking the board state separates a sound tactical choice from a dramatic story that happened to end well.
Local conditions belong in the notes. At a Melbourne or Sydney convention, several games may share the same hall, lighting and announcement system. Canberra’s low winter sun can make dark models easier to pick out, while strong afternoon glare in Perth can have the opposite effect. These details affect visibility, concentration and the time players take over a turn, all of which influence performance.
Building a balanced practice circuit
A useful circuit needs enough variety to challenge the roster without creating a new puzzle every game. Use the three profiles as anchors, then rotate deployment zones, player order and a small selection of open objectives. Keep the familiar parts of your list stable so each session has a clear subject. If a regular opponent is available, ask them to play the same mission on each terrain type and explain their deployment.
Prepare the venue as carefully as the roster. Australians often bring an esky, share snacks and settle in for an afternoon session, so allow enough space for movement templates, markers and reference cards. Check chairs, light and playing surface before players arrive. Clear these details early, and the session can concentrate on decisions rather than searching for tape measures, resolving model clips or finding somewhere flat to put a deployment tray.
Assess the roster across the whole circuit rather than after its best moment. Does it create turns, contest priority and retain influence when its preferred range is denied? Does a unit earn its place because of what it enables, or only because it finished with more wounds? The result is a roster judged by battlefield behaviour rather than a single highlight reel, with each profile contributing a clear answer about where the list works and where its assumptions fail.
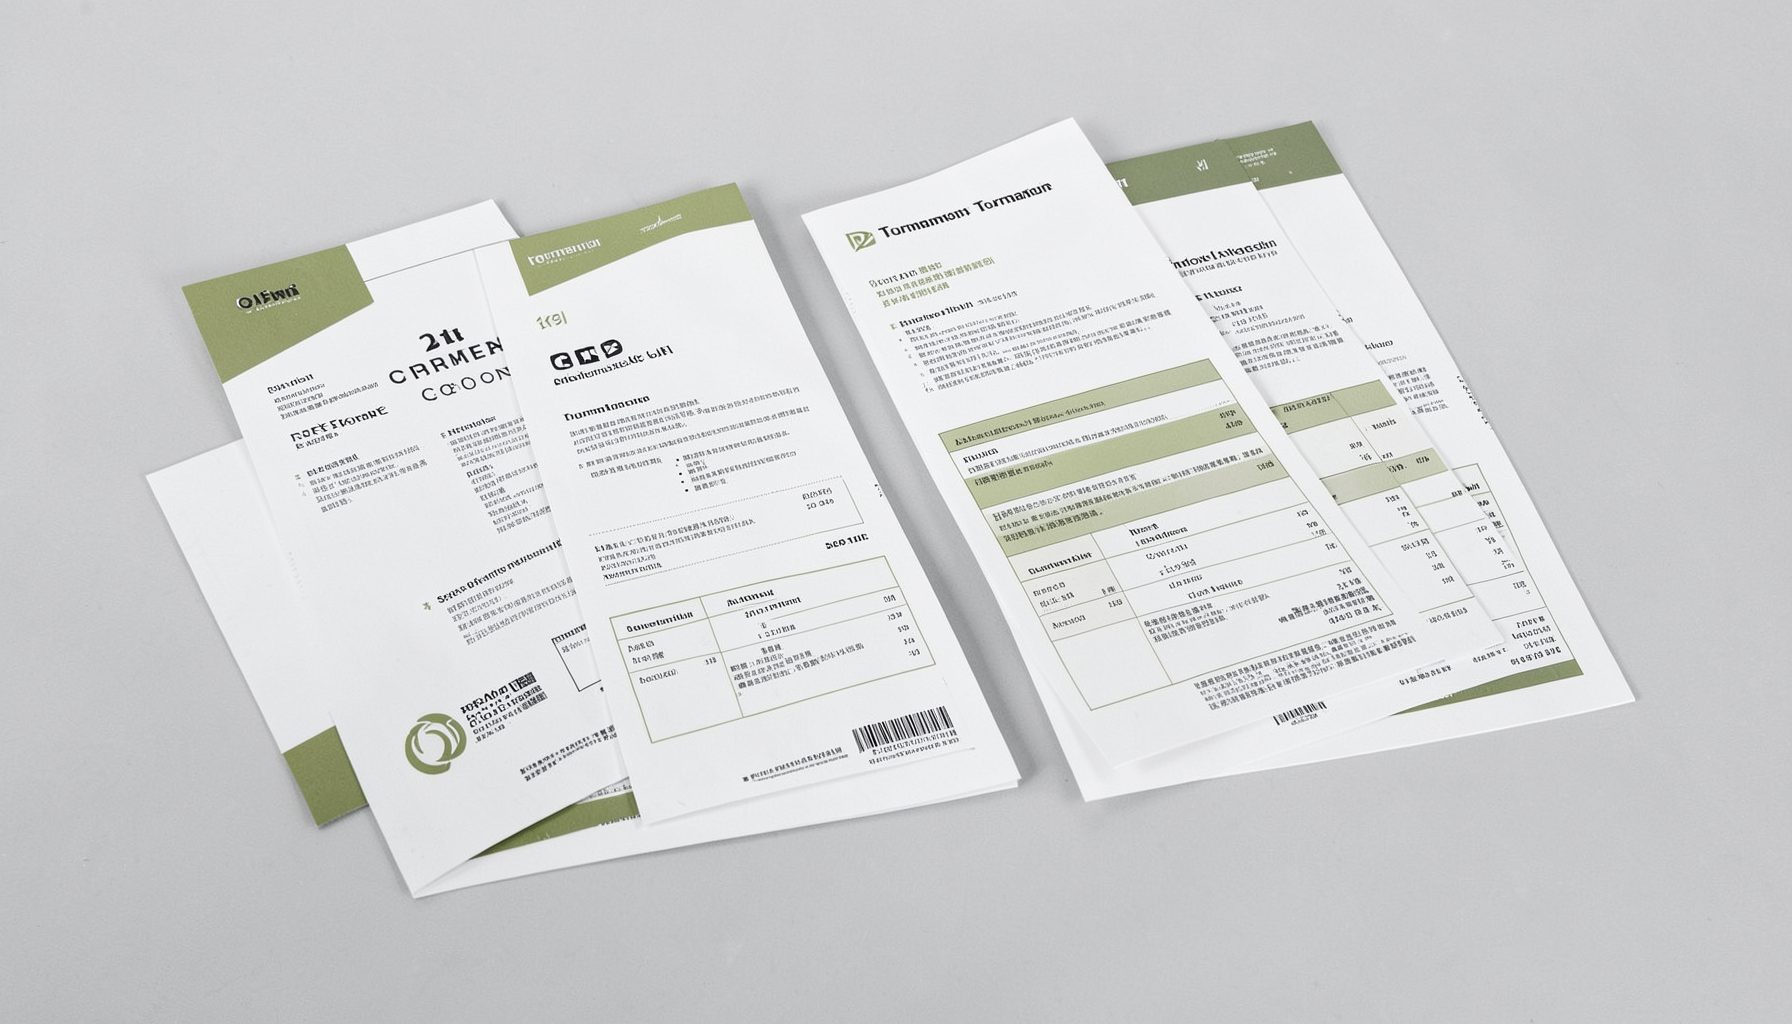
Tournament Packets
Packets from previous Kill Team events are kept here alongside new packets for upcoming tournaments, so organizers and players have what they need in one place.
View Event Data