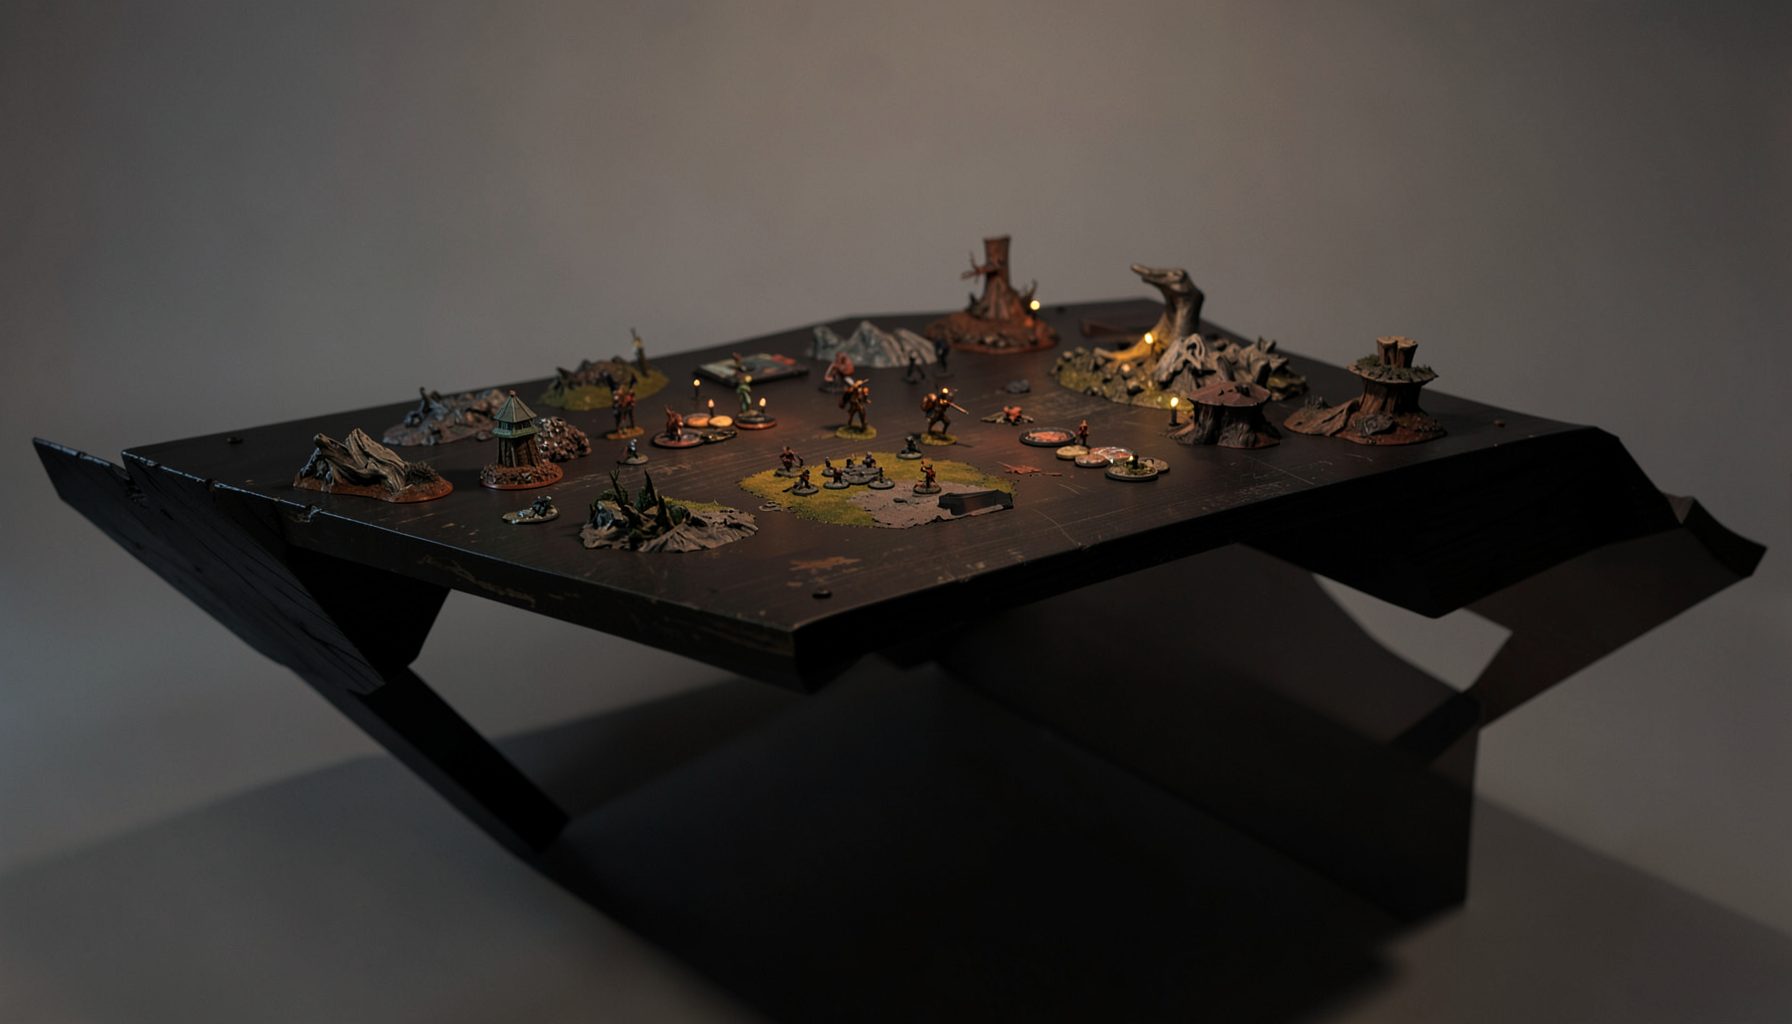
Live-streamed games, recorded matches, and event data gathered in one place.
Kill Team Stream hosts quality live streaming of Kill Team content — tournaments throughout the year on Twitch, regular games streamed to the channel, and tournament data gathered so players can see what's happening in the scene. Powered by WARHAMMER.
Browse tournamentsOfferings
Tournaments
Multiple Kill Team tournaments hosted throughout the year, all live-streamed on our Twitch channel.
Videos
Streams are recorded and uploaded to YouTube alongside original video content we produce.
Event Data
Tournament packets from past events plus resources for upcoming Kill Team tournaments.
Site Directory
Why Heavy Cover Is More Important Than You Think in Kill Team
Heavy cover often gets treated like scenery: useful for a quick visual, but secondary to a player’s marksmanship. In practice, a well-positioned wall, ruin, or dense block can shape the entire battle. It may deny a target, reduce the reliability of incoming fire, and give a team more ways to approach an objective. The point is not simply to make one operative harder to hit. It is to control where the enemy can act safely.
Understanding its value starts with distinguishing protection from concealment. Heavy terrain can block line of sight, while light cover generally lets a model be seen but improves its defensive position. Some heavy-cover benefits also depend on whether the shooter has cover, so looking only at the target can be misleading. Always apply the current ruleset, mission packet, and organiser rulings rather than an old rules summary.
Cover has a wider purpose than preserving one model. A Kill Team battle often turns on who reaches scoring positions, when they arrive, and whether a player retains enough operatives to contest several areas. Heavy cover can create protected routes, split approaches, and valuable firing lanes. A team that ignores it may win the first exchange and still lose through poor access and casualties.
Competitive players should therefore read heavy cover as a tactical resource, not a defensive attachment to a deployment. Its best use may be to protect one scorer, threaten a flank, or force the opponent across exposed ground. Every wall is also a decision about where the enemy is allowed to go.
Heavy Cover Is Not Just Safer
The chief advantage of true heavy cover is that it can remove a model from the enemy’s line of sight. If the opponent cannot see an operative, they cannot simply choose that operative as a shooting target. This target denial often matters more than the numerical cover benefit, especially when the attacking model has no protected angle of its own.
Light cover and heavy cover perform different jobs. Light cover can soften incoming fire while allowing a defender to see over or around it; heavy cover can create a genuine visual barrier. If both sides have relevant cover, the interaction may improve the defender’s position, but if the shooter is exposed, the attacker may need to move before the shot becomes sensible.
Heavy cover is not a reserve state. A reserve operative is out of play until it enters the battlefield, while a model behind heavy cover remains active and can still act. Cover is also positional, not a permanent shield. Allow the enemy to close the distance and its value can disappear, so the relevant question is what threat your team is equipped to handle.
The Real Value Is Restricted Shooting
Shooting in Kill Team happens during activations, so each denied firing solution can redirect an entire turn. Heavy cover does more than make a shot less attractive; it can prevent the shot altogether. An opponent without line of sight must reposition, use another operative, or accept a different route.
That difference grows when a player has several models in the same area. If only one has a clear view, the enemy cannot convert the whole group into targets. A protected operative can remain outside the firing picture until the attacker creates an angle, which often means stepping into a less favourable part of the map.
Even a modest cover penalty can be valuable because it affects confidence. A player who must shoot into heavy cover may choose a different model, wait for a better activation, or take a shot they would otherwise decline. Heavy cover thus reduces the number of reliable attacking options, not merely the chance of hitting one model.
Turning Cover Into a Firing Problem
Terrain should be read as a network of lanes rather than a collection of individual props. Before deployment, check what each team can see from likely starting positions, including diagonal lines around ruins. The wall that protects one operative may expose the model next to it. A sound cover plan accounts for the whole team, the routes between positions, and the points where those routes can be watched.
Strong setups often place heavy cover behind a usable firing position, allowing a model to emerge at an edge rather than stand permanently hidden. This preserves offensive value while denying a clean target. It is rarely wise to stack every operative behind the same wall; a single protected angle can restrict several enemy models without hiding your own ability to act.
Cover can also be used offensively. An opponent who sees one protected approach may expect the action there and ignore a second route. By controlling where a threat appears to come from, you can make them face a firing lane or a melee threat on terms chosen by your team. The best player recognises when cover is a trap rather than merely a refuge.
Protecting Objectives and Casualties
Objectives make heavy cover valuable in a very practical way. The model nearest the marker is not automatically the best placed: if it can see and shoot, it may be exposed, while another operative with a protected route can arrive at the scoring moment. Cover near an objective can protect an advance without requiring a suicidal sprint through the open.
Casualties carry a cost throughout the battle. An operative removed early cannot contribute later activations, provide a target distraction, or contest another objective. Protecting one model can preserve a unit’s options, yet a team that turtles behind terrain may still lose every scoring area. Heavy cover is useful when it keeps a body in the fight, not when it removes that body from the battle.
Players must also balance protection with access. A remote heavy-cover position may be excellent if the mission rewards holding ground, but poor if the objective sits in the open and you have nobody left to score it. Sometimes light cover gives the better trade because it offers a view and a shot. The stronger position is the one that satisfies the mission, not the one with the tallest wall.
Deployment Choices Set the Cover Battle
Deployment determines how easily a player can use the terrain. Choose a start that makes at least one protected approach, then work out how the opponent might deny it. Heavy cover across an objective lane can force a costly detour, while a position overlooking the centre can make an early advance feel safe. The aim is to make the opponent spend movement and activations on access.
Keep options legal and specific. Check deployment zones, minimum distances, and any mission restriction around objectives before placing an operative. In some scenarios, an apparently perfect firing position is worthless because it cannot legally deploy. In others, the winning move is to avoid the obvious heavy-cover cluster because victory requires spreading across several locations.
Scenario design can reward different forms of protection. A kill mission may favour keeping the enemy in a narrow area where your whole team can shoot. A control mission may make a protected route to the objective more valuable than a strong firing position. Read the packet’s victory conditions and deployment guidance before deciding which cover belongs at the centre of the plan.
Australian Events Change the Practical Equation
Australian tournament conditions add practical pressure to this kind of planning. Major scenes around Sydney, Melbourne and Brisbane often meet in hobby-shop extensions, hired community halls or converted warehouse spaces. Those rooms can have odd corners, uneven sight lines and lighting that changes the character of a table, so recognising heavy cover on arrival matters.
Summer heat also pushes most games indoors under air conditioning, while winter meetings in cooler regions can begin in chilly, open-sided halls. Players may spend a full Saturday on hard floors, moving between rounds and waiting for missions to finish. comfortable gaming boots can make that kind of extended tournament day easier on the feet, particularly when seating is limited.
Interstate travel is another local reality. Competitors often drive long distances or take domestic flights between capital cities to play a major event, so a small roster mistake or unfamiliar terrain can become costly. Australia’s hobby market mixes official stores with independent shops and local clubs, giving players extra places to find terrain, spare bases and experienced advice. Familiarity with those networks can be as valuable as extra rules knowledge.
Learning From Opponents and Match Archives
Kill Team Stream gives competitors a useful way to study cover without waiting for their own games to go wrong. Recorded matches, event packets, standings and photographs can reveal which terrain placements repeatedly produce protected firing lanes. Commentary can show why a player chose one corner over another, while results from similar events expose common deployment habits. Reviewing several examples is more useful than copying one famous game.
Reading an opponent is still an exercise in probability. A veteran may favour a protected central position, while a newer player may crowd every model behind the first wall they see. Use patterns to prepare alternative routes, not to assume certainty. The moment they deploy, look for the model they cannot afford to lose, the objective they are ignoring, and the approach they have made easy to defend.
Before deployment, mark every heavy-cover position, the lanes into and out of it, and the objectives it threatens. Decide whether each is a firing point, a protected route, a trap or a decoy, and make sure your team can still shoot or score from the position you claim. On the tabletop, the best cover is often the space the opponent cannot use without giving something up.
Tournament Packets
Packets from previous Kill Team events are kept here alongside new packets for upcoming tournaments, so organizers and players have what they need in one place.
View Event Data