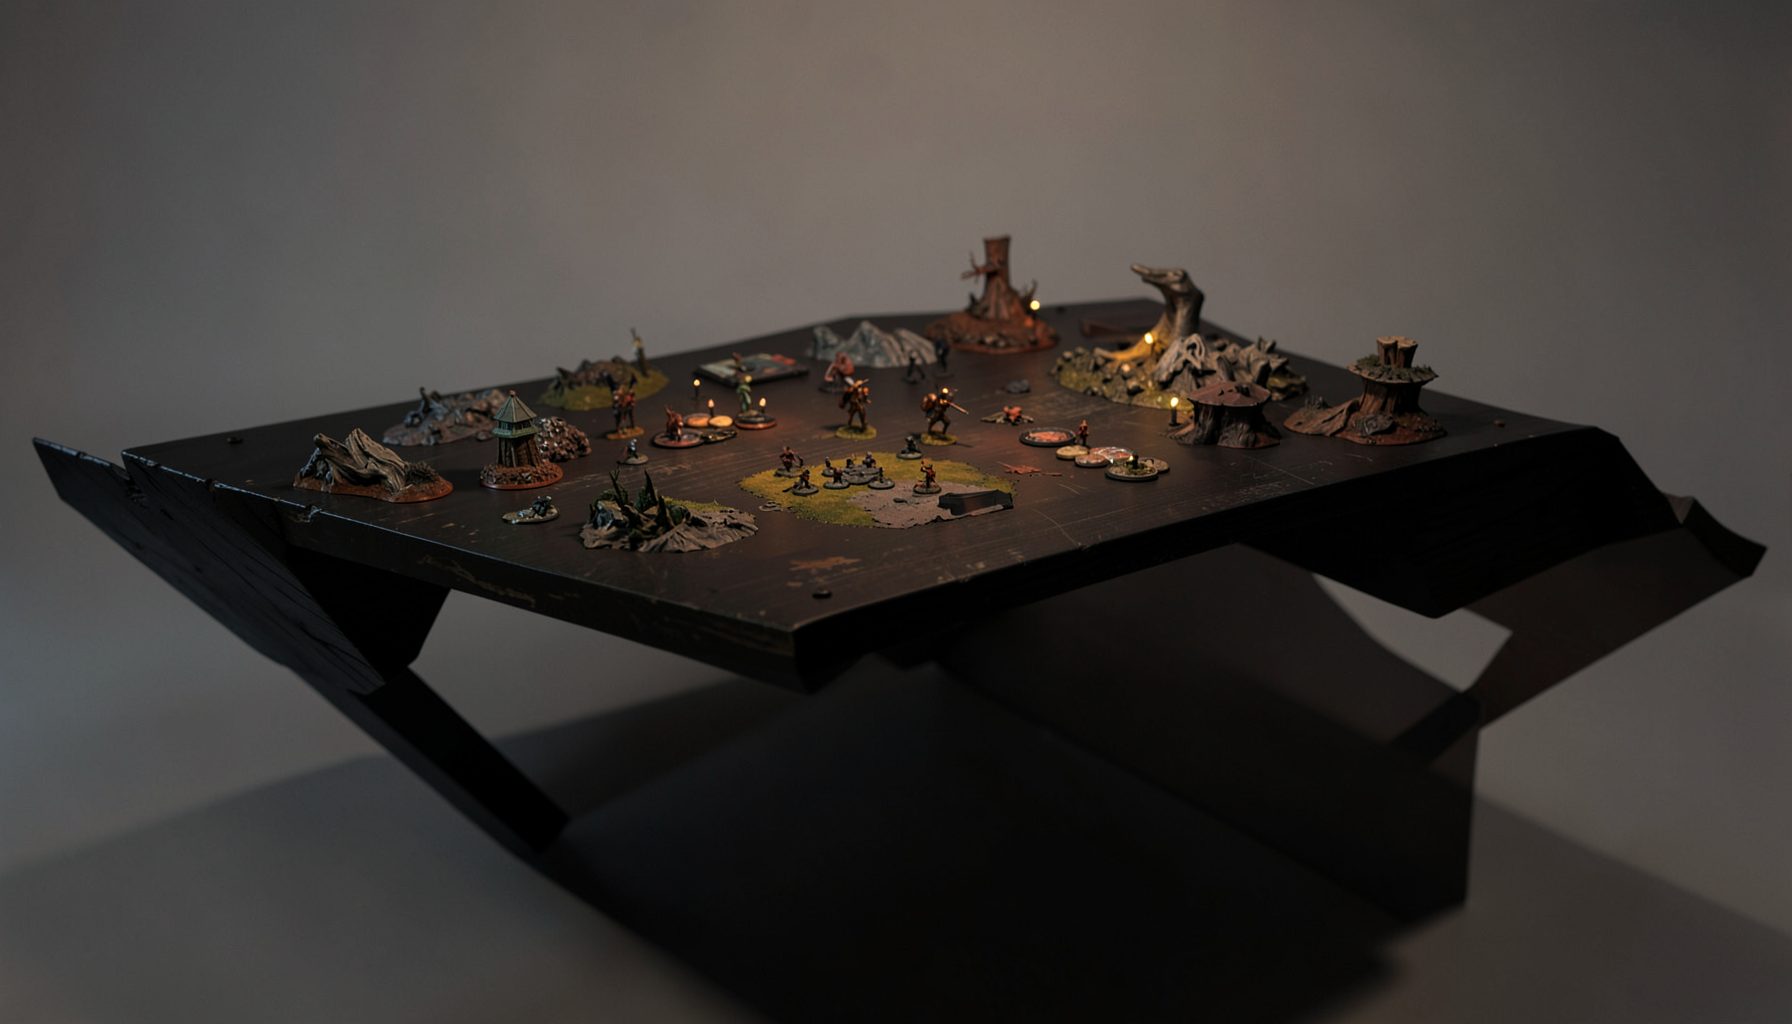
Live-streamed games, recorded matches, and event data gathered in one place.
Kill Team Stream hosts quality live streaming of Kill Team content — tournaments throughout the year on Twitch, regular games streamed to the channel, and tournament data gathered so players can see what's happening in the scene. Powered by WARHAMMER.
Browse tournamentsOfferings
Tournaments
Multiple Kill Team tournaments hosted throughout the year, all live-streamed on our Twitch channel.
Videos
Streams are recorded and uploaded to YouTube alongside original video content we produce.
Event Data
Tournament packets from past events plus resources for upcoming Kill Team tournaments.
Site Directory
How to beat the Hierotek Circle with a shooting-focused team
The Hierotek Circle is an awkward opponent for a gunline because its operatives are durable, accurate enough to punish exposed models, and capable of returning to the fight after being taken out. A shooting-focused team cannot win by simply lining up the biggest weapons and trading shots. It needs a plan for denying reanimation, controlling firing lanes, and scoring while the Necrons spend actions repairing their position.
This matchup rewards disciplined target selection. A damaged Immortal may still be a valuable objective holder, while a full-health Deathmark watching a long lane can make an entire turning point uncomfortable. The key is to treat every shot as part of a sequence rather than as an isolated attempt to deal damage.
Hierotek Circle also punishes teams that rush to secure early kills. Its slower movement can tempt an opponent into stepping too far forward, where a Chronomancer, Apprentek, or concealed shooter can create a devastating counterattack. Your best turns often involve taking a safe shot, denying a route, and preserving enough operatives to control the next activation.
For Australian players, this is a particularly useful matchup to practise at local clubs in Sydney, Melbourne, Brisbane, or Perth. Weekend events often include a mix of experienced tournament players and newer hobbyists, so learning how to explain your firing plan and measure threat ranges will improve both your results and your practice games.
Understand the Hierotek defensive engine
Hierotek Circle combines elite profiles with recovery mechanics. Reanimation means that removing an operative is not always the same as permanently solving a problem. A model that returns in a poor position may be less dangerous, but it can still claim an objective, block movement, or force another activation to finish the job.
The practical lesson is to distinguish between a kill and a temporary removal. Before firing, identify where the operative could come back and whether its return point would be safe. If a reanimated model would appear behind a wall with access to an objective, the exchange may have created very little advantage. If it would return in the open, outside an objective range, or far from supporting models, the same attack becomes much stronger.
Living Metal-style recovery and Cryptek support also make chip damage less attractive than concentrated damage. A sequence of low-impact shots across several Necrons may leave you facing multiple wounded models that can recover. Whenever possible, combine attacks into a single activation or firing lane so one target is removed before the Hierotek player can respond.
Build the firing plan before deployment
A shooting team should enter the battle with a priority list, not just a collection of strong weapons. Mark the lanes that cover objectives, the positions from which the Hierotek player can safely activate, and the routes that allow a Deathmark or Immortal to reach a firing angle. Deployment should make your first turning point predictable for you and difficult for your opponent to disrupt.
Long-range weapons should usually begin where they can influence the centre without exposing themselves to several return shots. Shorter-range specialists can occupy protected side lanes, ready to punish a Necron operative that advances onto an objective. Avoid placing every gun on the same flank. Hierotek models are slow, but a concentrated group can still absorb one lane and make your remaining weapons irrelevant.
During setup, consider which operative is allowed to take the first risk. It should rarely be your only heavy weapon or your best mission specialist. A disposable or less central model can draw a reaction, reveal an enemy position, or force the opponent to spend an activation before your main volley begins.
Turn sightlines into a resource
A shooting-focused team wins by controlling what the opponent is allowed to see. Open ground is not automatically good for a gunline; it is useful only when your models can fire without presenting several valuable targets in return. Use heavy terrain, light cover, doors, and barricades to create lanes that favour one weapon at a time.
Do not measure only the distance to a target. Measure the distance from your operative to every enemy model that could shoot back after your activation. A model that can reach one safe angle but is visible to three Necrons is often in worse shape than a model with a weaker shot from a protected position. This is especially important against Deathmarks, whose long-range threat can make apparently safe advances costly.
Australian tables can vary sharply between clubs and events, from dense indoor layouts in Melbourne venues to more open tournament boards used at larger events. Practise on several terrain styles rather than memorising one deployment pattern. Ask for the event packet early, because terrain maps and line-of-sight conventions can affect the value of every weapon.
Choose targets by function
The first target is often the operative that makes the rest of the Hierotek team efficient. A Cryptek can provide support, control, or reliable damage, while the Apprentek can turn a good activation into a chain of pressure. Removing a support piece may be better than shooting an Immortal that is already isolated and unable to reach a useful objective.
Deathmarks deserve special attention when they have a clean lane into your leader or strongest shooter. They are dangerous because they can punish a model that assumes cover alone is enough. If you cannot eliminate one safely, deny its lane with movement, a smoke-like effect where available, a concealed operative, or a piece of terrain that breaks visibility.
Immortals are usually the dependable scoring body of the team. Shoot them when they hold a key objective, block an important route, or can combine with another model for a decisive attack. Otherwise, leave them for later and focus on pieces that increase the damage or mobility of the entire force. A wounded model away from the mission is often less urgent than a healthy support operative near the centre.
Make every activation serve the mission
A common error is spending the first turning point trying to inflict maximum damage. Hierotek Circle often benefits when the opponent advances aggressively, because a single exposed model can become the focus of several counterattacks. Use early activations to establish objective control, preserve concealment, and make the Necron player move into your preferred lanes.
Your shooting team should also protect its action economy. If a model must move, shoot, and then perform a mission action across separate activations, it may never complete the sequence. Set up positions where a specialist can shoot while another operative handles the mission. This division is especially valuable when the opponent’s durable models require more than one attack to remove.
When selecting equipment, prioritise tools that improve reliability, positioning, or survival rather than adding small amounts of damage everywhere. A reroll, improved line of sight, extra mobility, or a way to remain concealed can create a better exchange than a modest damage bonus. The right choice depends on your faction and the event pack, so check the current rules before practising the matchup.
Adapt the plan to your shooting team
Kasrkin can pressure Hierotek with high-quality shots and tactical flexibility, but they must avoid presenting multiple expensive operatives to return fire. Use their specialists to create a concentrated threat, then preserve the models needed to score. Their advantage is usually the ability to produce a strong volley at the right moment rather than winning a long exchange of attrition.
Pathfinders prefer information, angles, and coordinated fire. They can make the Necron player uncomfortable by threatening several lanes, but their lighter bodies cannot afford careless trades. Keep enough operatives concealed to retain board control after the first volley, and use marker or support mechanics to ensure the important shot lands when it matters.
Space Marine-style teams and other elite shooters have a different problem: they may match Hierotek durability but can struggle to cover enough objectives. In those games, divide the board into a primary engagement zone and a protected scoring zone. Force the Necrons to spend their limited activations crossing the gap while your strongest weapon controls the approach.
Whatever faction you use, compare the matchup through actual outcomes rather than reputation. A useful win-rate reading guide can help separate a genuine weakness from a small sample, a strong pilot pool, or a particular mission pack. Tournament statistics should inform your plan, not replace testing with your own roster.
Practise the critical sequences
The most valuable practice games begin with a specific question. Test what happens when your first volley wounds but fails to remove a target, when a Deathmark claims the best lane, or when the Hierotek player keeps an Immortal concealed until the second turning point. Repeating these situations teaches you which risks are acceptable and which positions collapse immediately.
Run through the opponent’s likely reanimation locations before rolling attacks. Ask where the model returns, which objectives it can contest, and whether your next activation can finish it. If the answer is unclear, select a different target or improve the position first. This habit prevents the emotional mistake of chasing a model simply because it has already taken damage.
After games at an Australian event, record the mission, terrain layout, turning point, and the first major trade. Keep the notes brief enough to maintain after a late session or a long drive home. Australian tournament results can be distorted by small attendance and repeated local pairings, so your own records provide useful context alongside published standings.
Filmed games are particularly effective for reviewing this matchup because they reveal missed lines of sight and wasted activations. If a club records matches, follow the venue’s consent process before appearing on camera; privacy and recording expectations can differ between locations and events. Watching a game at normal speed, then pausing before each activation, often shows that the decisive mistake occurred several actions before the failed shot.
A successful shooting plan against Hierotek Circle is built around sequencing. Deny the best lanes, concentrate damage, remove the pieces that enable the team, and keep enough operatives alive to score after the first exchange. When your gunline treats recovery mechanics and terrain as strategic problems rather than annoyances, the Necrons become a manageable control matchup instead of an endless wall of metal.
Tournament Packets
Packets from previous Kill Team events are kept here alongside new packets for upcoming tournaments, so organizers and players have what they need in one place.
View Event Data